
Halo: Campaign Evolved Tangent III Terminal — Location & Route
Find the Halo: Campaign Evolved Tangent III Terminal with the exact mission route and screenshots.
TERMINAL 07 / 13
Mission: The Library
The Halo: Campaign Evolved Tangent III Terminal is found in the The Library mission.
How to find this terminal
After Guilty Spark opens the door near Pop, the objective sends you through the door on the right. Ignore it for a moment and activate the panel for the door on the left instead. Shoot the small Flood sack blocking the opening, then crouch through the gap it leaves. Turn the corner on the right to find Tangent III.
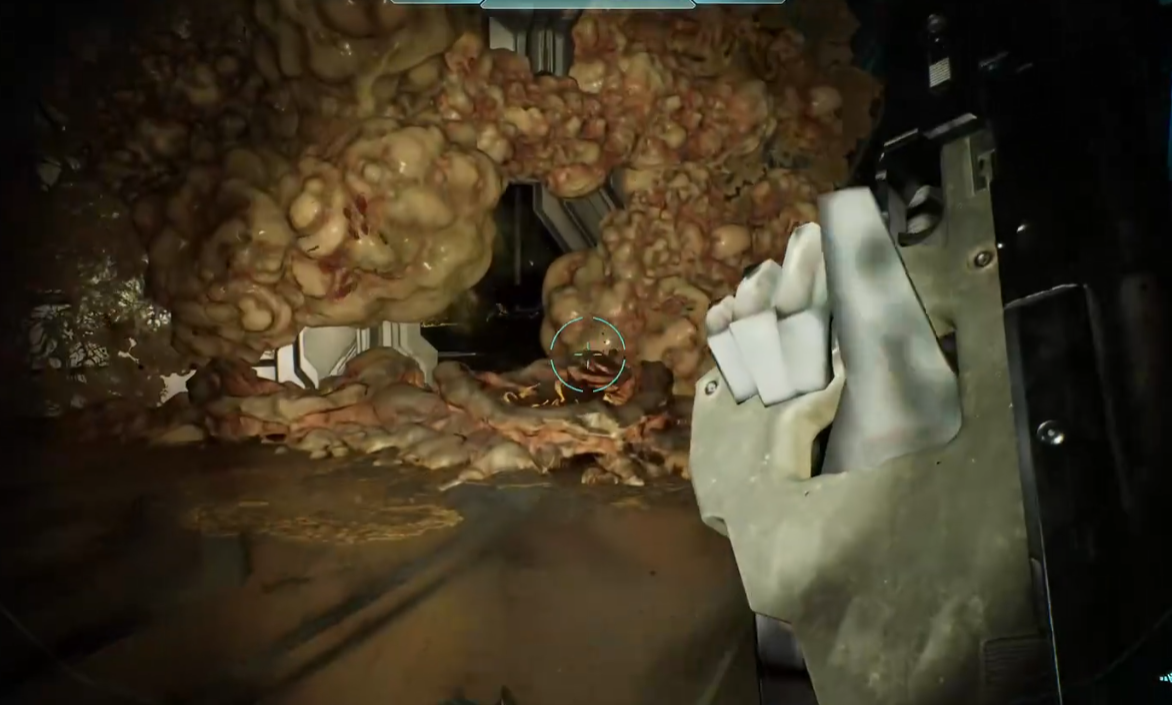
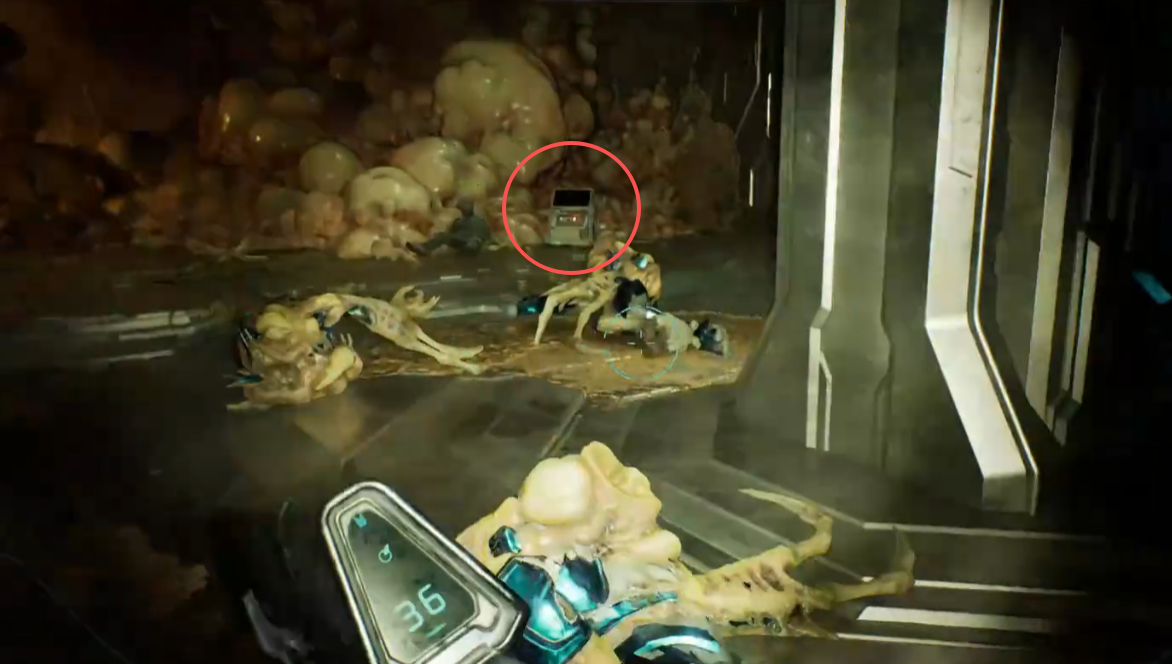
Recognize the correct junction
Tangent III appears during The Library, after the Pop Skull area and the sequence in which 343 Guilty Spark opens a locked door. The important landmark is the room with two usable panels: the objective points you to the panel on the right, while the optional route begins with the panel on the left.
Stop before using the objective panel. The right-hand interaction continues the mission; the left-hand panel opens the side door that leads to Tangent III. Clear enough nearby Flood to use the panel without being interrupted, but do not follow Guilty Spark farther until the terminal detour is complete.
Open the side room and activate Tangent III
Use this order at the two-panel room:
- Interact with the left-hand panel instead of the objective panel on the right.
- Enter the side door it opens and look for the small Flood sack blocking a low opening.
- Shoot the sack, wait for the opening to clear, then crouch through the gap.
- Turn right around the corner beyond the crawlspace.
- Approach Tangent III and use the Interact action.
The default Interact input is X on an Xbox controller, Square on a PlayStation controller, or E on a keyboard. Collectibles emit a nearby audio cue, so the sound should become clearer after you pass through the low opening. Once the interaction finishes, return through the crawlspace and use the right-hand objective panel to continue The Library.
If you used the right panel first
Do not count on the main route bringing you back to this junction. If the objective sequence has already moved you beyond the two-panel room and the left-side detour is no longer reachable, replay The Library and stop at the panels after the Pop Skull section. On the replay, use the left panel and collect Tangent III before touching the right panel.
After activation, open Collectibles from the main menu and check that Tangent III is present. Unlocked Terminals can be read from this menu at any time, so you do not need to replay The Library just to read the entry again.
A safer co-op collection plan
The narrow opening makes this detour easier when the Fireteam divides jobs for a moment. One player can clear Flood and watch the approach to the two-panel room while the collector opens the left door, destroys the blocking sack and crouches through. Regroup at the panels before activating the right-hand objective route.
Keep the collector close enough to the team that a down or checkpoint transition does not interrupt the detour. The important part is the order of interactions, not speed: left panel, side room, Tangent III, then right panel.
The Library collectible order
Tangent III is the third collectible on the mission’s natural route:
- Tilt Skull appears earlier when Sentinels begin fighting the Flood.
- Pop Skull is near the locked-door sequence before the two-panel room.
- Tangent III is behind the side door opened by the left panel.
- Famine Skull appears later, after the final elevator and the ramp into the lower section.
Finding Tangent III contributes to Timeless Tomes, which requires all three Skulls and the Terminal in The Library. It also counts toward Lore Have Mercy, the achievement or trophy for activating all 13 Terminals. The complete Terminal checklist is the quickest way to identify which mission still has a missing entry.
What Tangent III adds to the terminal sequence
Tangent III is the last of three Tangent entries placed across consecutive missions. Tangent I is in Assault on the Control Room, Tangent II is in 343 Guilty Spark, and Tangent III is in The Library. Reading them in that order keeps the monitor reports together even if the terminals were collected during separate playthroughs.
The entry records 343 Guilty Spark’s concerns about the stability of 2401 Penitent Tangent and the status of other installations. It is optional lore rather than a step required to finish The Library, but its placement beside the wrong objective panel makes it easy to miss when following the waypoint without checking the room.
Tangent III Terminal FAQ
Is Tangent III the only Terminal in The Library?
Yes. Halo Support lists one Terminal in every mission and 13 in total; Tangent III is the Terminal assigned to The Library.
Can I read Tangent III again after leaving the mission?
Yes. Once it is unlocked, open Collectibles from the main menu to read it again at any time.
Does activating Tangent III finish Timeless Tomes by itself?
No. Tangent III is one of the four collectibles required in The Library. Timeless Tomes also requires the Tilt, Pop and Famine Skulls.
Last reviewed: July 27, 2026