
All 13 Halo: Campaign Evolved Terminal Locations by Mission
Find all 13 Halo: Campaign Evolved terminal locations in mission order, with exact routes, screenshots and achievement requirements.
This checklist covers all 13 terminals in mission order. Tick each one off as you play, then use the terminal directory when you want to open a dedicated location page.
Pillar of Autumn
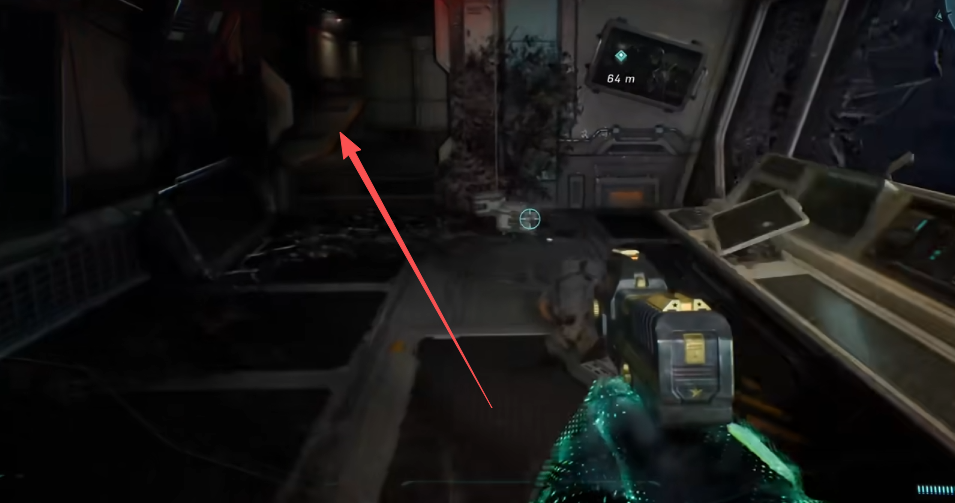
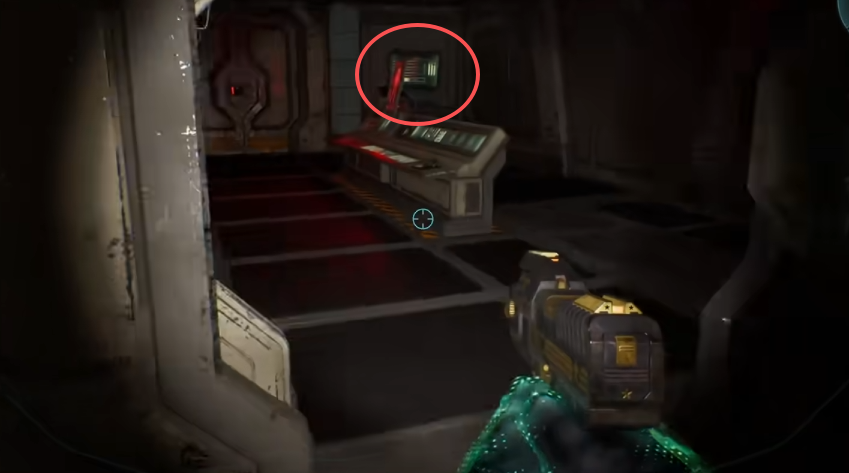
Partway through the escape, you will reach the upper room overlooking Master Chief’s cryo pod. After Cortana comments that the Covenant were trying to catch you napping, go through the next door, immediately turn left, and loop into the corner room. Approach is on the desk in the back-right corner.
Halo
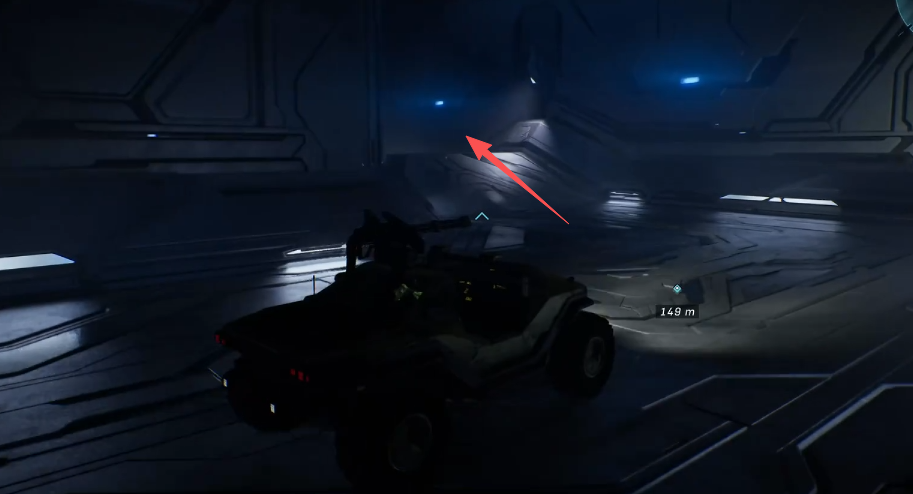
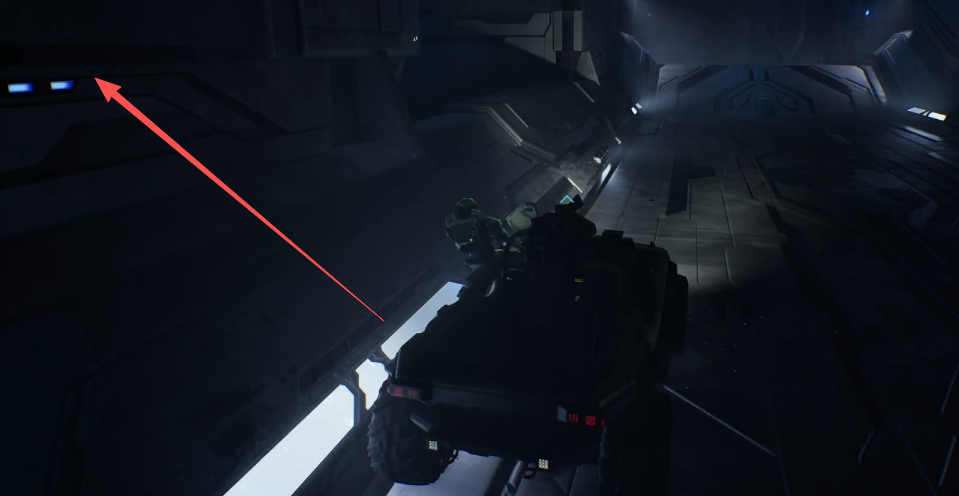
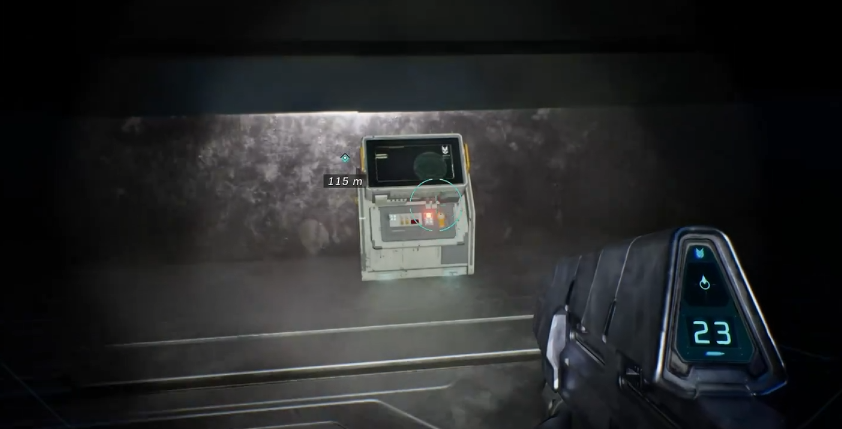
Forgotten is fairly early in the mission. While driving the Warthog through the underground tunnel, stop after you round this corner. Climb over the slanted metal half-wall and drop onto the suspended platform. Do not jump all the way down to the open floor. Once you land, turn the camera around 180 degrees and you will see the terminal hiding in the shadows against the wall.
Truth and Reconciliation
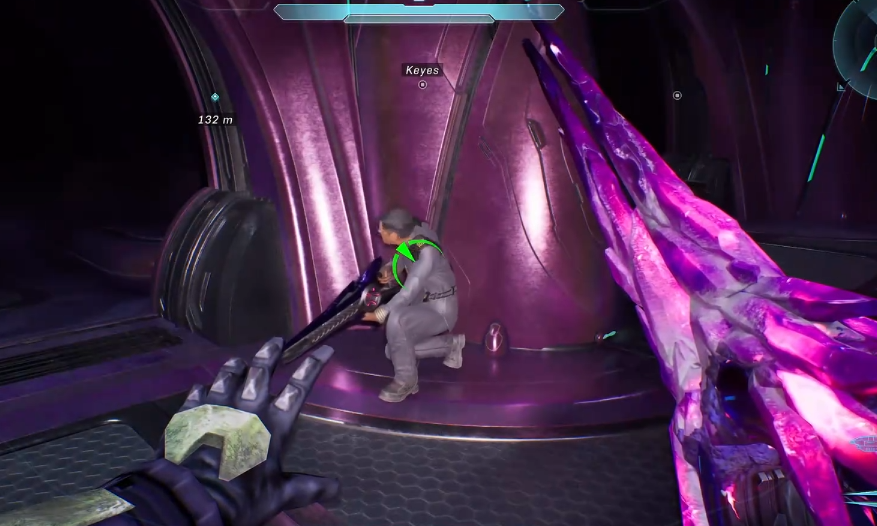
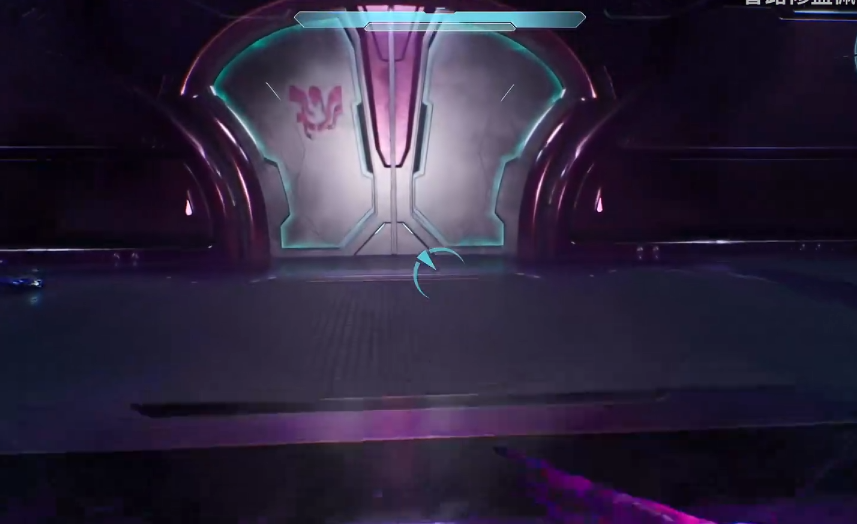
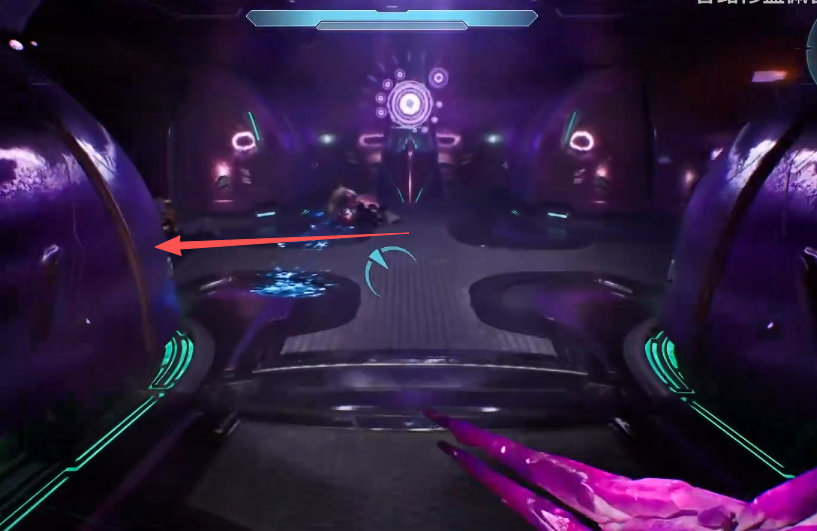
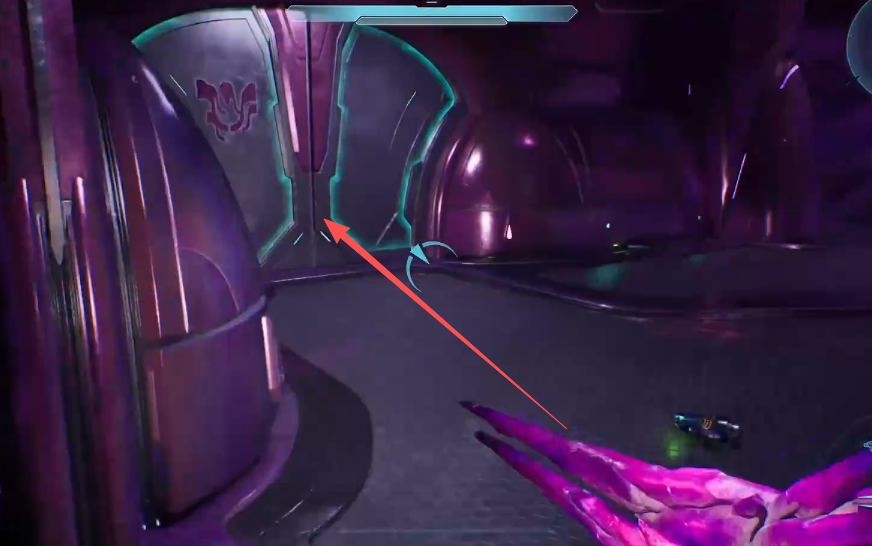
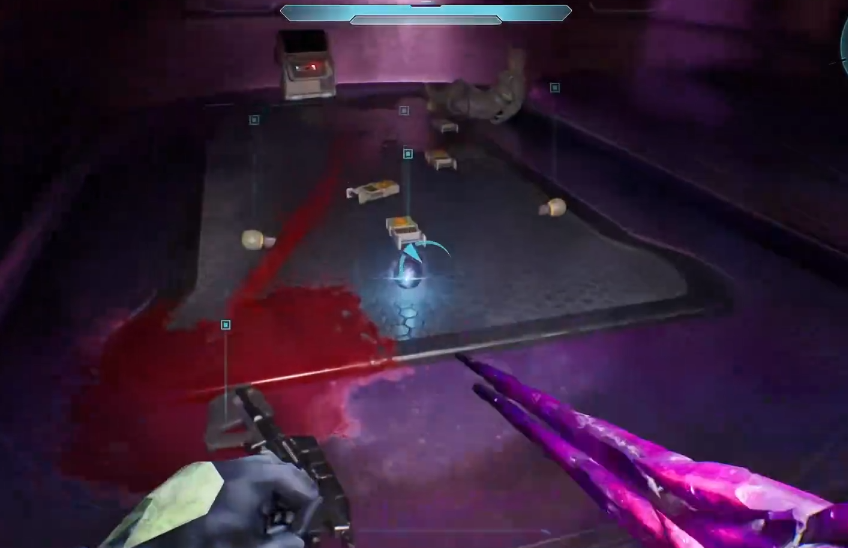
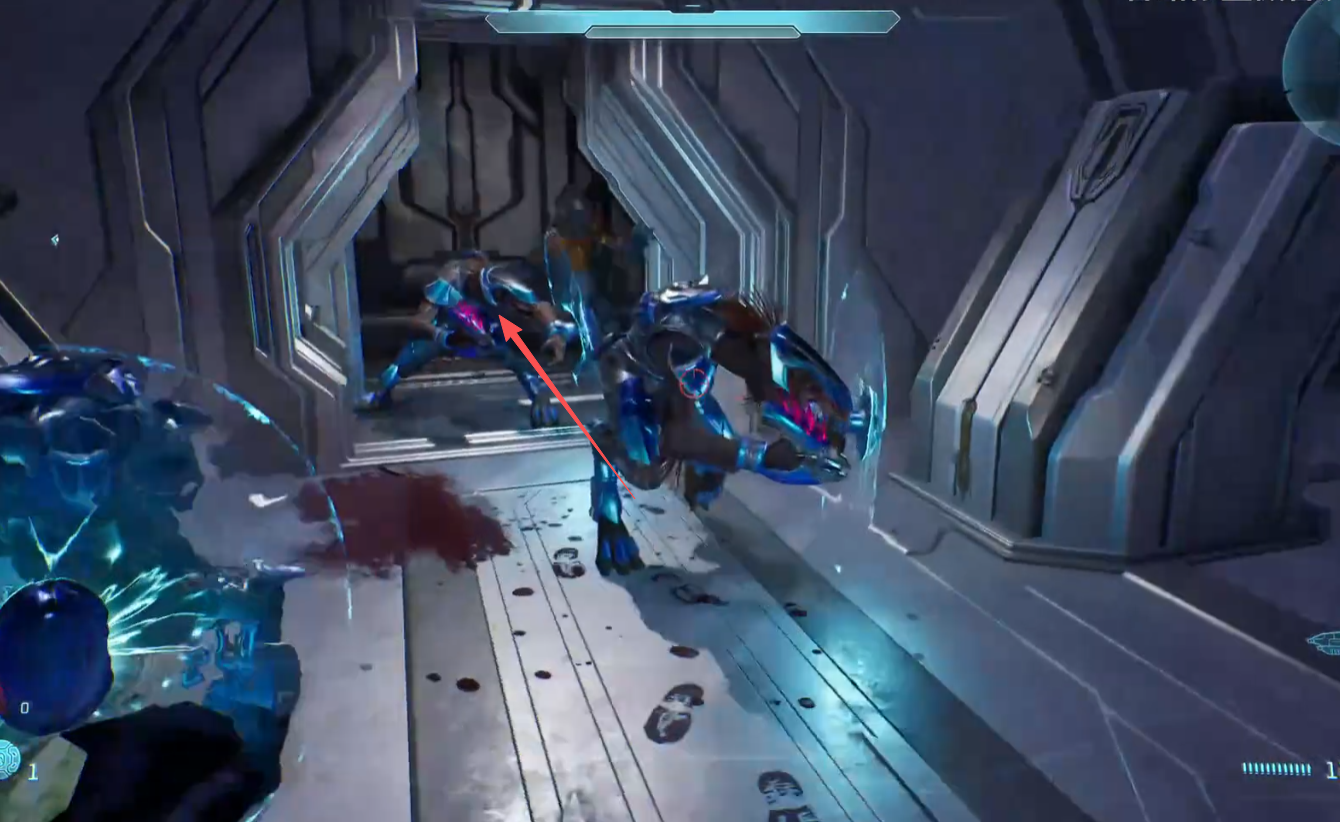
While searching the ship for Captain Keyes, you will reach the section with several doors leading to holding cells. Enter the doors immediately to the right of where you came in and deactivate the cell shields. Check the cells along the far wall for a dead Marine and ammunition scattered around him. Inquisitor is against the back wall behind that spot.
The Silent Cartographer
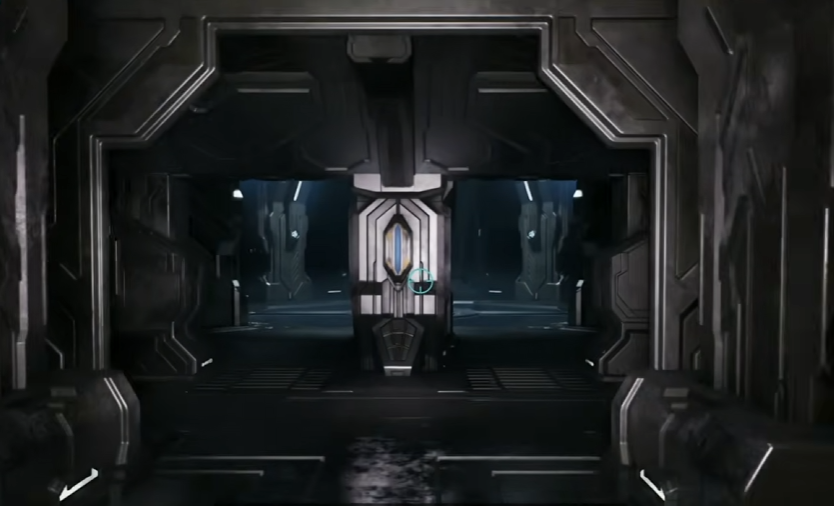
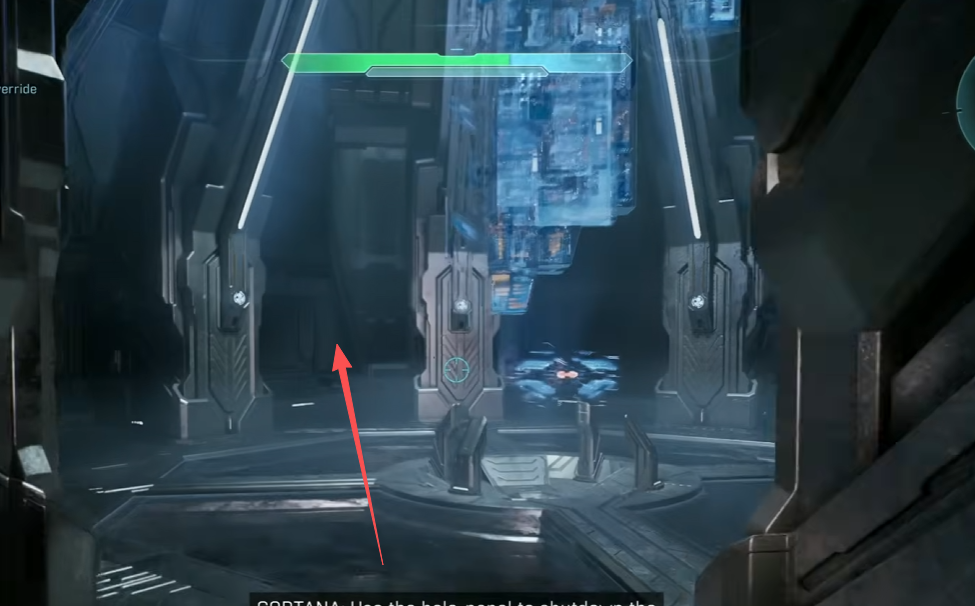
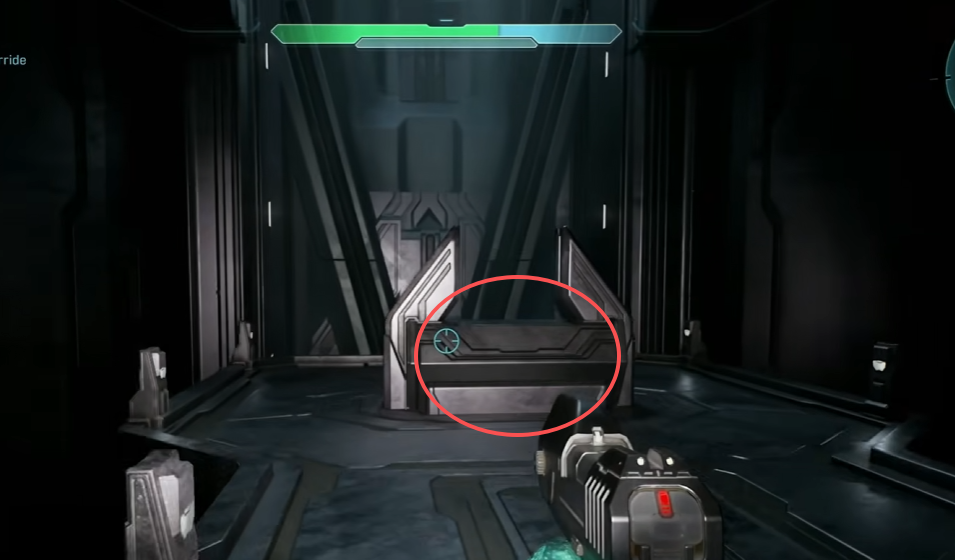
Partway through the mission, enter the second underground facility while heading to override the security system. When you reach the security substation, do not use the objective panel yet. Walk around to the far back side of the room. Status Update is tucked behind the two-pronged metal plinth there.
Assault on the Control Room
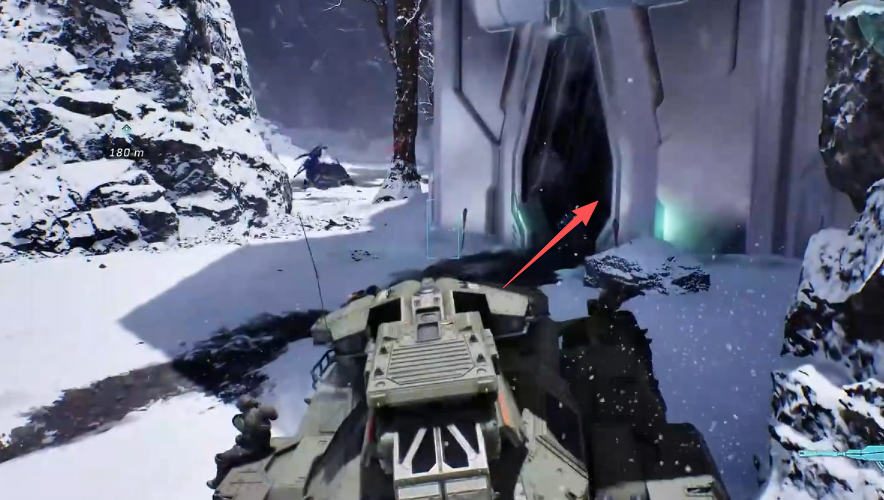
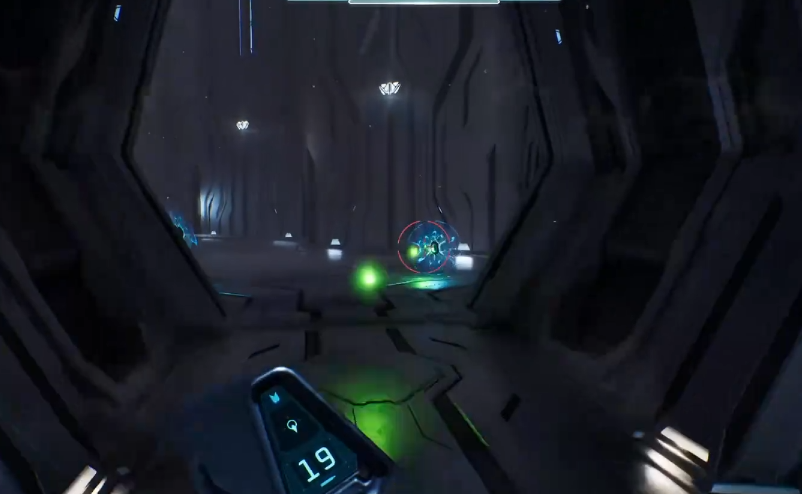
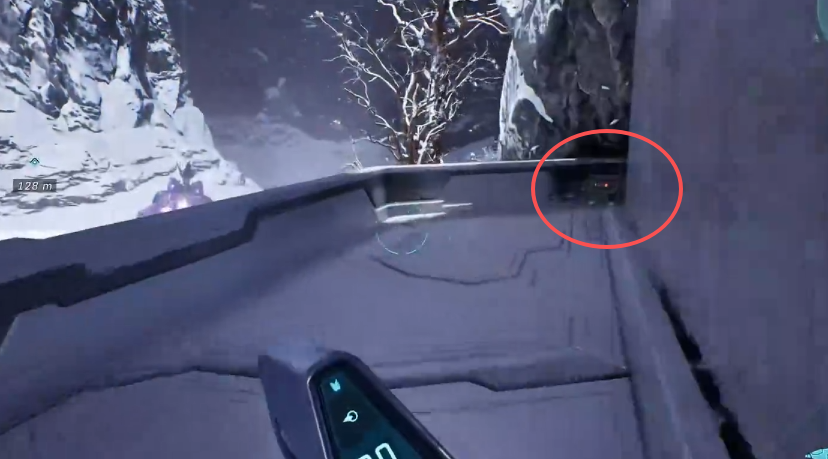
While you still have the Scorpion, drive up the ramp inside the ice tunnel. At the top, clear the dropship, Ghosts, and Shade turrets. The path splits around a large metal structure in the middle of the ravine. Take the left side and enter the door in the central structure. Go up the interior ramp and stairs, then turn right onto the balcony. Tangent I is mounted on the wall there.
343 Guilty Spark
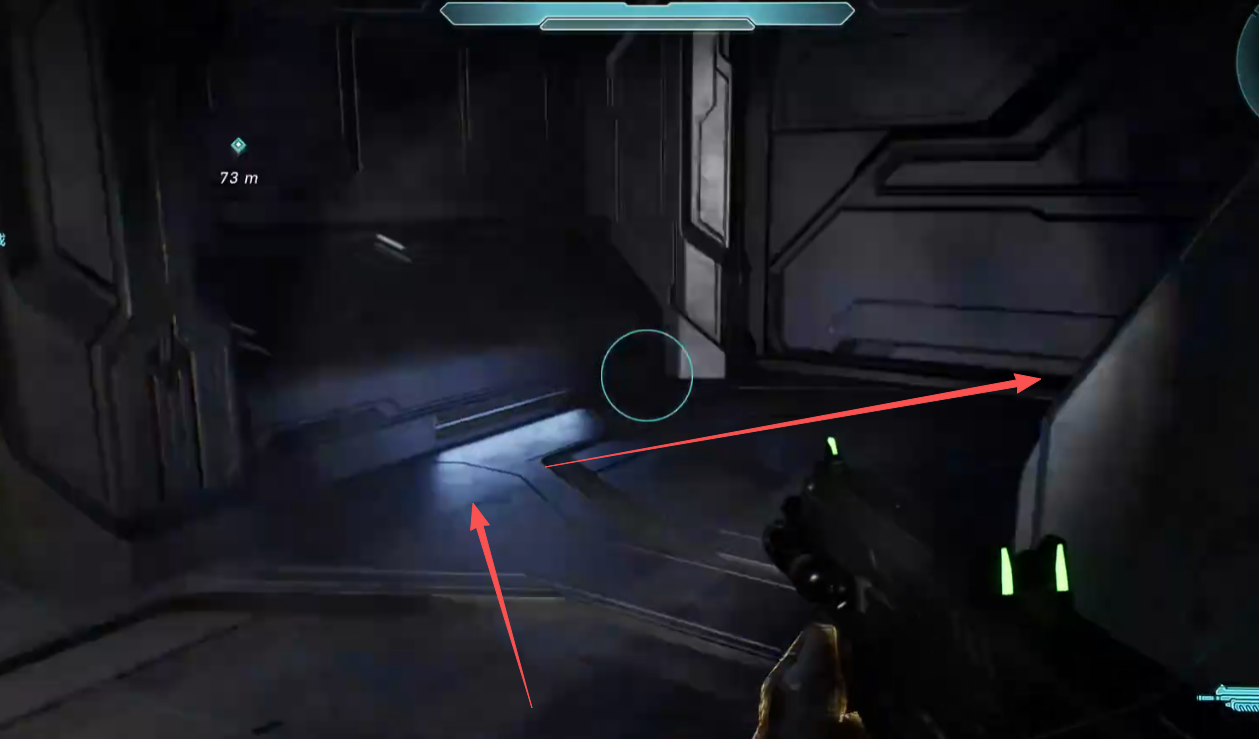
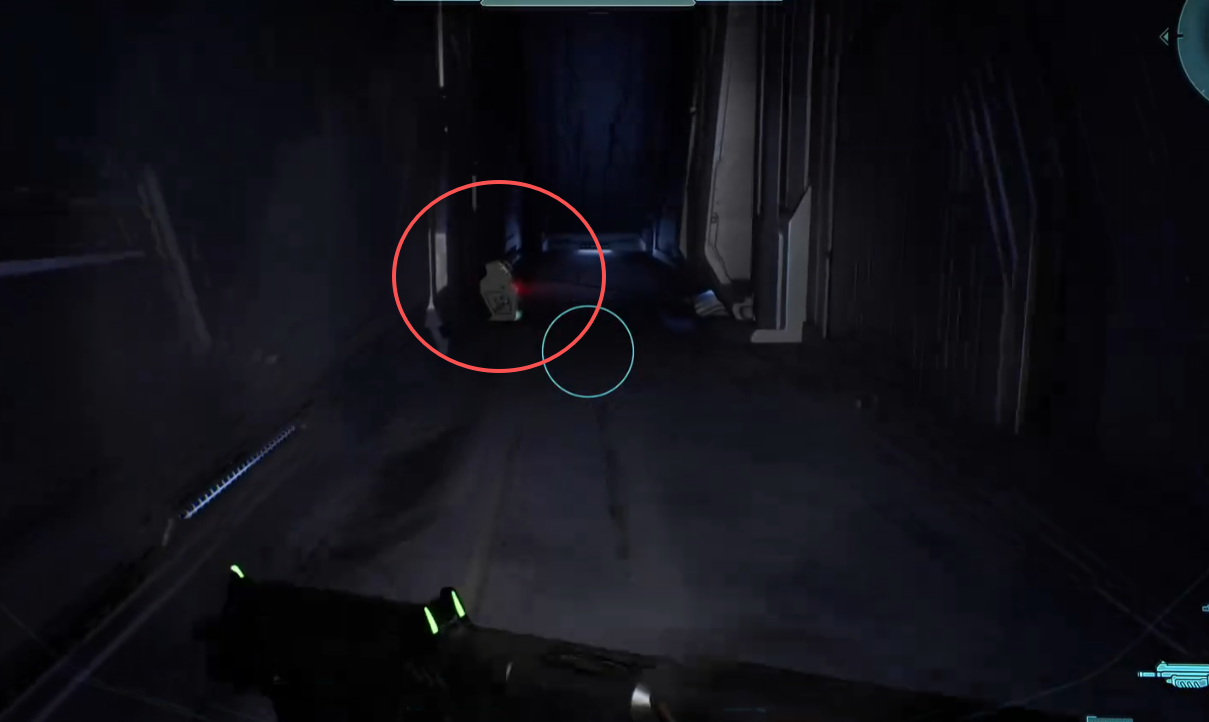
While escaping the Flood, call the elevator and wait for it to come crashing down. Backtrack into the previous room and use the light bridge to reach the door that was locked earlier. After going through, you will pass the bodies of several Marines. Do not continue straight ahead. Loop around the back of the long, thin wall in the middle of the room to find Tangent II against the far wall.
The Library
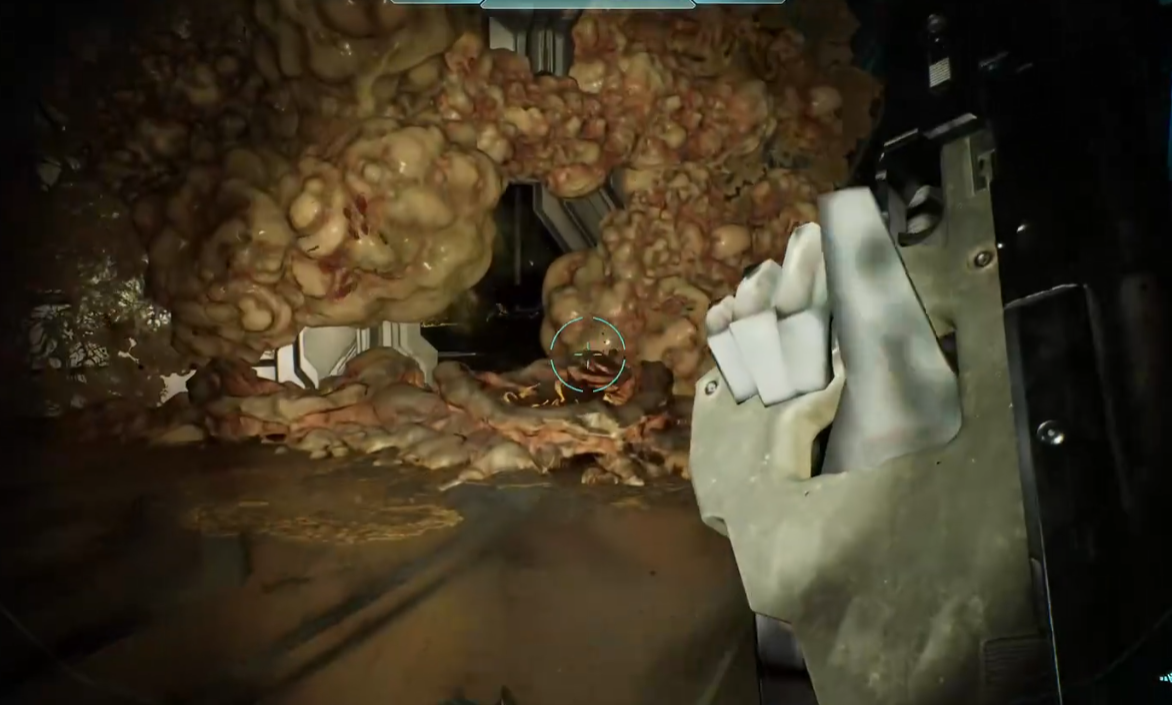
After Guilty Spark opens the door near Pop, the objective sends you through the door on the right. Ignore it for a moment and activate the panel for the door on the left instead. Shoot the small Flood sack blocking the opening, then crouch through the gap it leaves. Turn the corner on the right to find Tangent III.
Two Betrayals
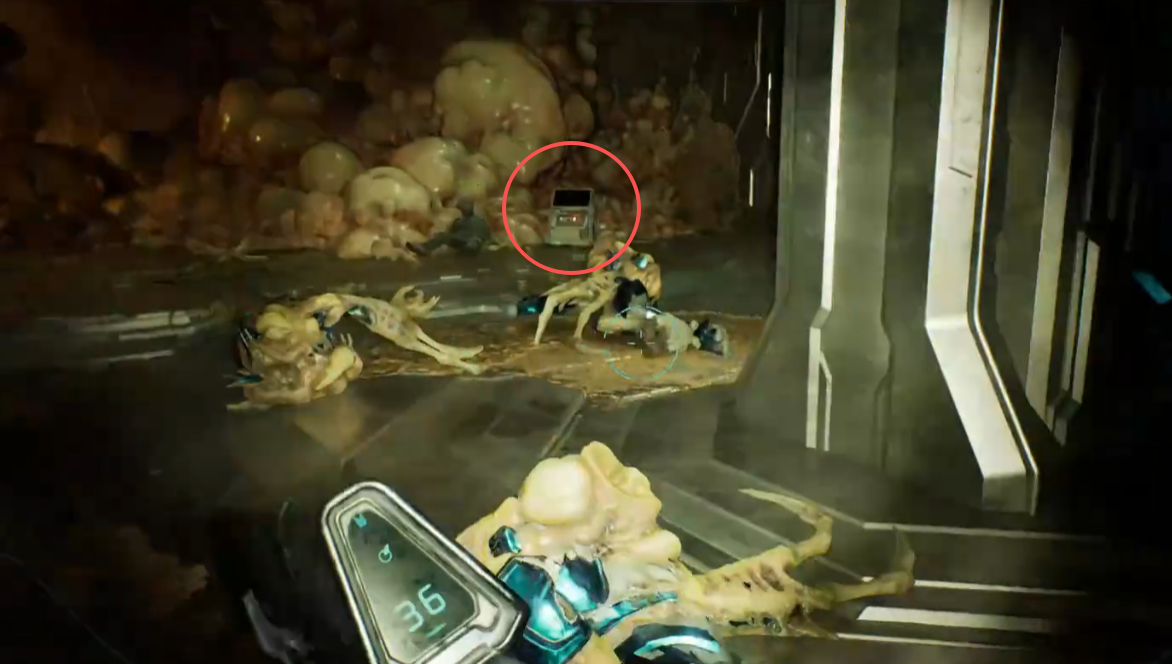
Alone is at the very beginning of the mission. As soon as the opening cutscene ends and you gain control, turn around and follow the rear side of the circular walkway. The terminal is sitting in the open and is hard to miss.
Keyes
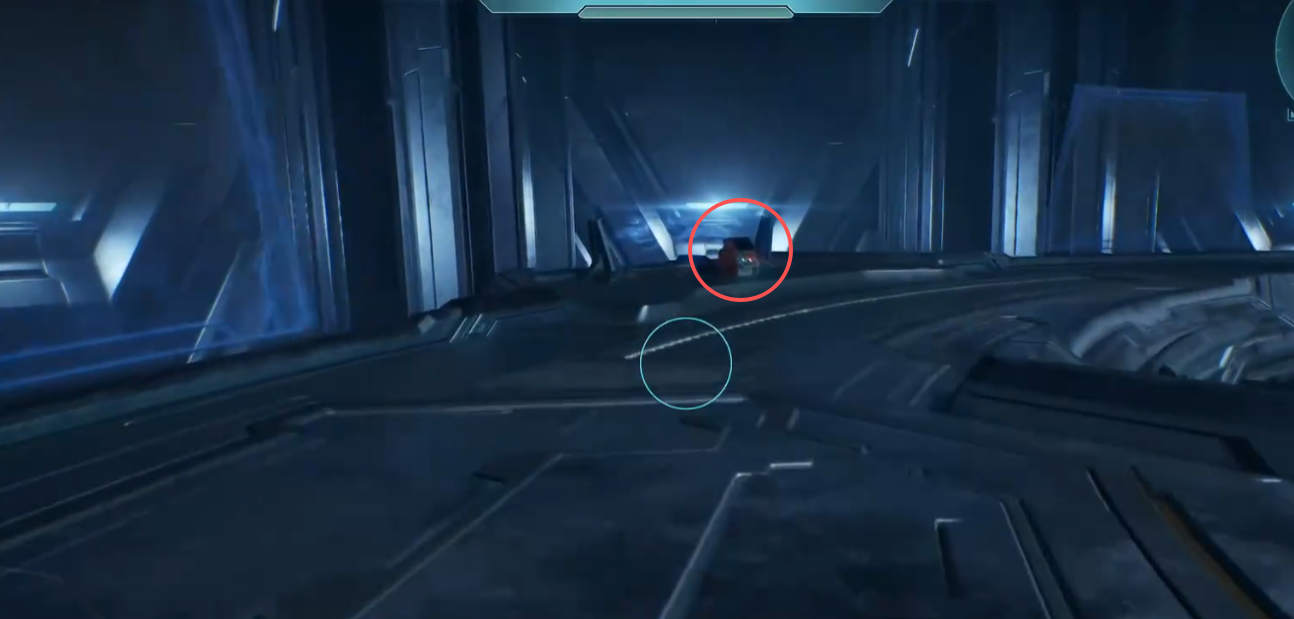
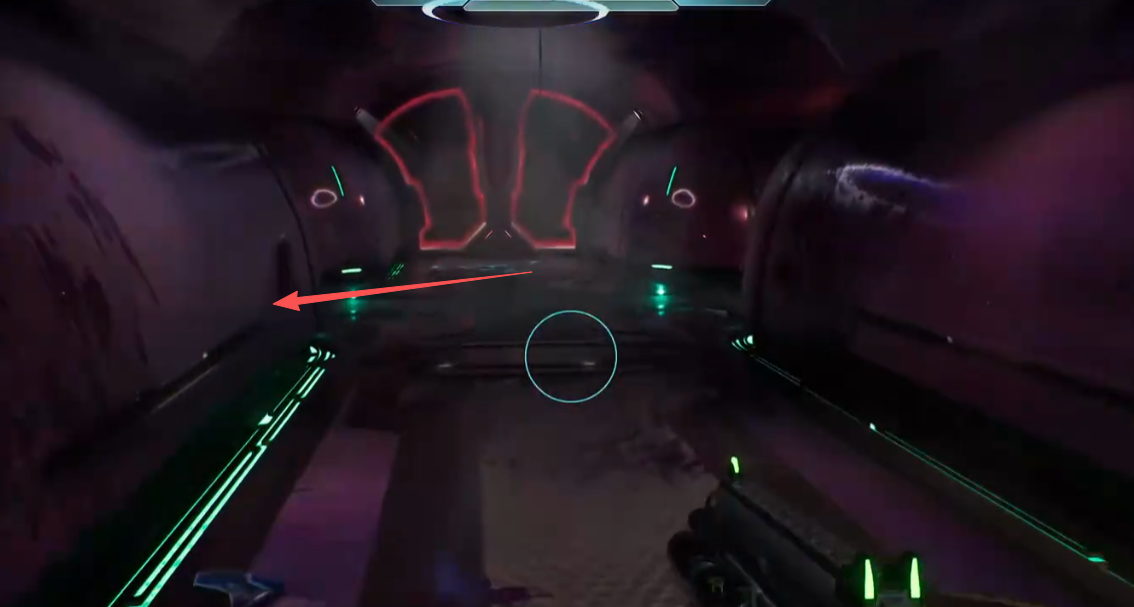
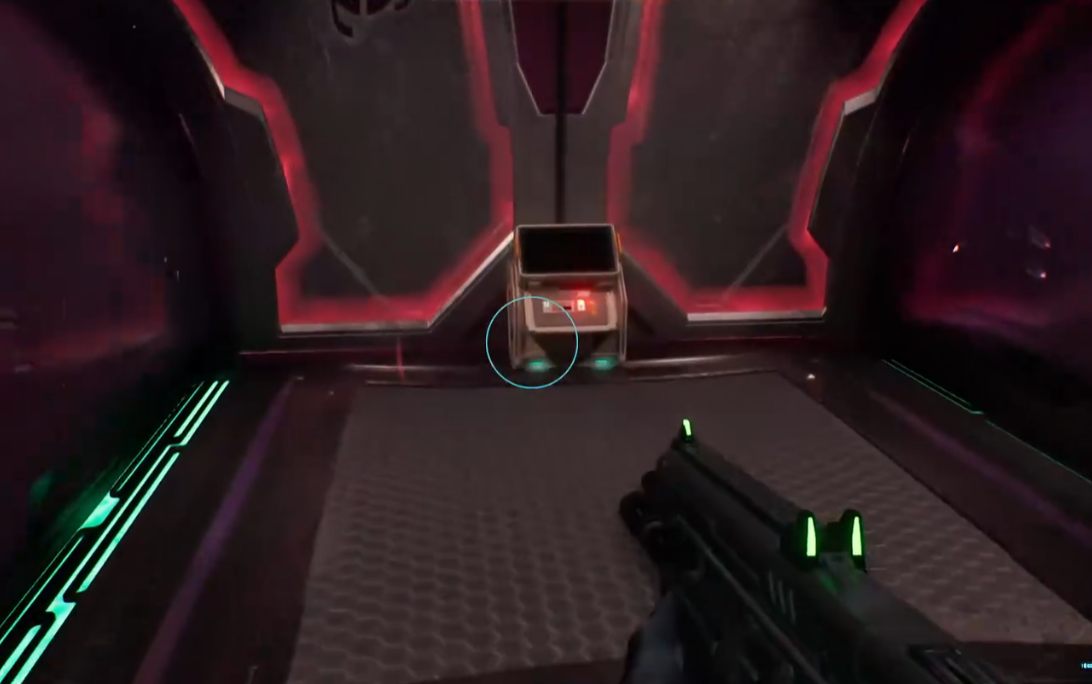
When you reach the large shuttle bay, the objective sends you upward toward the upper deck. Go the other way first. Turn left from the entrance and pass through the green-lit doors. Follow the route down toward the main floor and clear the enemies in the way. Halfway down, take the side passage on the right. At the next short fork, turn left into the alcove beside the locked red door. Consumed is against the wall there.
The Maw
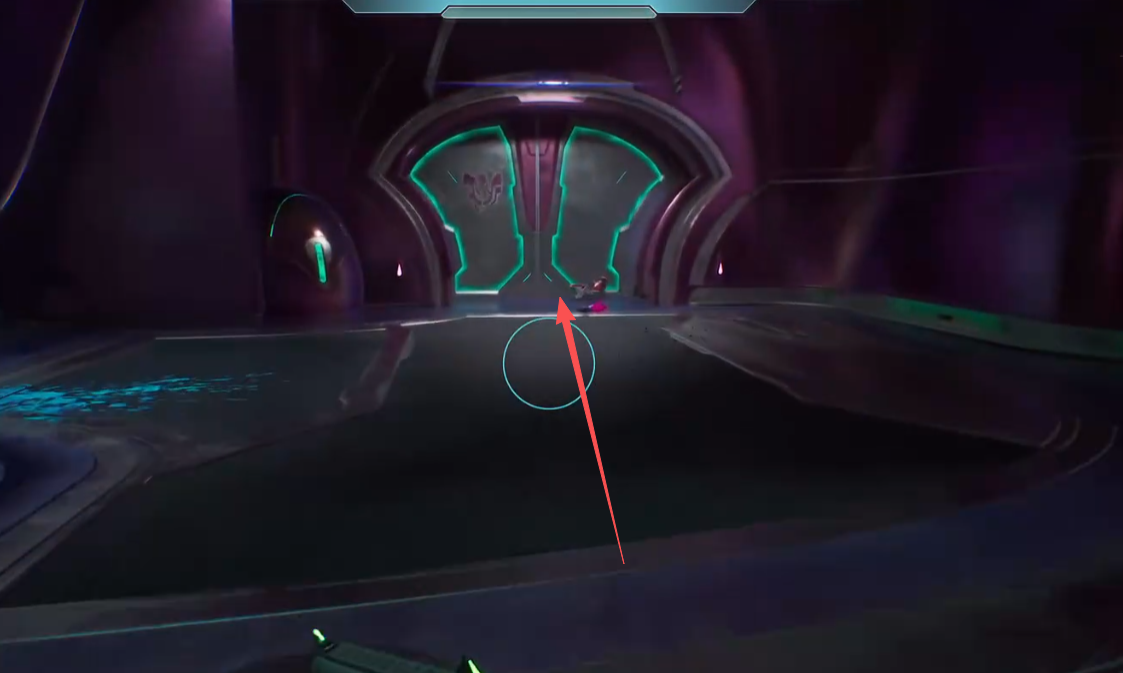
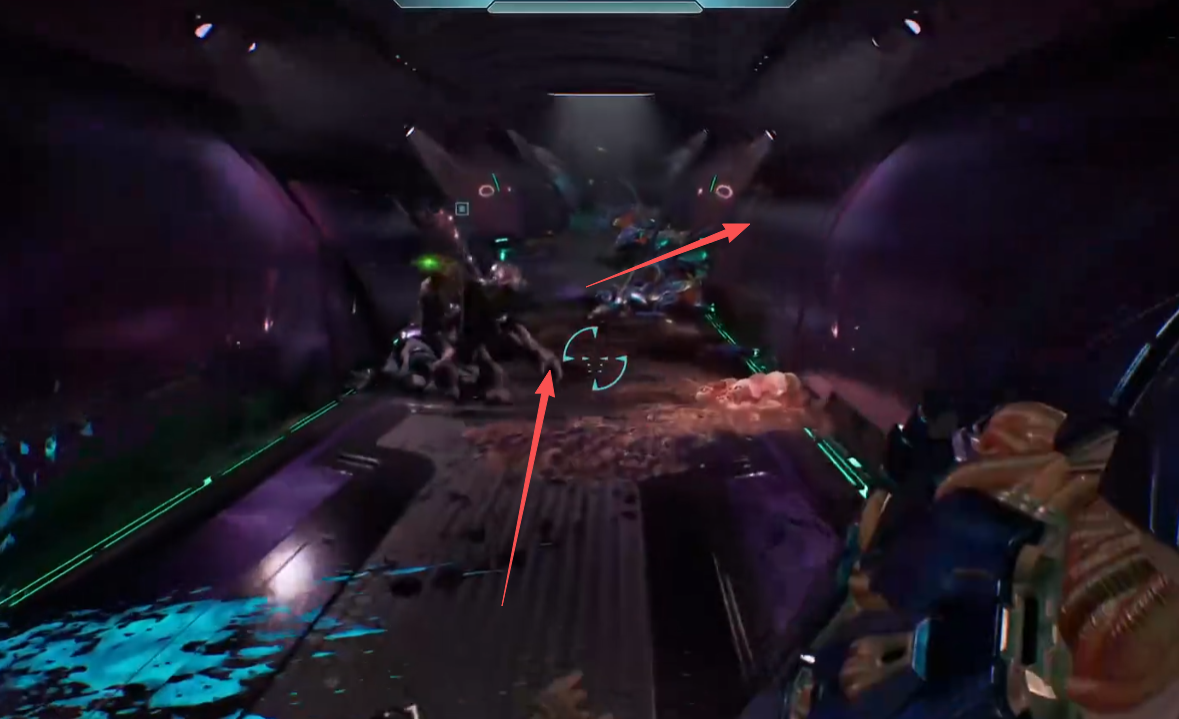
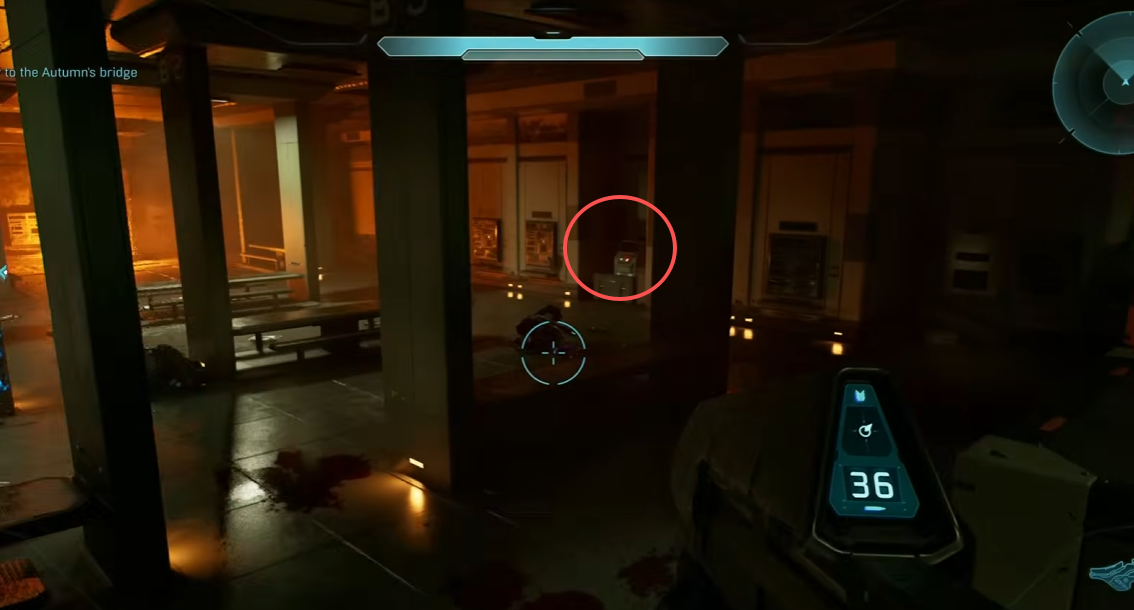
Arrival is near the beginning of the mission. While making your way toward the Autumn bridge, you will pass through room BO3L, the mess hall with rows of benches. Before leaving, check the small alcove on the right side of the room. The terminal is standing against the wall there.
Boarding Action
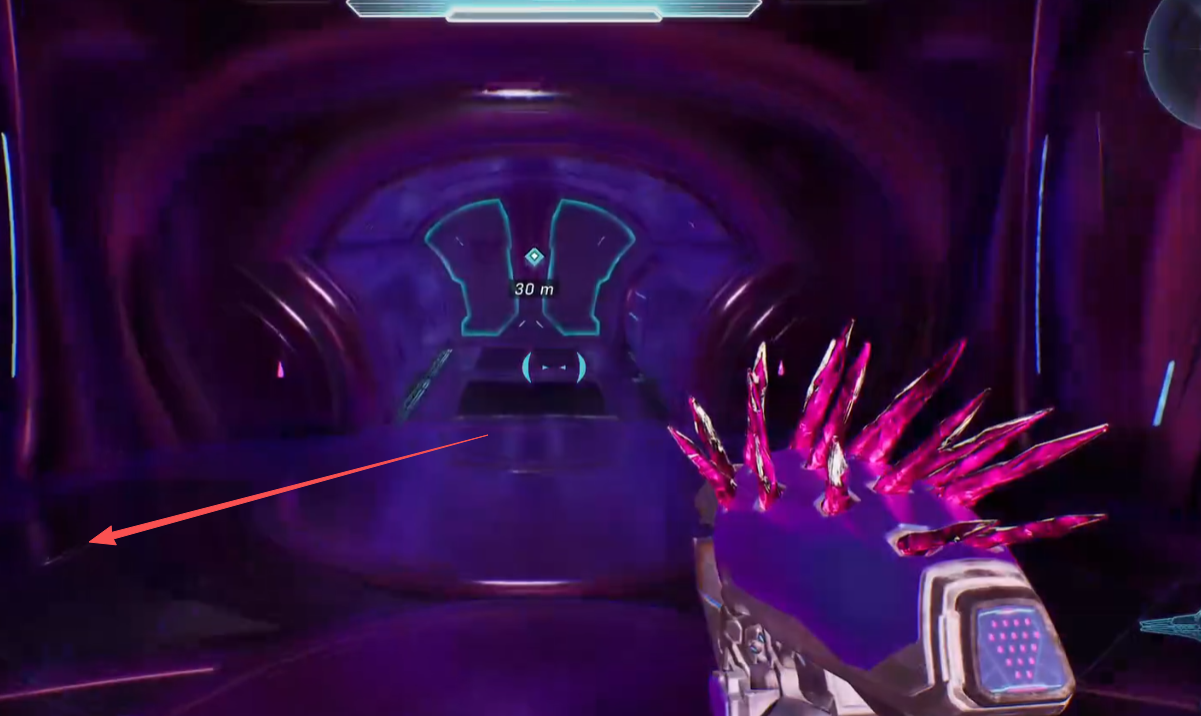
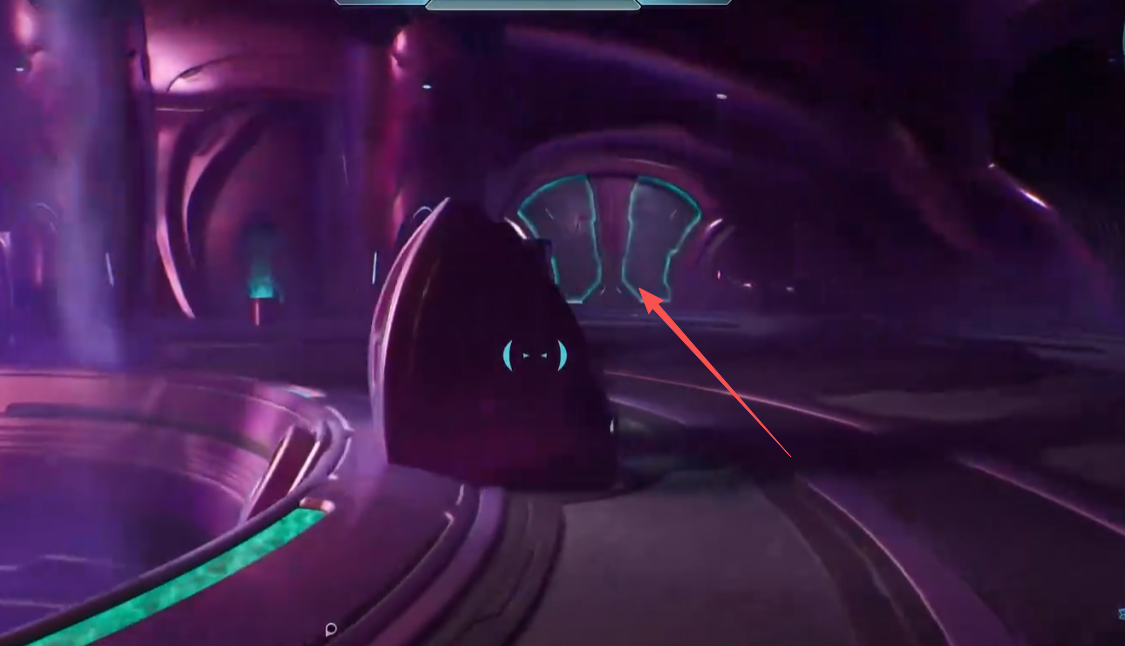
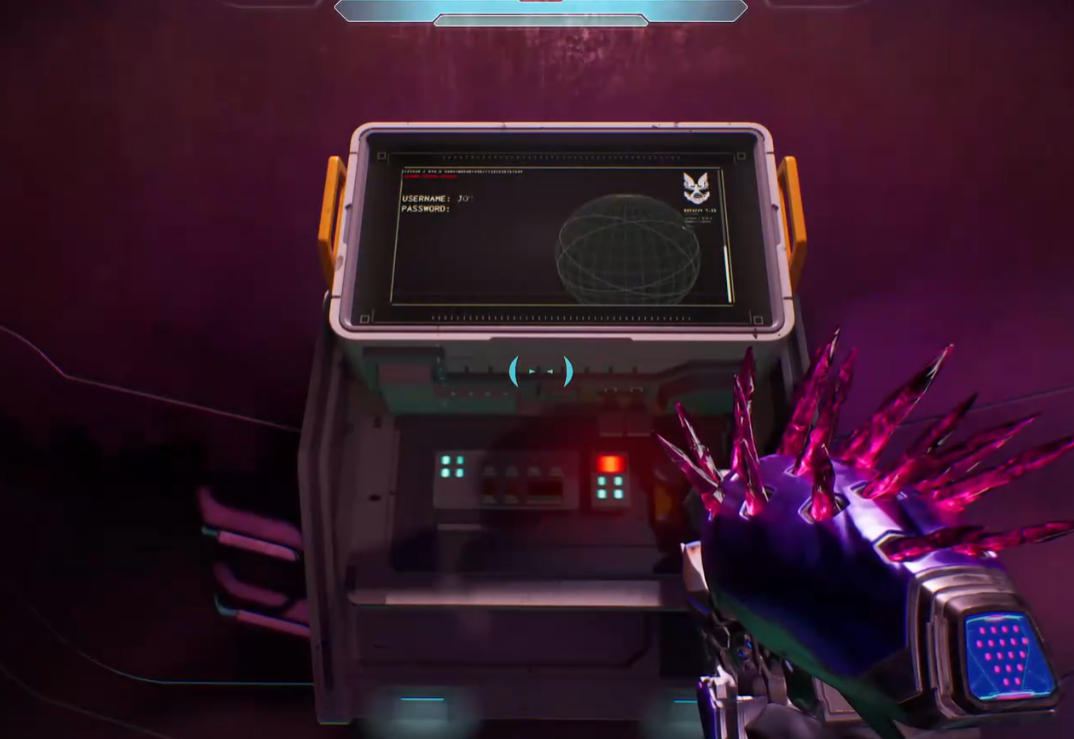
The Path is in the same tractor beam room as Leadhead. After collecting the Skull, return to Johnson and ride the tractor beam to the upper level. As soon as you land, turn around instead of following the objective. Look over your left shoulder and enter the blue-lit door behind the beam. The terminal is mounted on the right-hand wall just inside.
The Most Dangerous Game
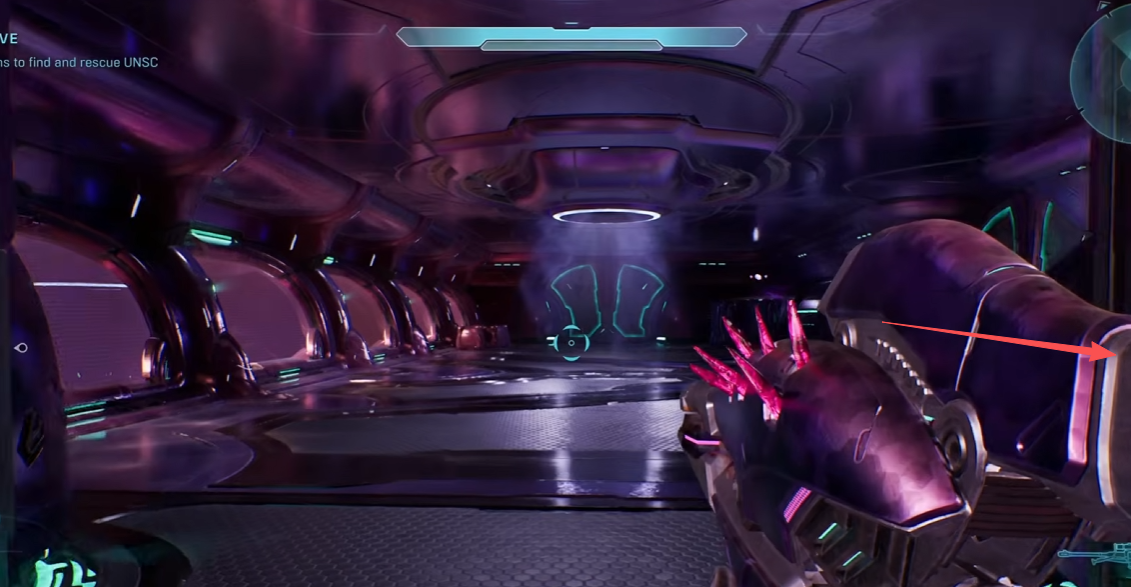
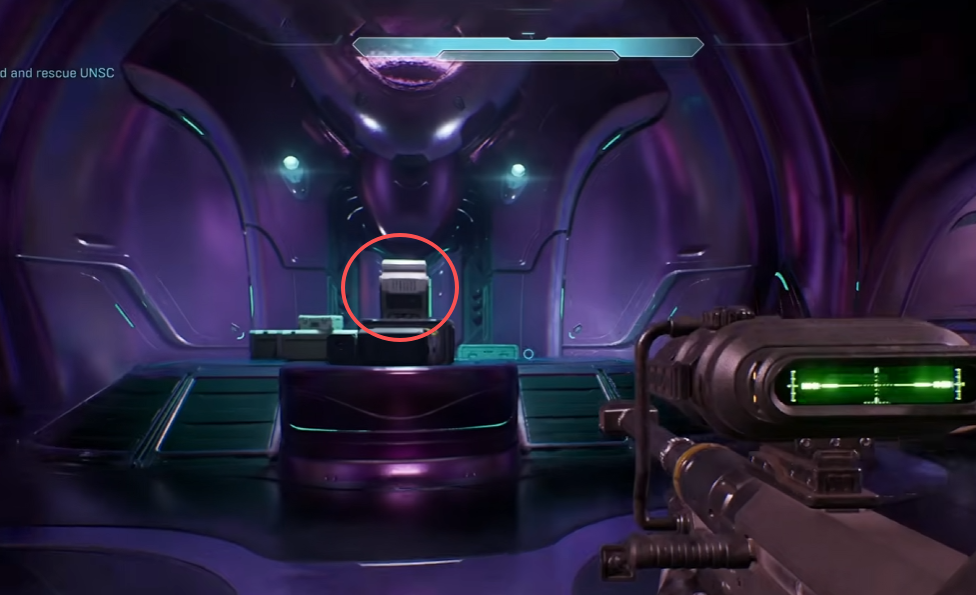
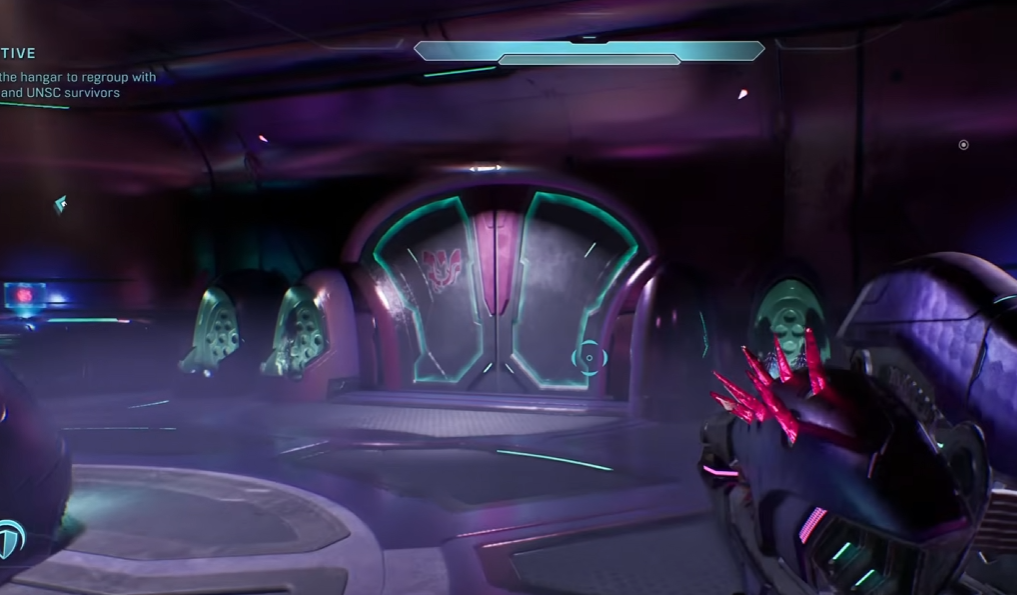
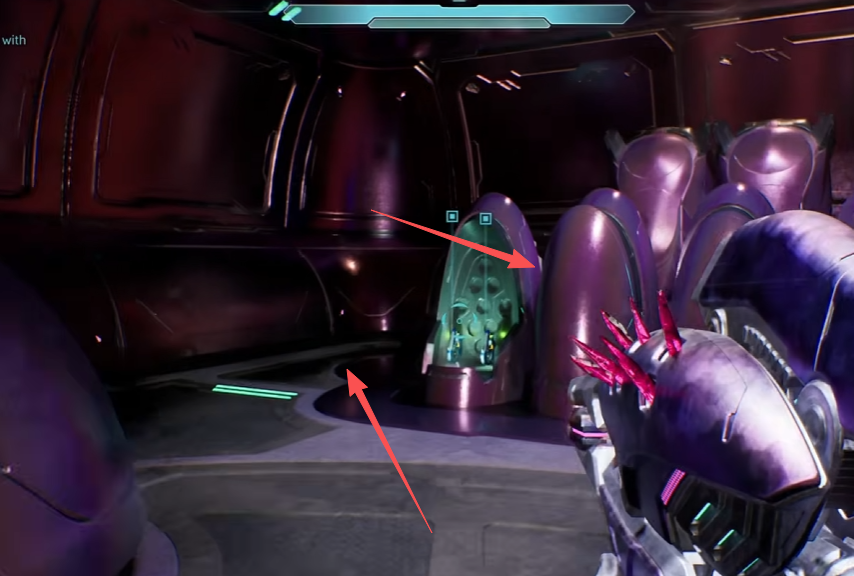
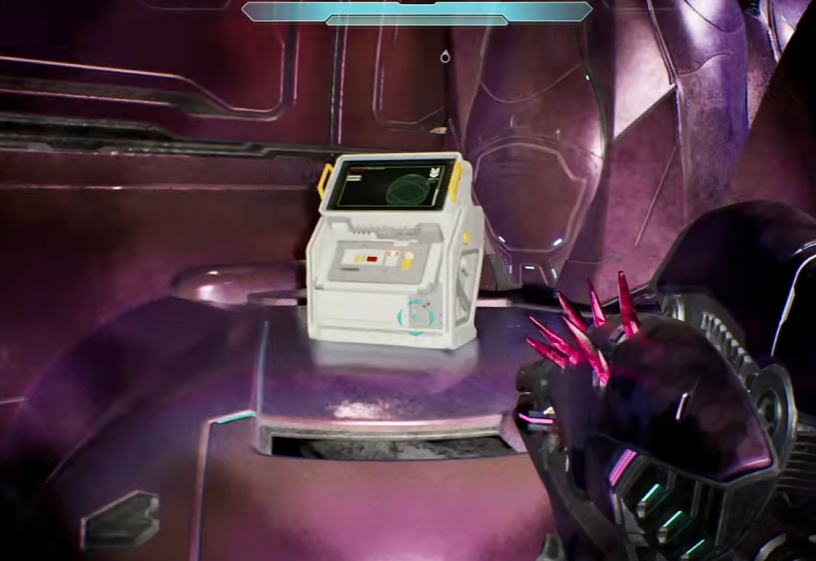
Penitent Report is inside the prison facility while you are freeing the UNSC survivors. When you reach the room overlooking the holding pods, with windows along the left side, do not follow the mission marker straight ahead. Take the door on the right instead. The terminal is in the middle of the small storage room, on the raised platform.
Heavy Burden
Harmonious Clarity is at the start of Rally Point Bravo. After the cutscene, defeat the Covenant and the two Hunters in the bridge room. Johnson heads through the door on the upper level, but do not follow him yet. Take either unlocked door on the ground floor and keep going through the armory rooms. In the back room, walk behind the weapon pods on the left. The terminal is hidden around that corner.
Route sources
Last reviewed: July 24, 2026