
All 39 Halo: Campaign Evolved Skull Locations by Mission
Find all 39 collectible Halo: Campaign Evolved skull locations, with mission-by-mission routes, screenshots and achievement requirements.
This guide covers all 39 collectible skull locations in Halo: Campaign Evolved. Every mission has three skulls. Collect all three skulls and the mission's Terminal to unlock that chapter's trophy or achievement. For modifier effects and the three Campaign Remix skulls, use the complete 42-skull guide and tracker.
Pillar of Autumn
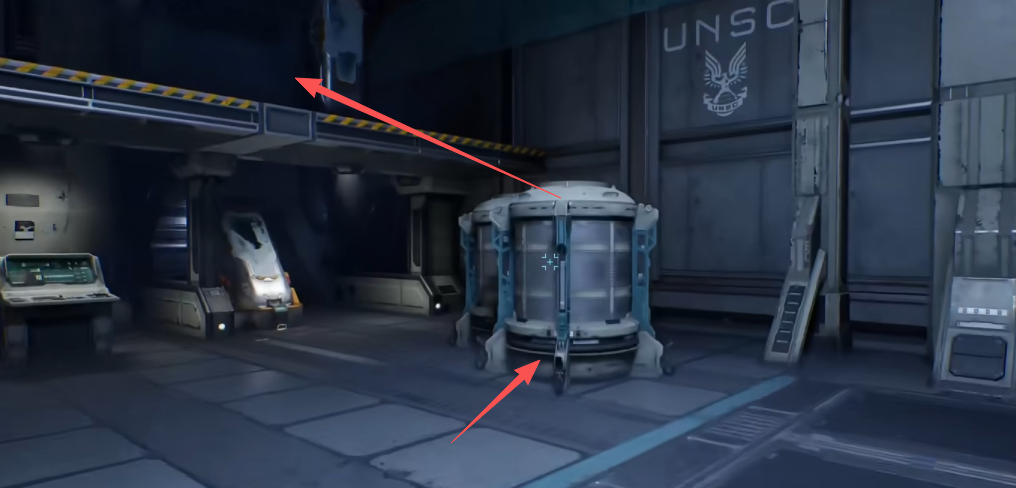
Speed Limit is in the first room, right after you gain control in the cryo chamber. Turn around, jump onto the two cylindrical tanks in the back corner, then jump again to reach the suspended walkway. Walk to the far end near the viewing window to find the skull.
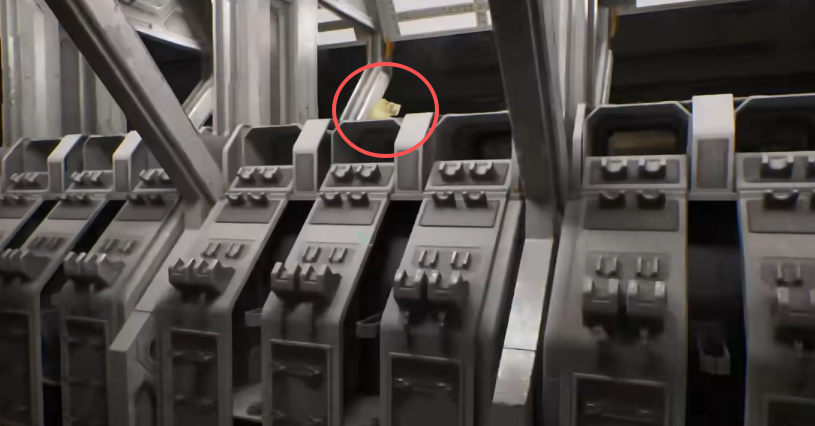
Shortly after the Covenant attack begins, follow the route toward the bridge until you enter the larger armory room with rows of weapon lockers. Magnified is sitting on top of one of the racks near the middle of the room.
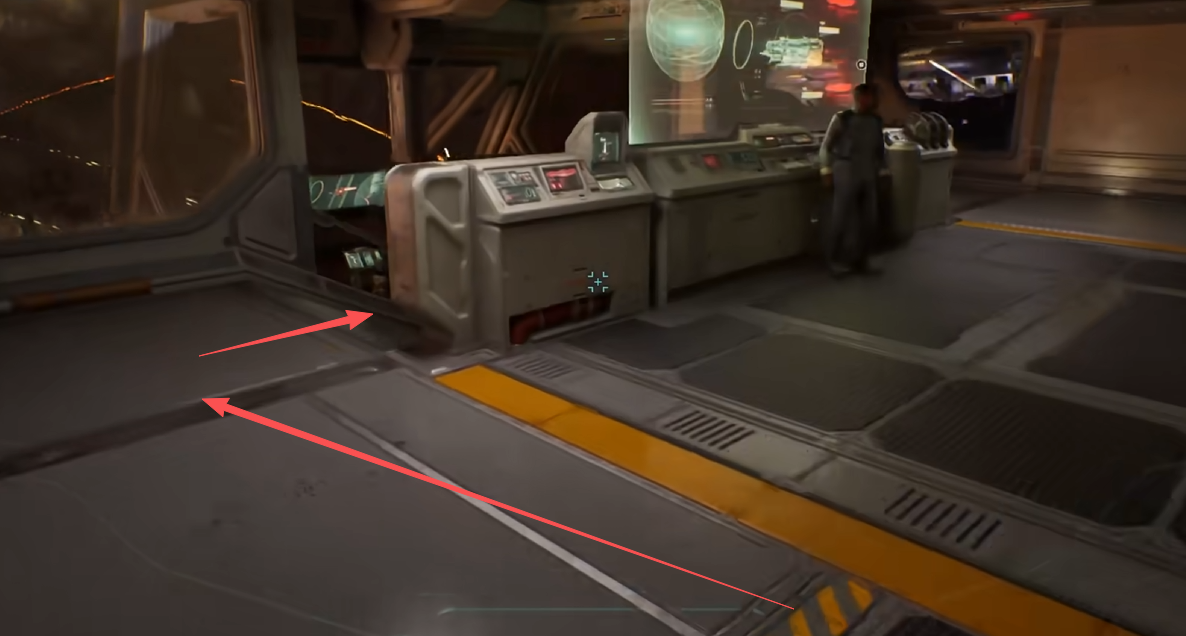
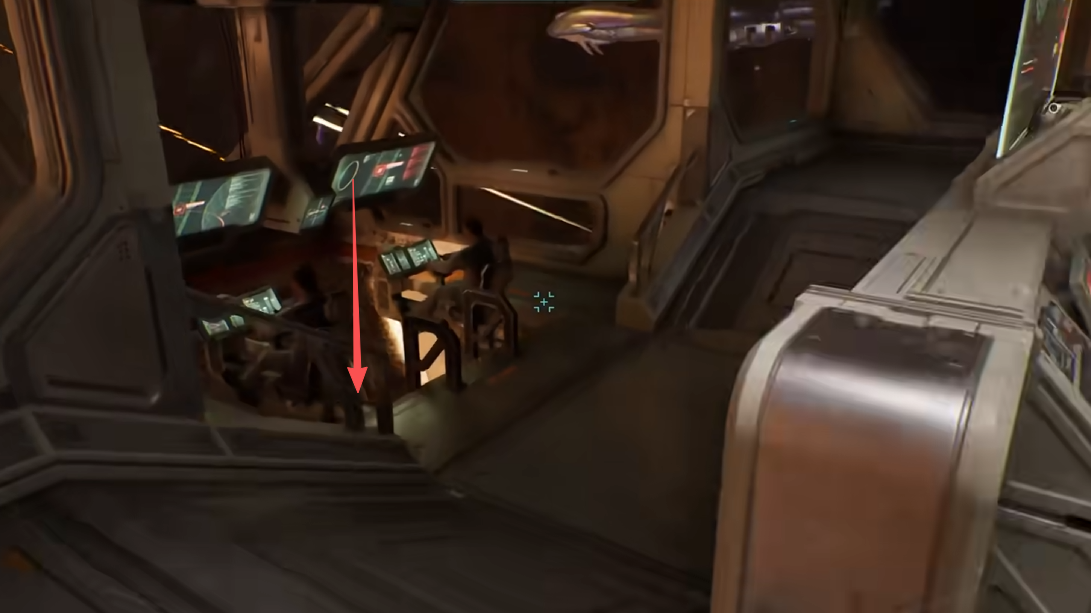
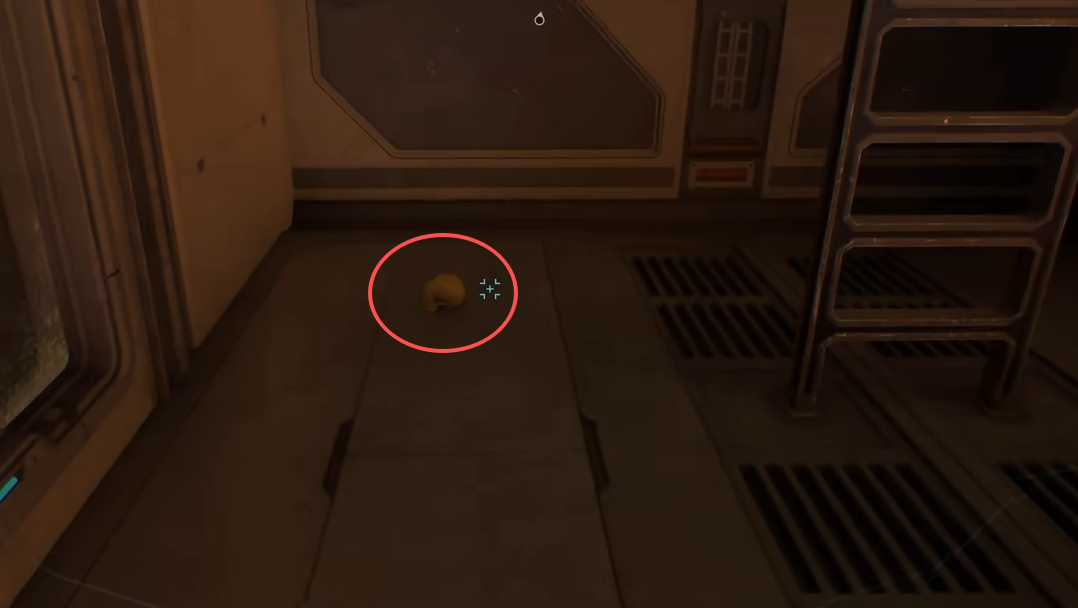
After Captain Keyes gives you Cortana and you receive the Magnum, turn back into the bridge. Drop beneath the two pilot seats into the observation area at the front. Perspective is on the floor to the left of the ladder.
Halo
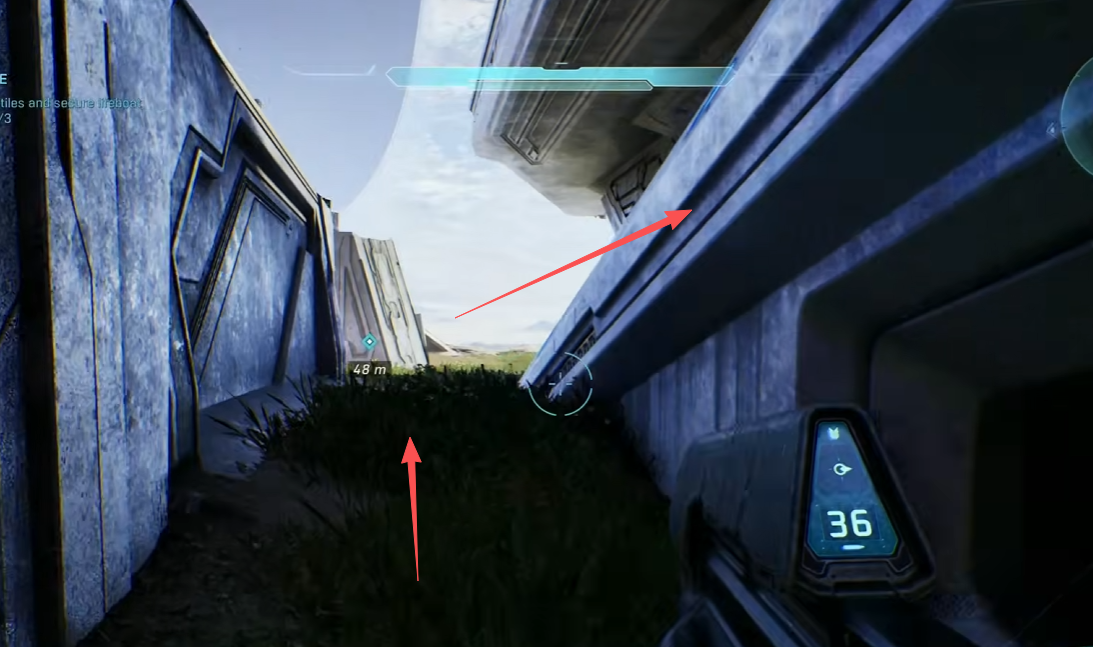
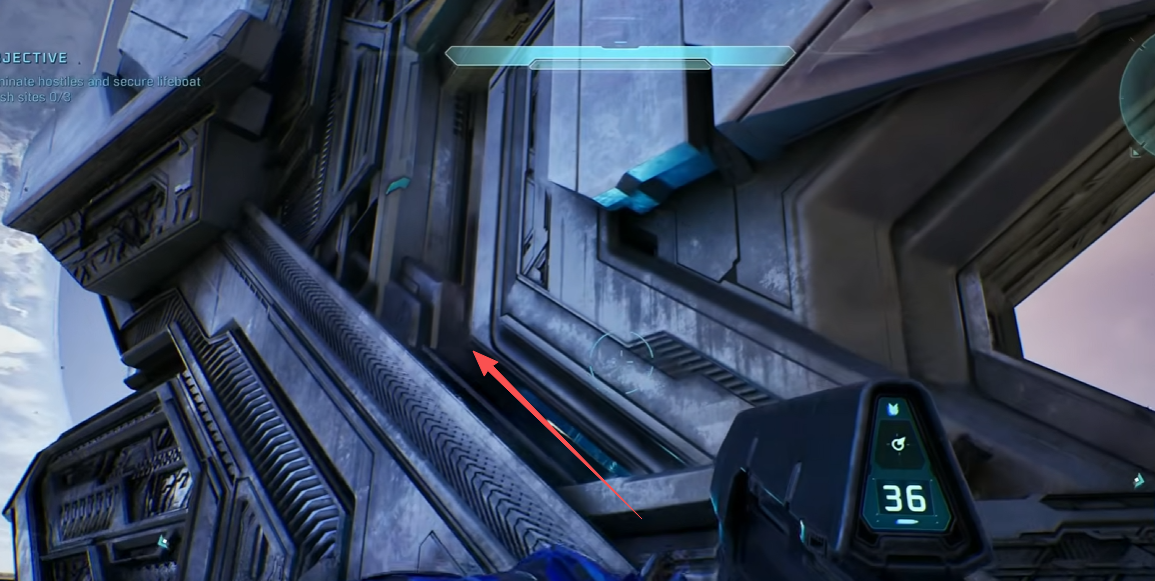
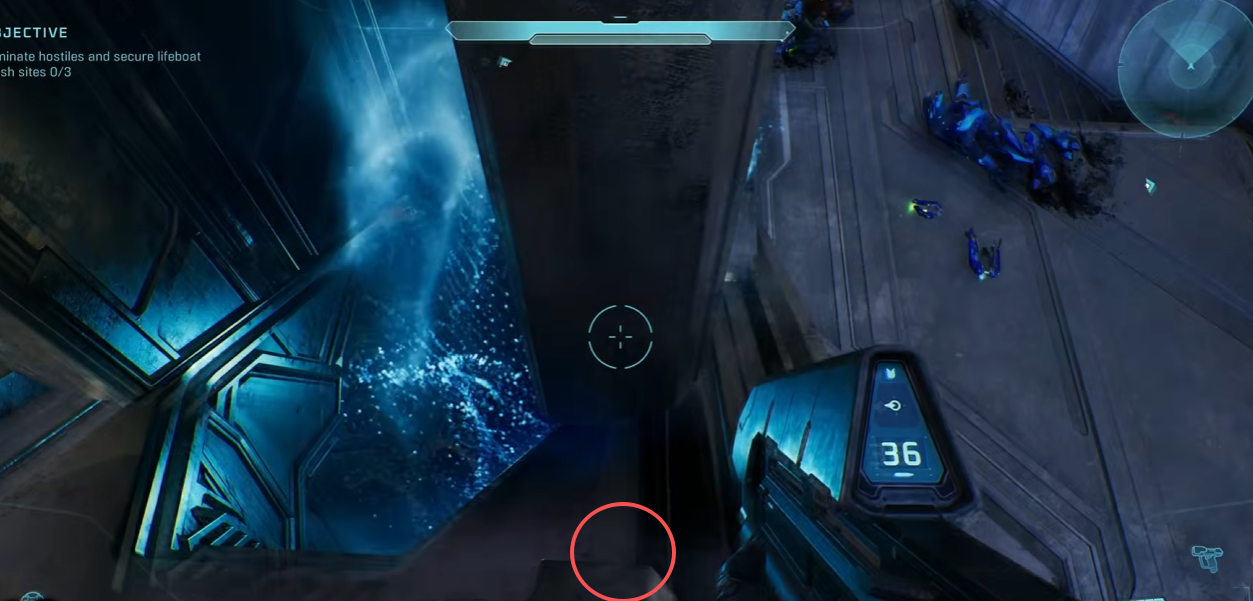
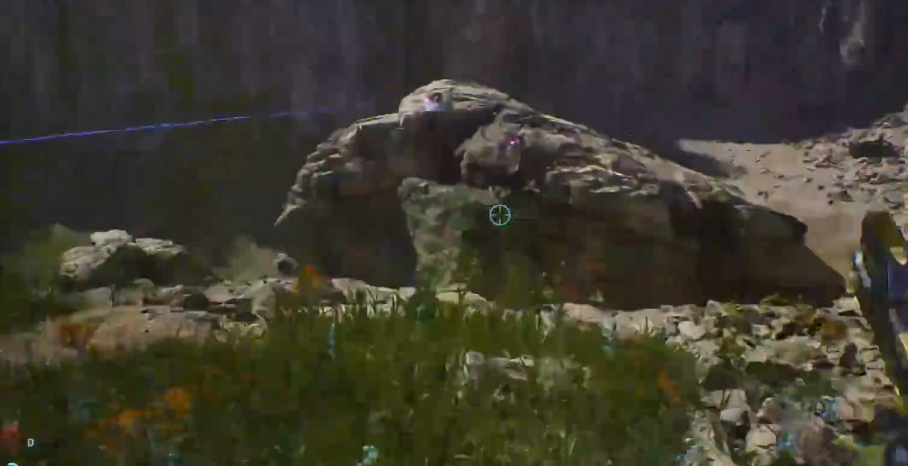
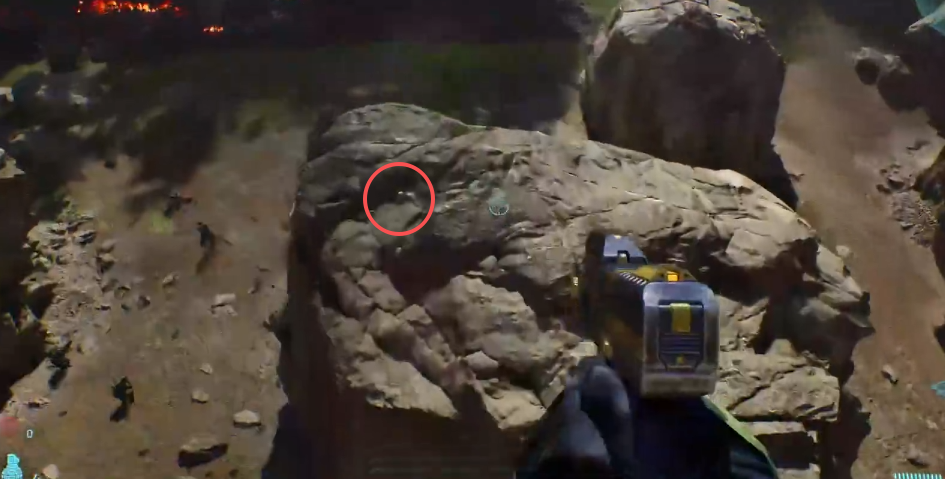
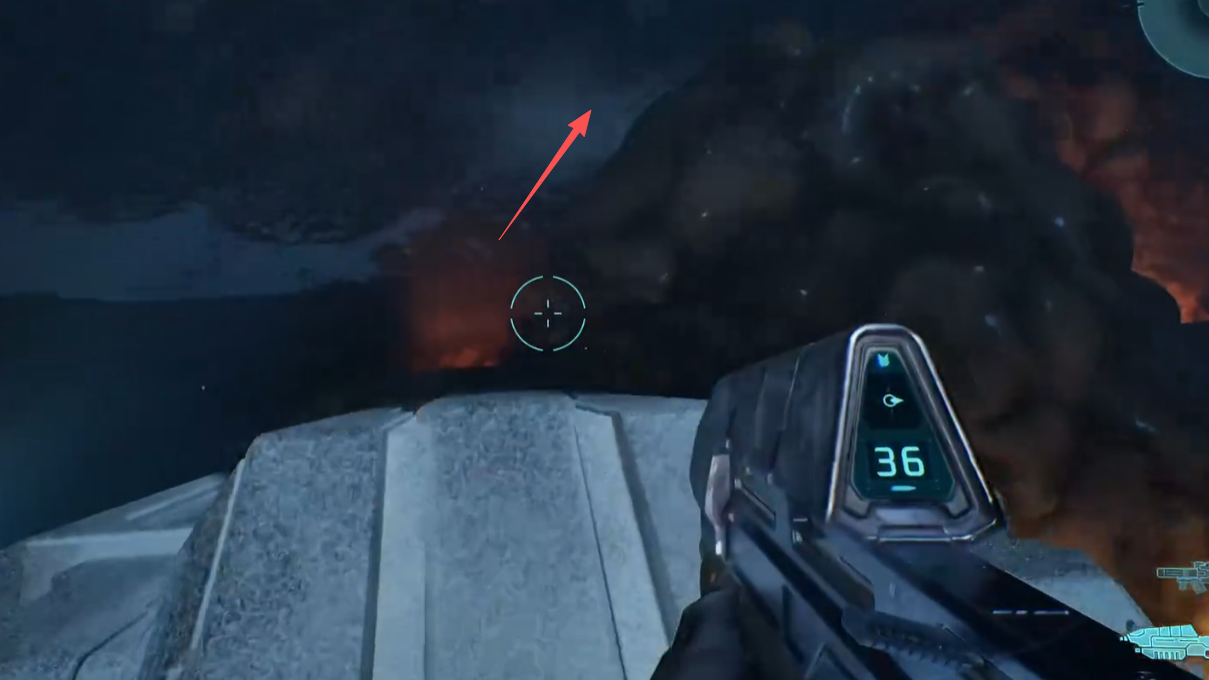
While securing the three lifeboat crash sites, go to the leftmost site at the top of the first hill. Clear the Covenant, then get out of the Warthog and take the grassy slope on the right. At the top, carefully walk along the edge of the metal spire. When you see the blue effect, turn around and throw a frag grenade ahead of your feet. Use the blast to jump across to the higher slope and grab Grunt Funeral. This is one of the few skulls that needs a trick, but grenade jumping is an old Halo tradition.
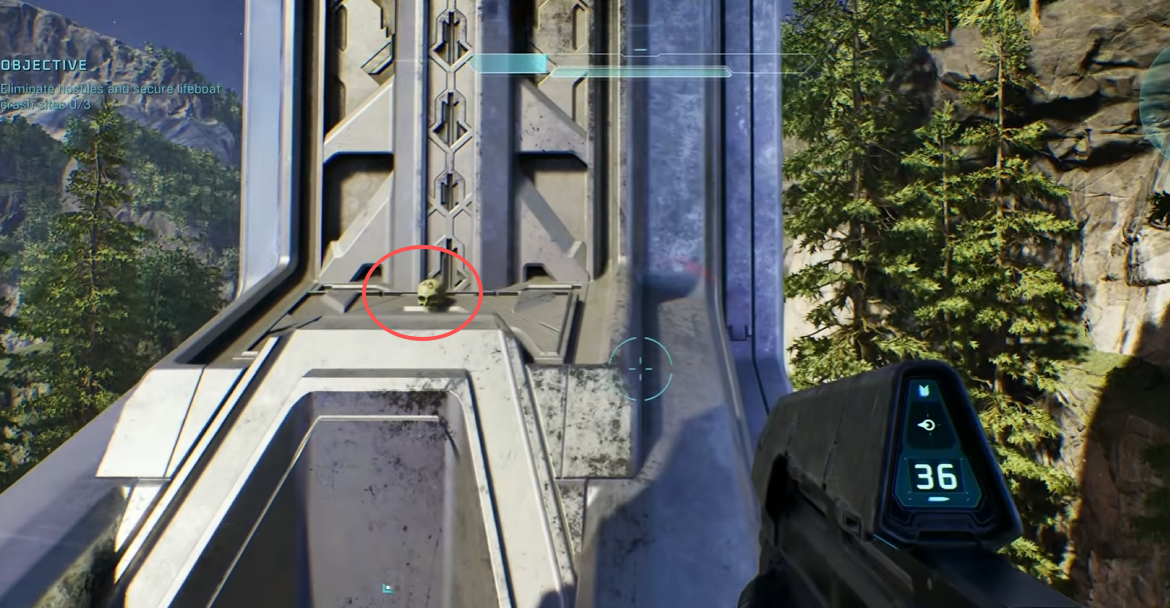
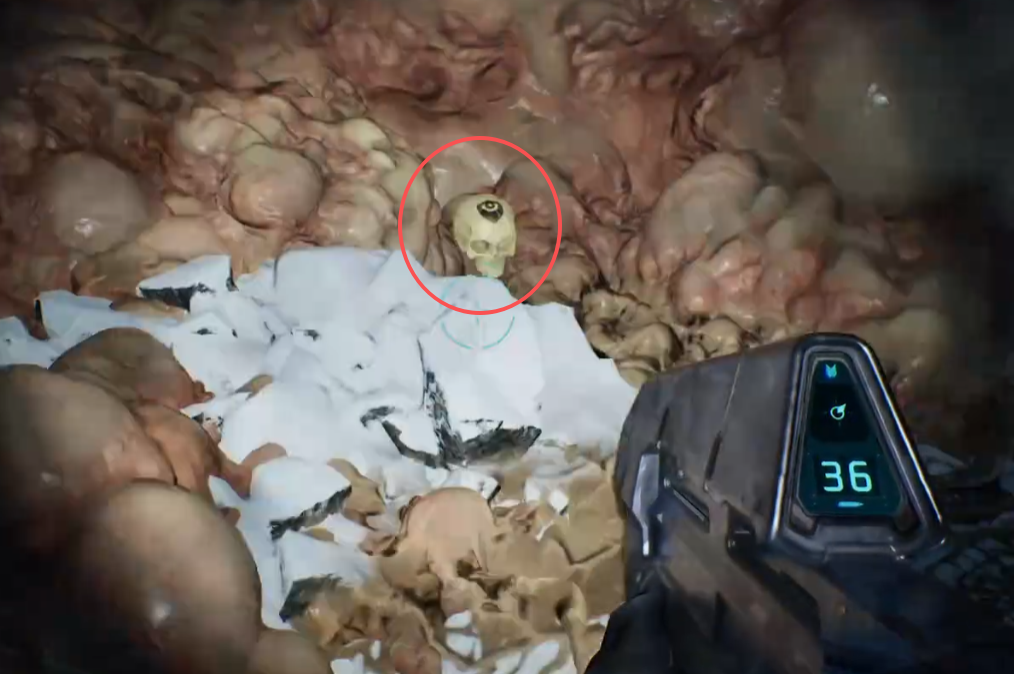
While you are securing the three lifeboat crash sites, follow the river upstream through the middle of the area. When you reach a cave, keep going inside. Give & Take is behind the large rock on the left, right next to the water.
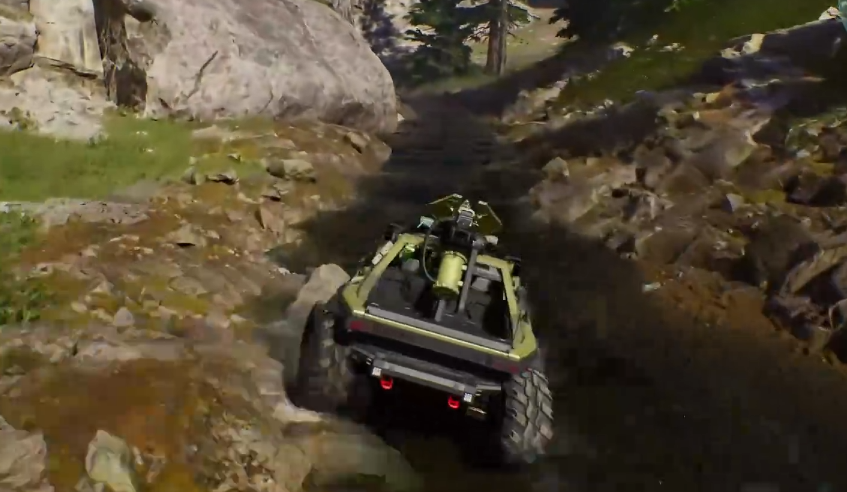
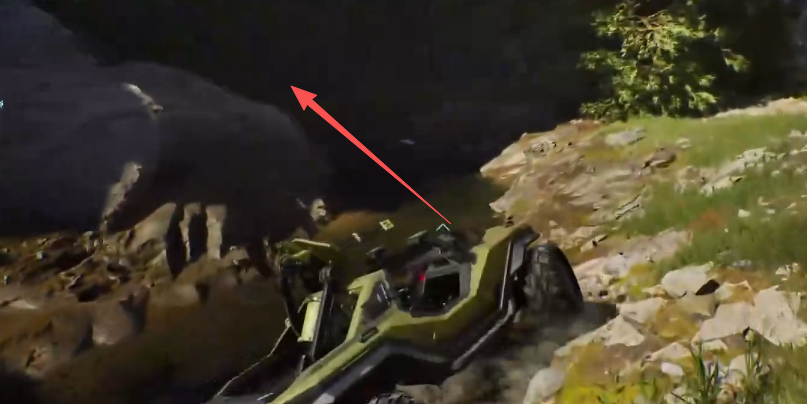
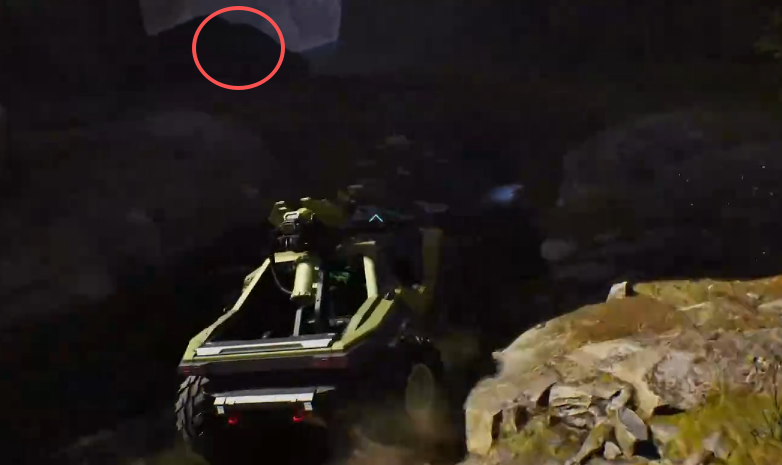
While securing the three lifeboat crash sites, go to the rightmost site among the large rock formations. Climb the sloped hill to the top and jump across to the large grassy platform on the right while facing downhill. From there, drop onto the smaller rock in the middle of the battlefield to find Floor Is Lava.
Truth and Reconciliation
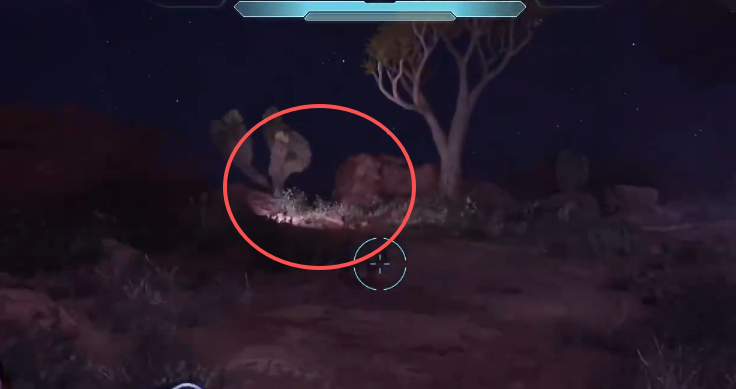
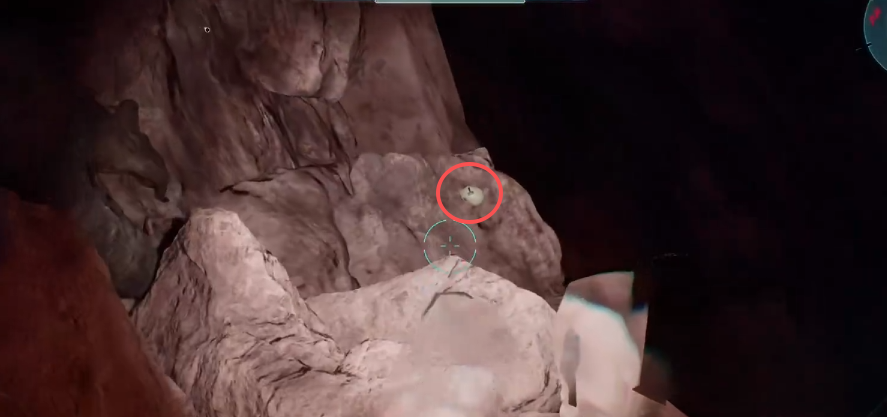
Before you jump into the gravity lift and board the ship, walk toward the cliff. Look for a tree with white light glowing underneath it. Turn on your flashlight and carefully look down along the cliff edge. Iron is slightly to the left of the tree, and you will need to make a careful drop to pick it up.
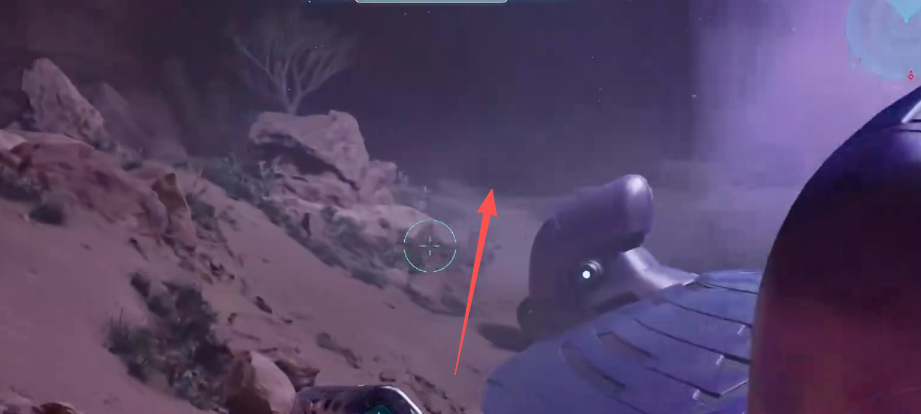
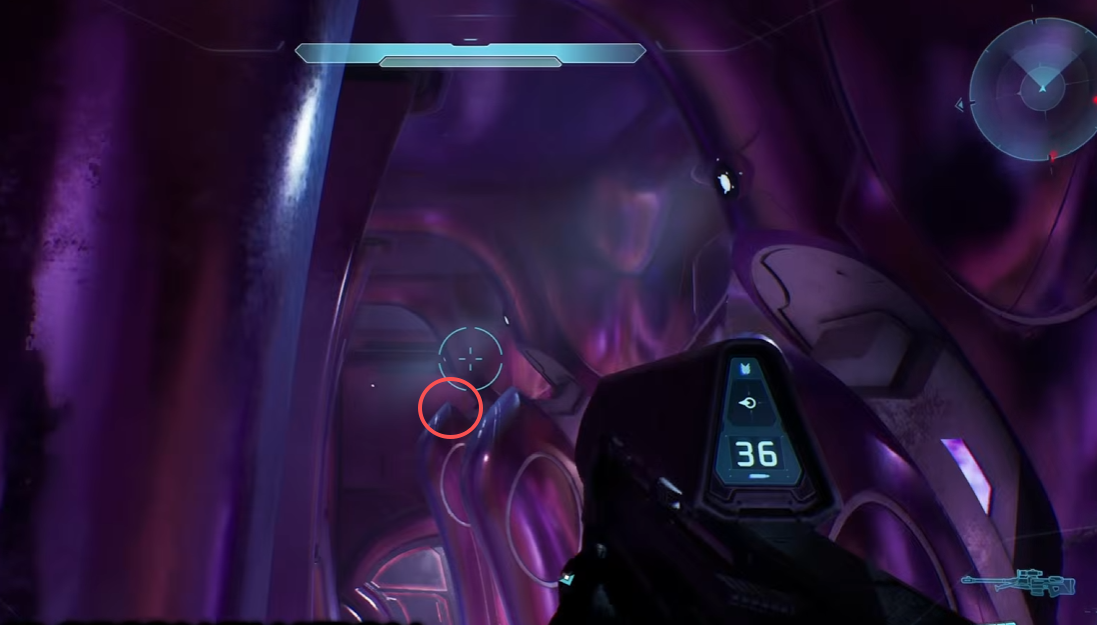
Early aboard the Truth and Reconciliation, you will enter a large room from an upper walkway with two destroyed Wraiths below. Follow the walkway to the far end and curve right toward the purple container and the raised support struts. Bring Acrophobia if you can, since it lets you jump straight onto the support where Endurance Spec sits. Without it, use the container and careful jumps, or grenade jump up.
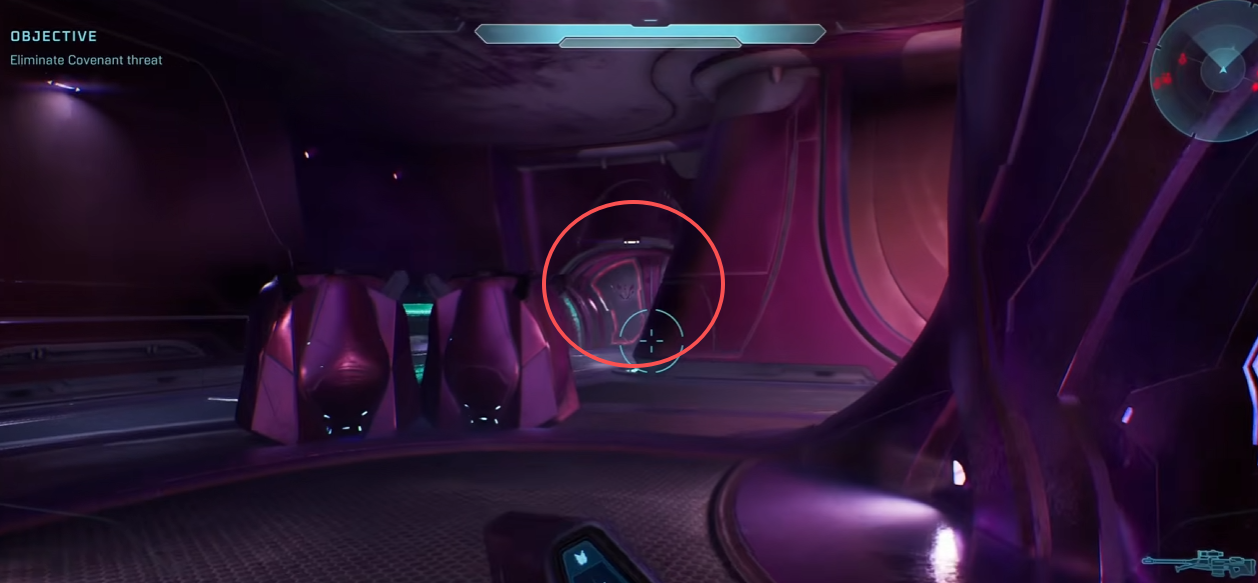
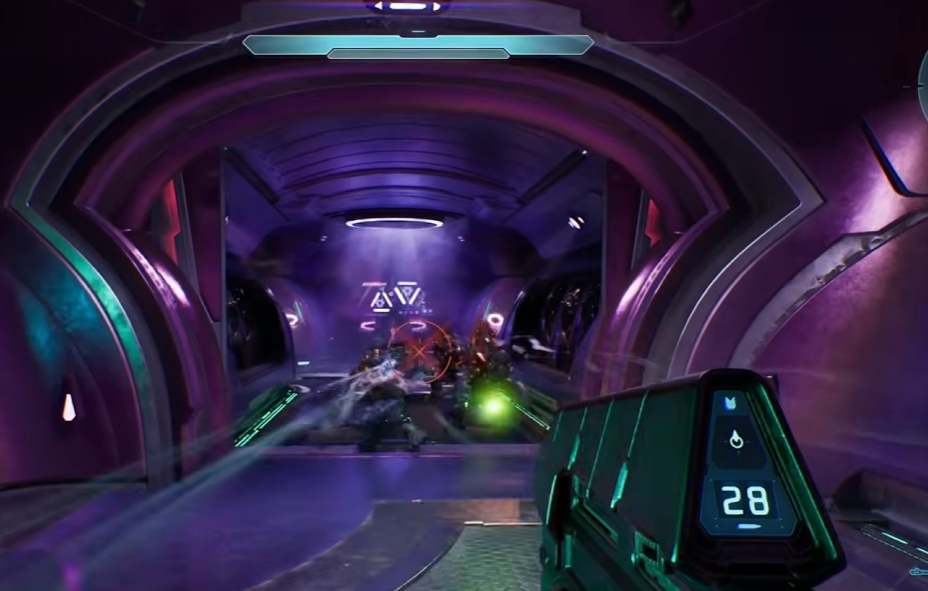
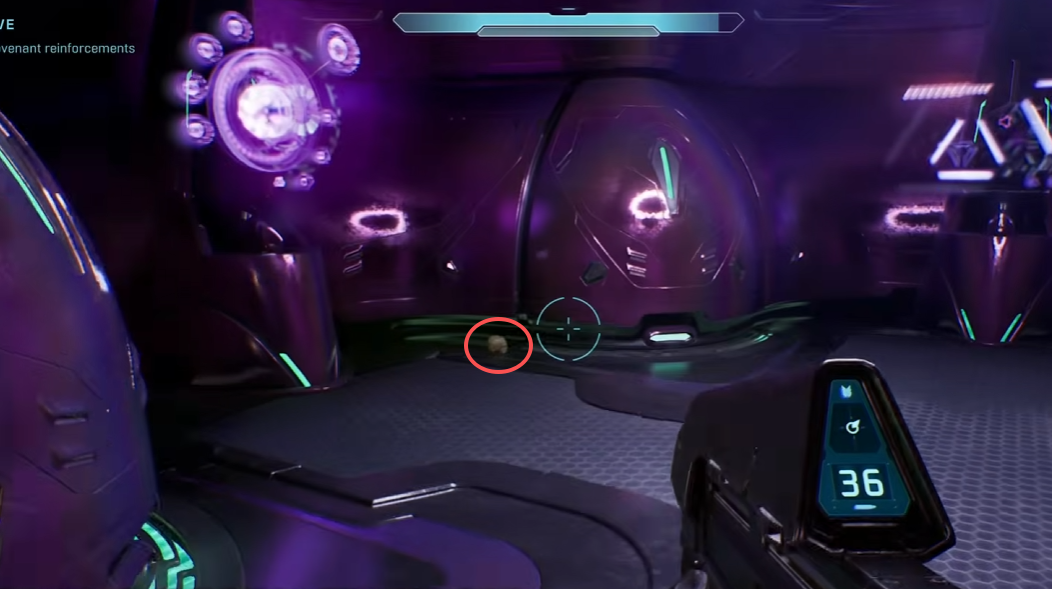
Foreign is in the room where you first see a large ship take off. Find the closed door and wait for the next enemy wave. The door only opens while reinforcements are spawning, so rush inside as soon as it does. The skull is on the floor beside the wall on the left. If the door closes before you get in, you will have to restart the mission.
The Silent Cartographer
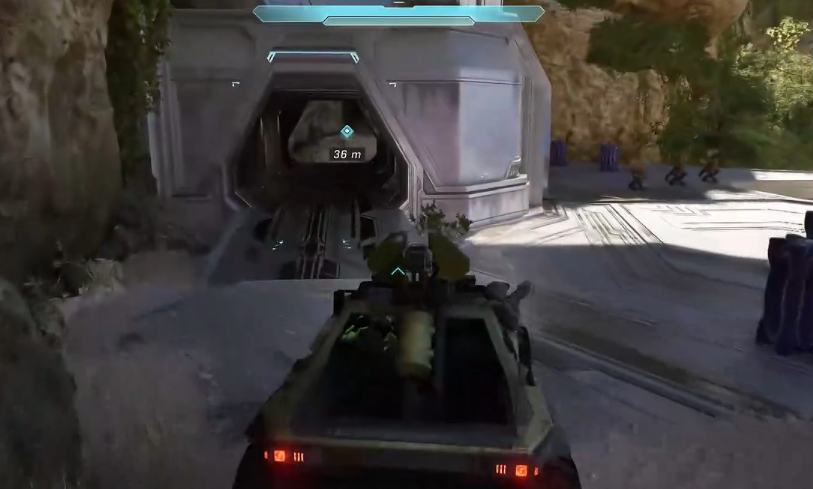
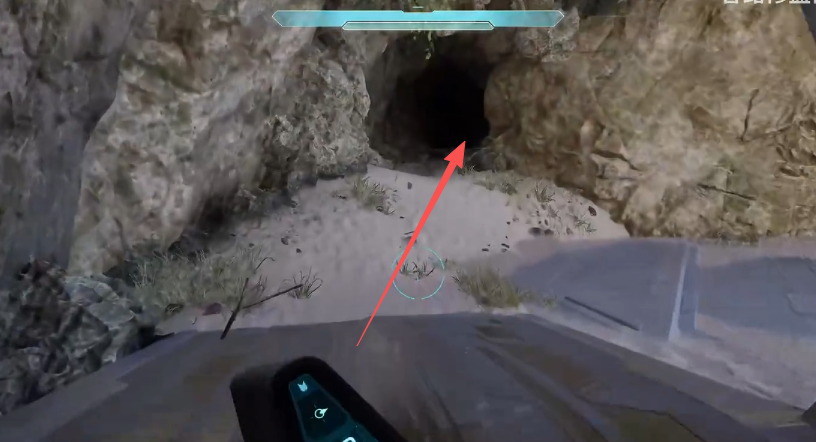
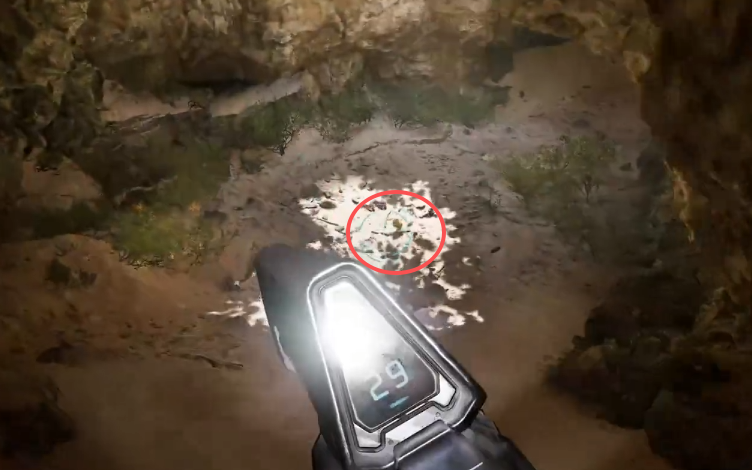
Bandana is outside the beachside facility whose lower door locks and sends you away to override the security system. When you come back out of that facility, immediately look uphill on the left for a small rock cave. Walk into the clearing at the end and check the ground. The skull blends into the sand so well that it is easy to miss.
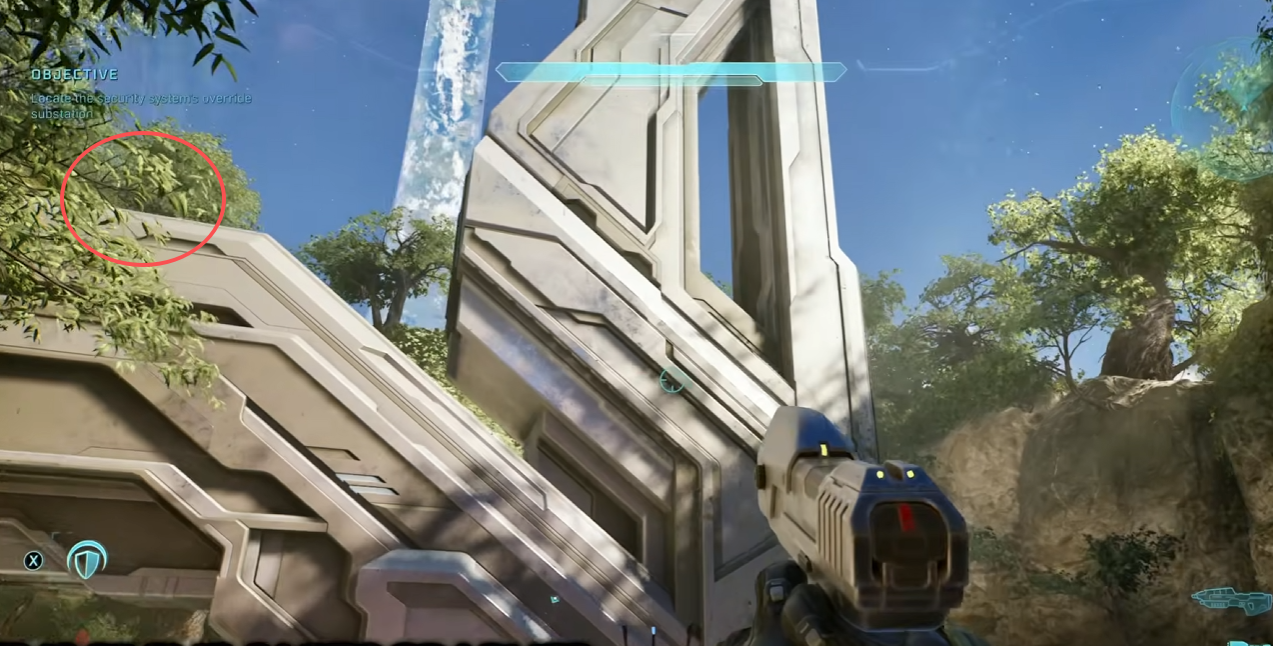
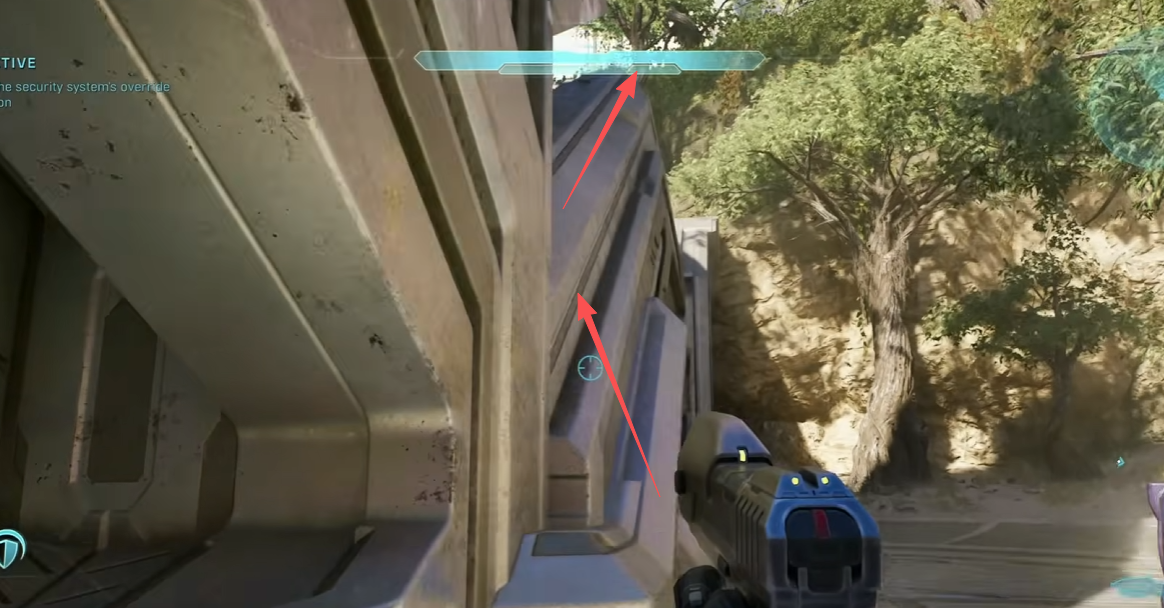
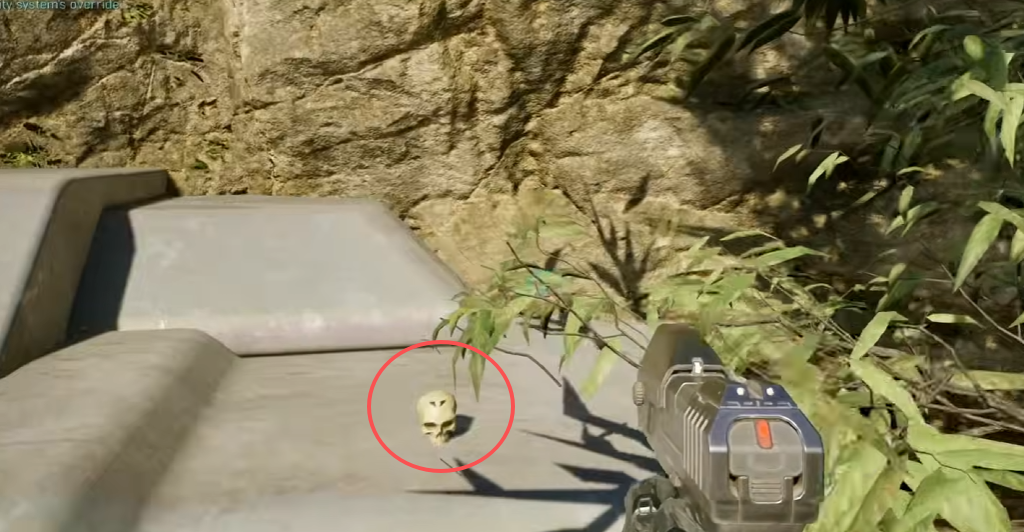
A little later, the main route takes you to a small outdoor arena with two Hunters. Once the fight is over, go to the far side of the central structure. Jump onto the slanted metal edge, follow it upward, and keep going until you reach the end. Acrophobia is waiting on the top ledge.
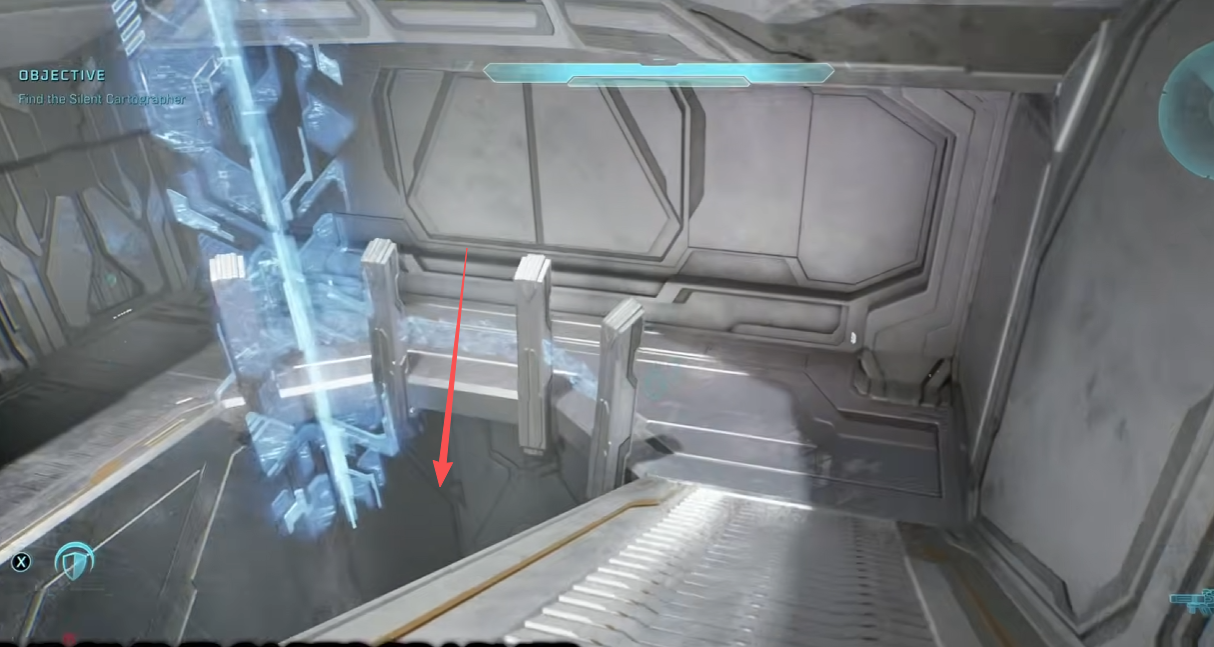
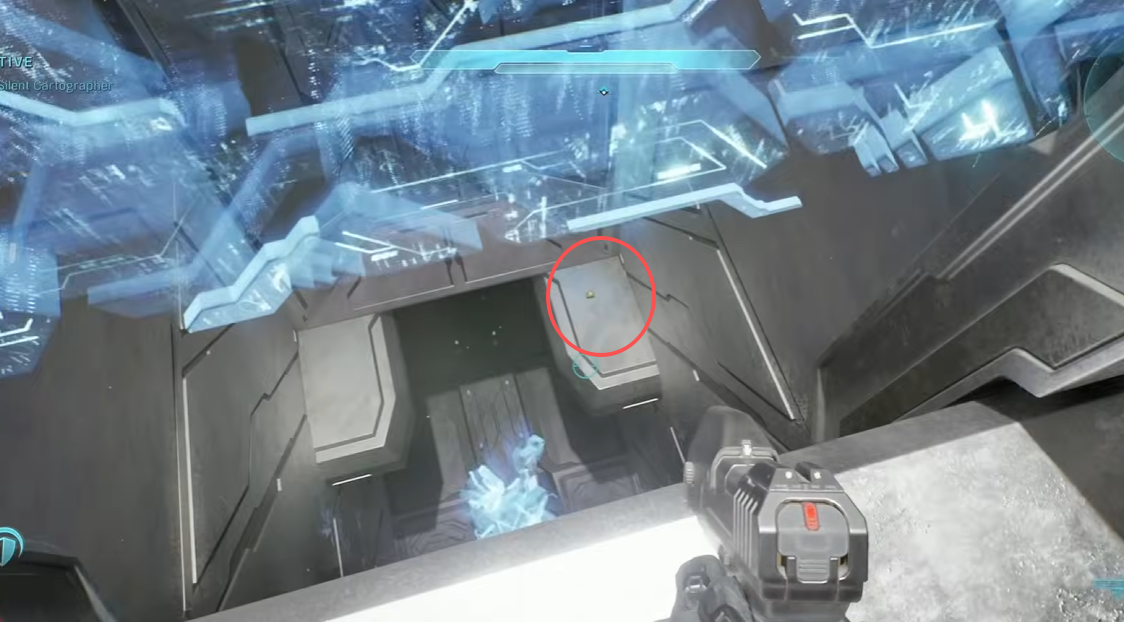
After disabling the security system, return to the first underground facility—the one with the camouflaged Elite carrying an Energy Sword. Go down one level and clear the room with several Covenant and two Hunters. At the wide, brightly lit ramp leading farther down, do not take the stairs normally. Look over the edge and you will see Hip Fire on a small ledge far below. Move a little way down the slope, then carefully drop onto that ledge.
Assault on the Control Room
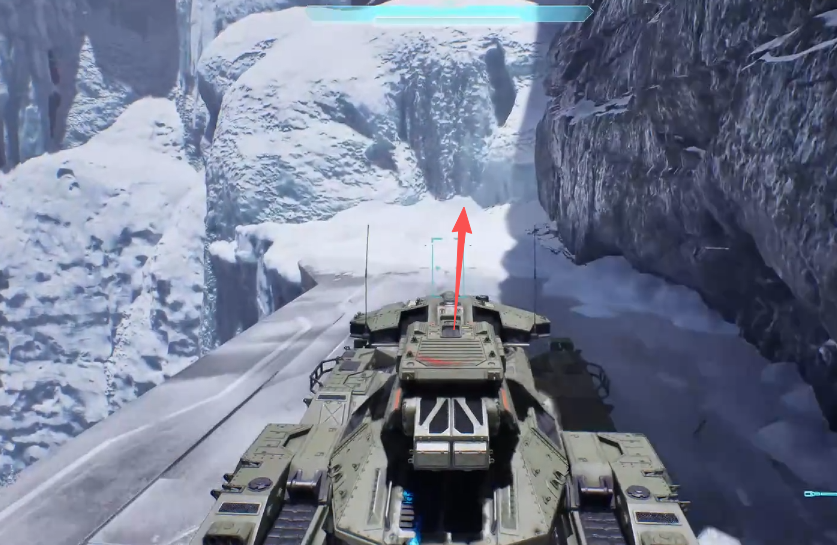
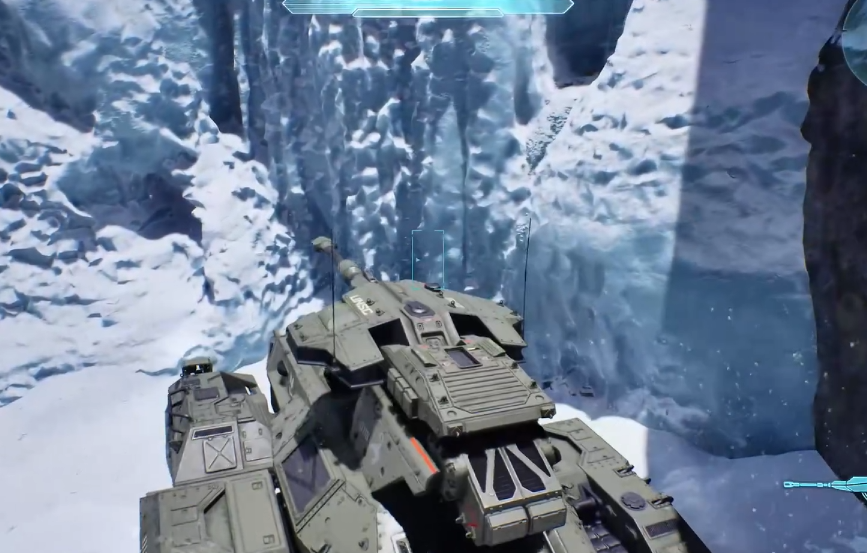
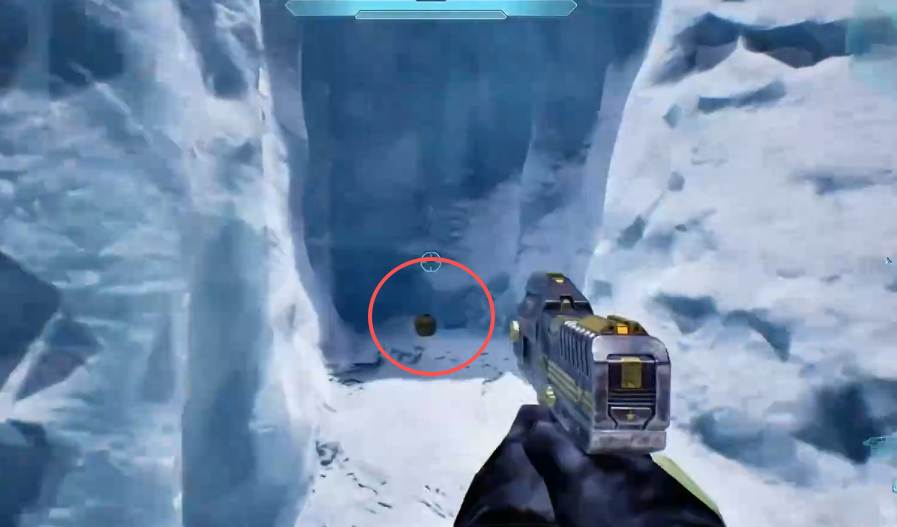
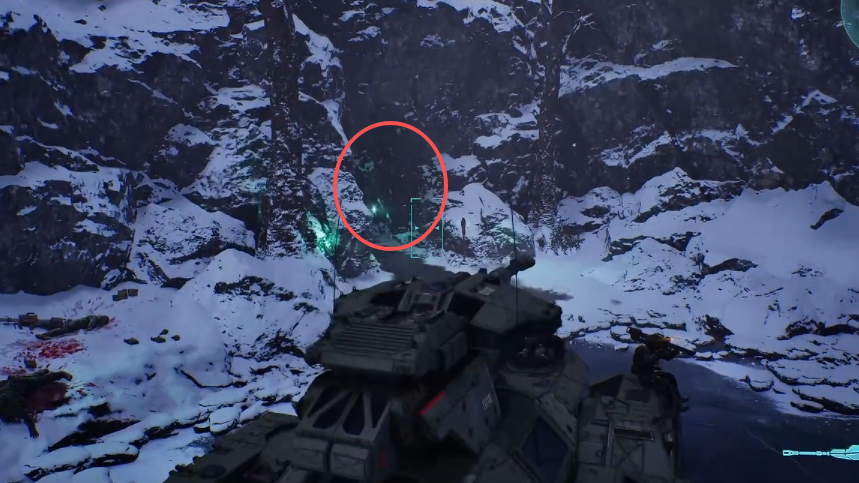
Keep the Scorpion when the mission gives it to you. After driving through the underground section, you will reach an open canyon with a narrow bridge over a chasm. Clear the enemies, drive across the bridge, then turn left and take the tank to the snowbank at the very end. Park it tight against the ice wall, climb onto the tank, and sprint-jump into the small notch in the ice. IWHBYD is inside the alcove.
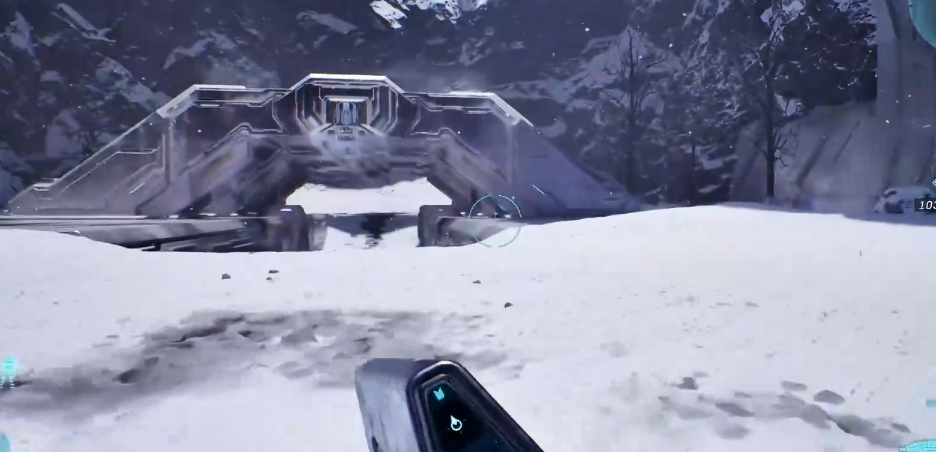
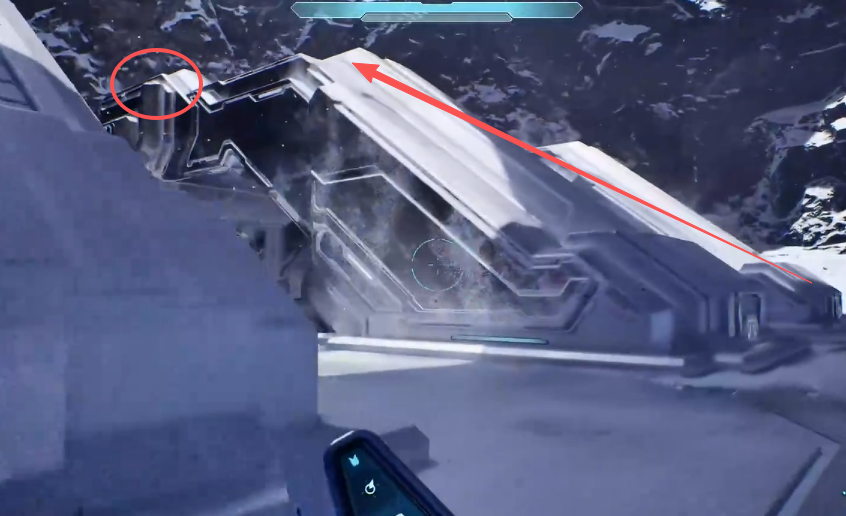
Later, the route becomes too narrow for the Scorpion, so leave it behind and continue on foot. In the next valley, the objective points into the structure on the right. Ignore it for a moment and look left instead. You will see three metal arches running across the snow. Climb the sloped side of the farthest arch and follow it to the top to find Angry.
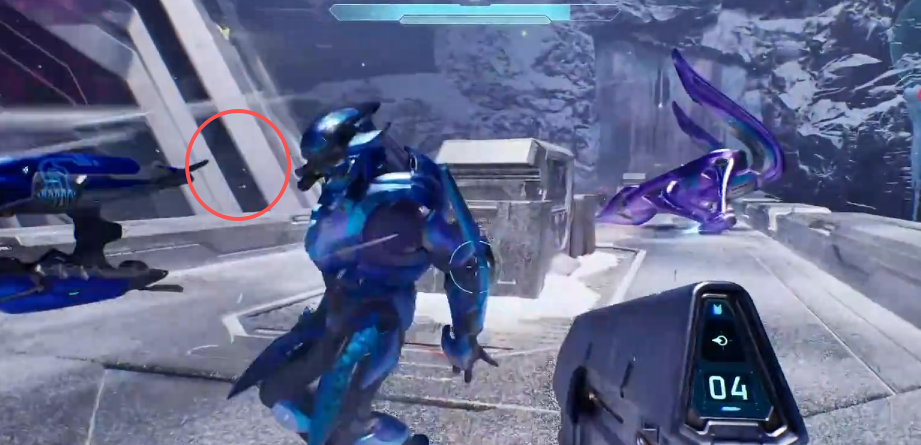
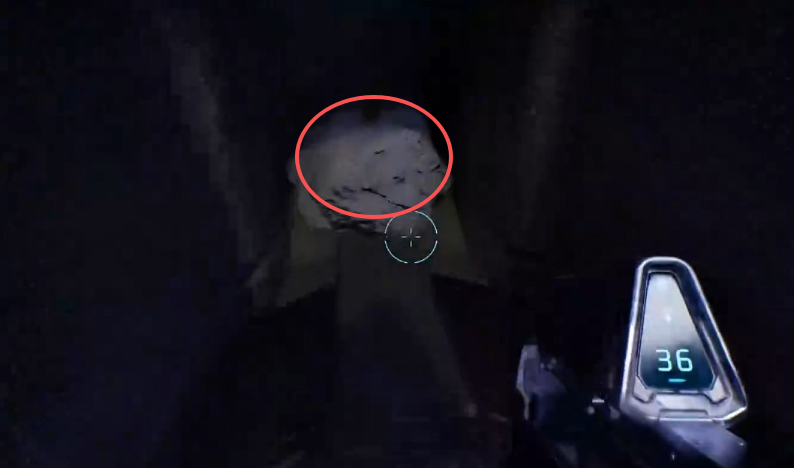
At Rally Point Echo, you will come outside onto the bridge where Cortana tells you to commandeer a Banshee. Before taking one, look over the right side of the bridge and carefully drop onto the narrow slanted support below. Follow the dark passage underneath the bridge to find Cowbell.
343 Guilty Spark
Fog is near the beginning of the mission. After the first corner, you will see a destroyed Covenant dropship hanging in a tree. Do not keep following the main path. Take the slope on the left, then climb around the roots at the base of the large tree. Jump onto the rocks just past the tree to find Fog on the ground.
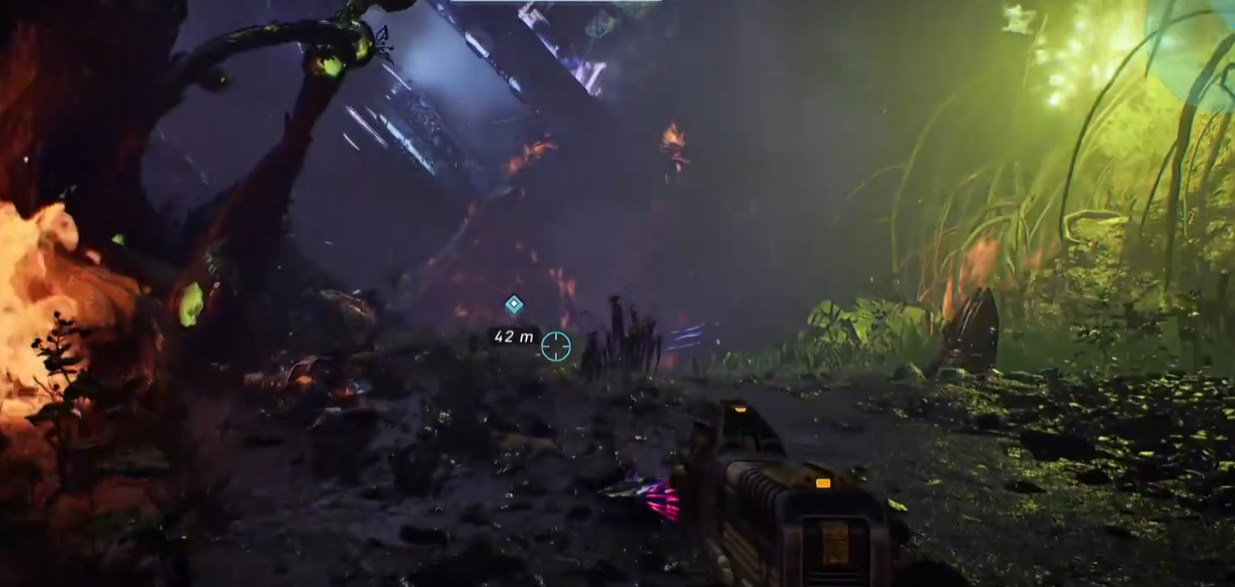
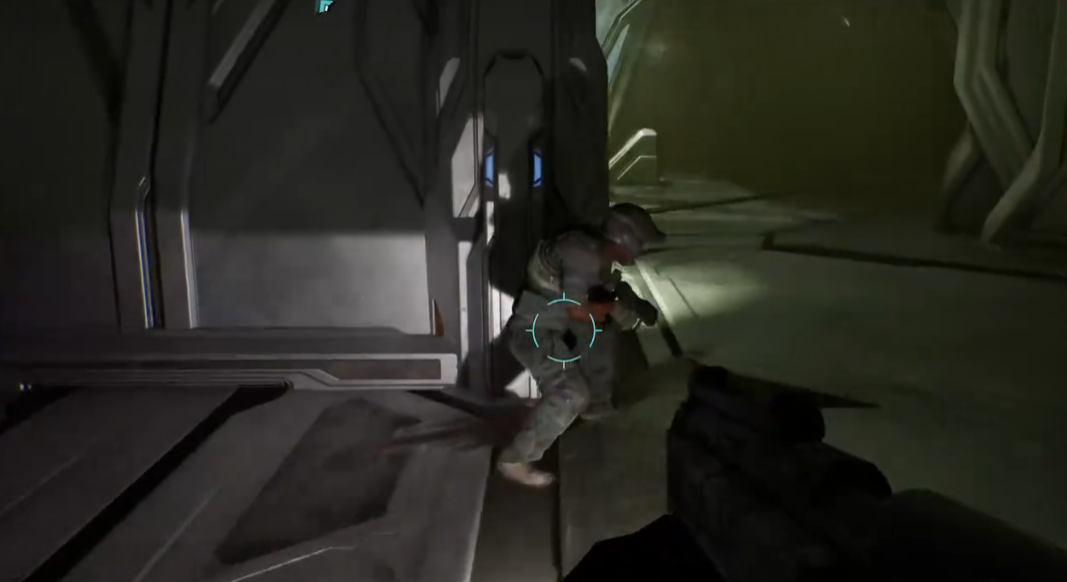
Once you are inside the underground facility, keep following the main objective until you reach the section covered with dead Covenant and blood. A terrified Marine is lying on the floor nearby, screaming and firing at you. He is hard to miss. Kill him and he will drop the That's Just... Wrong skull.
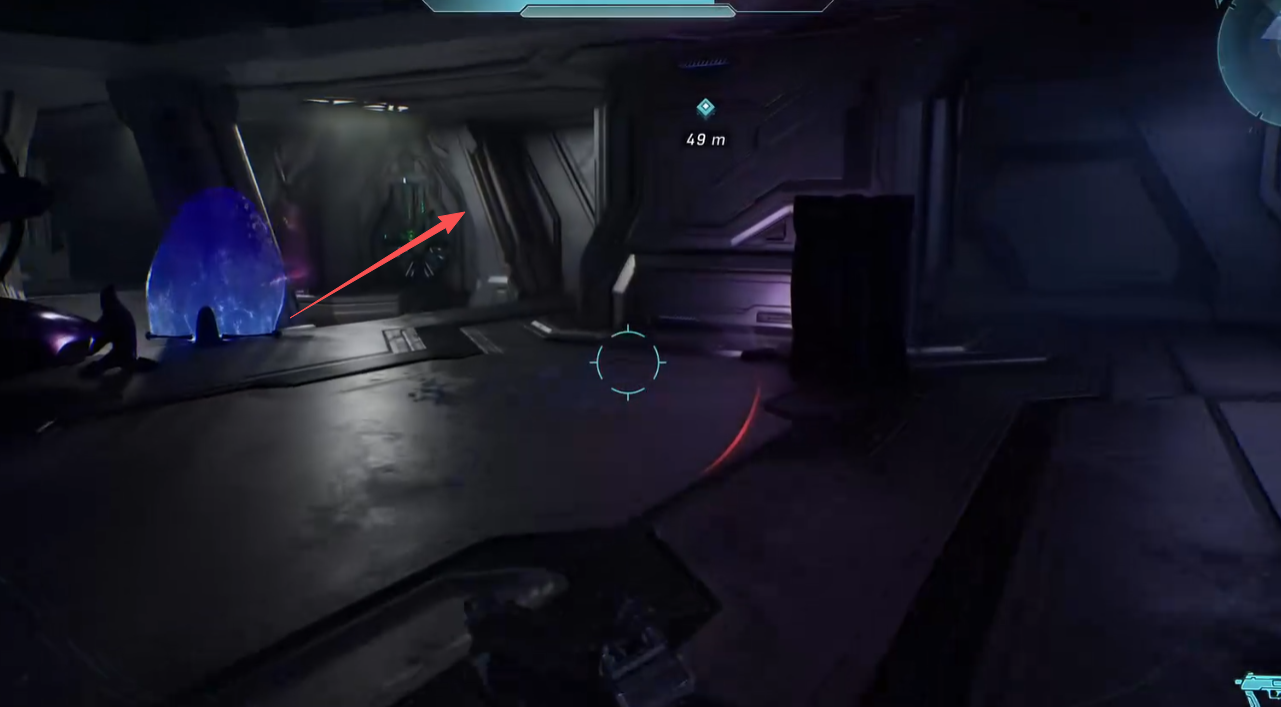
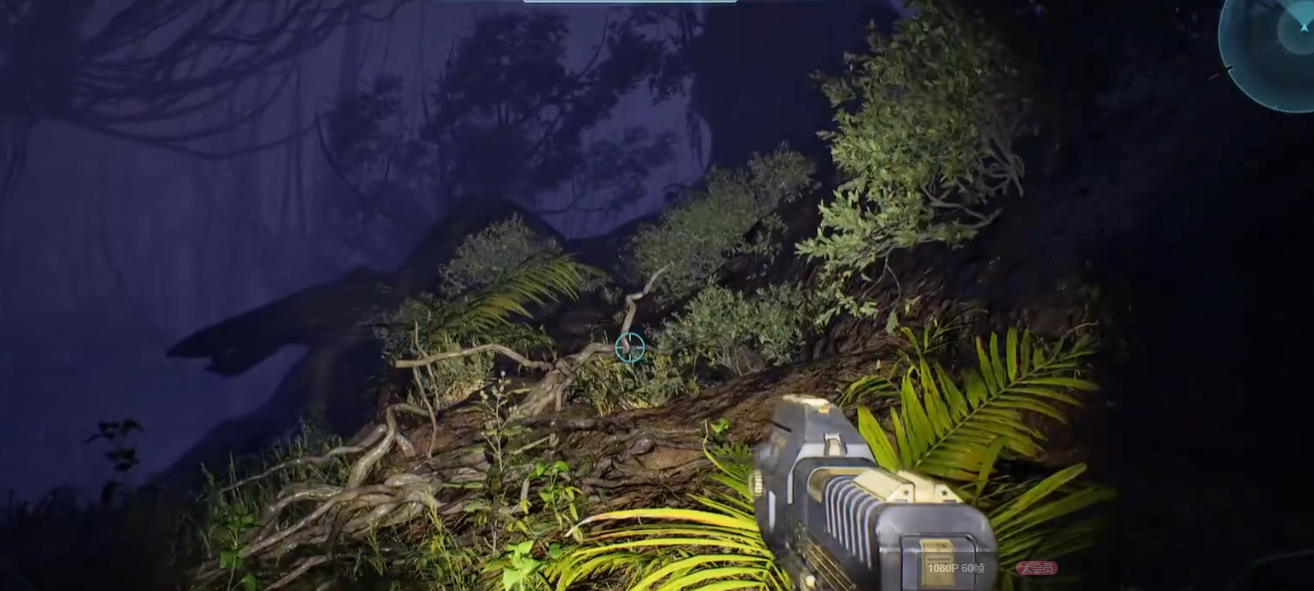
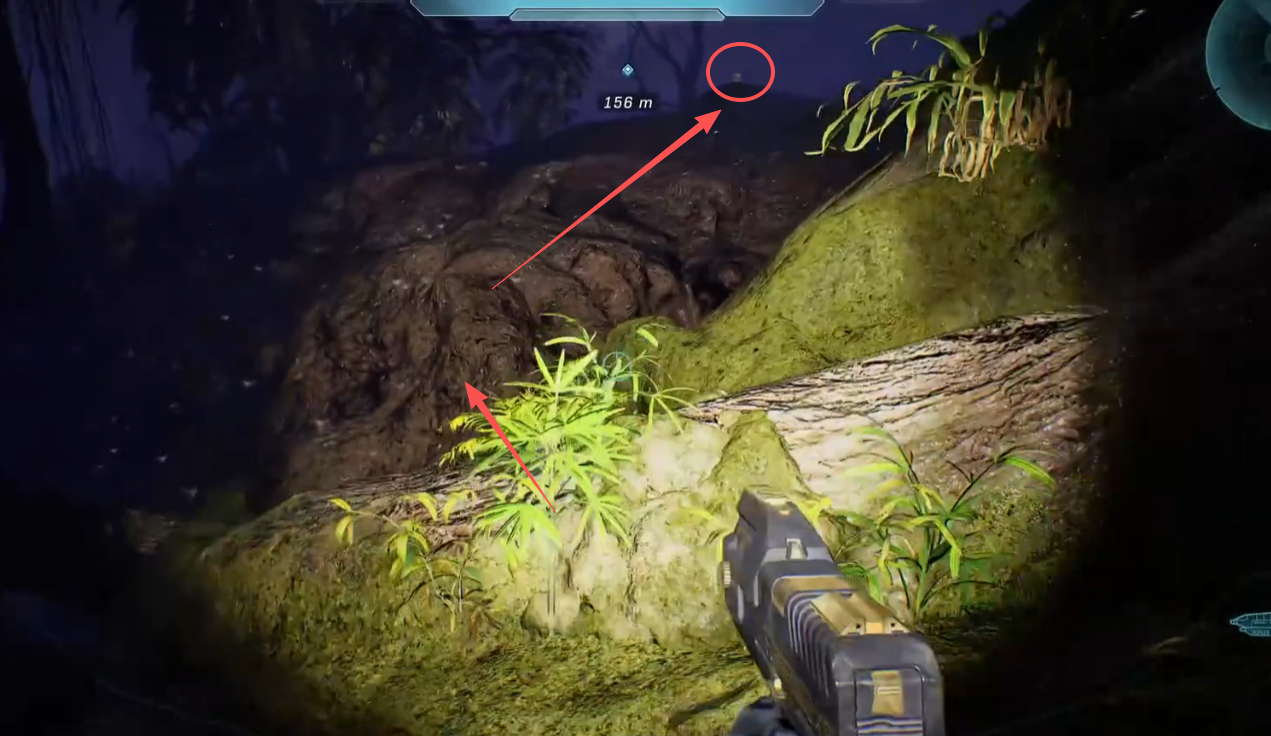
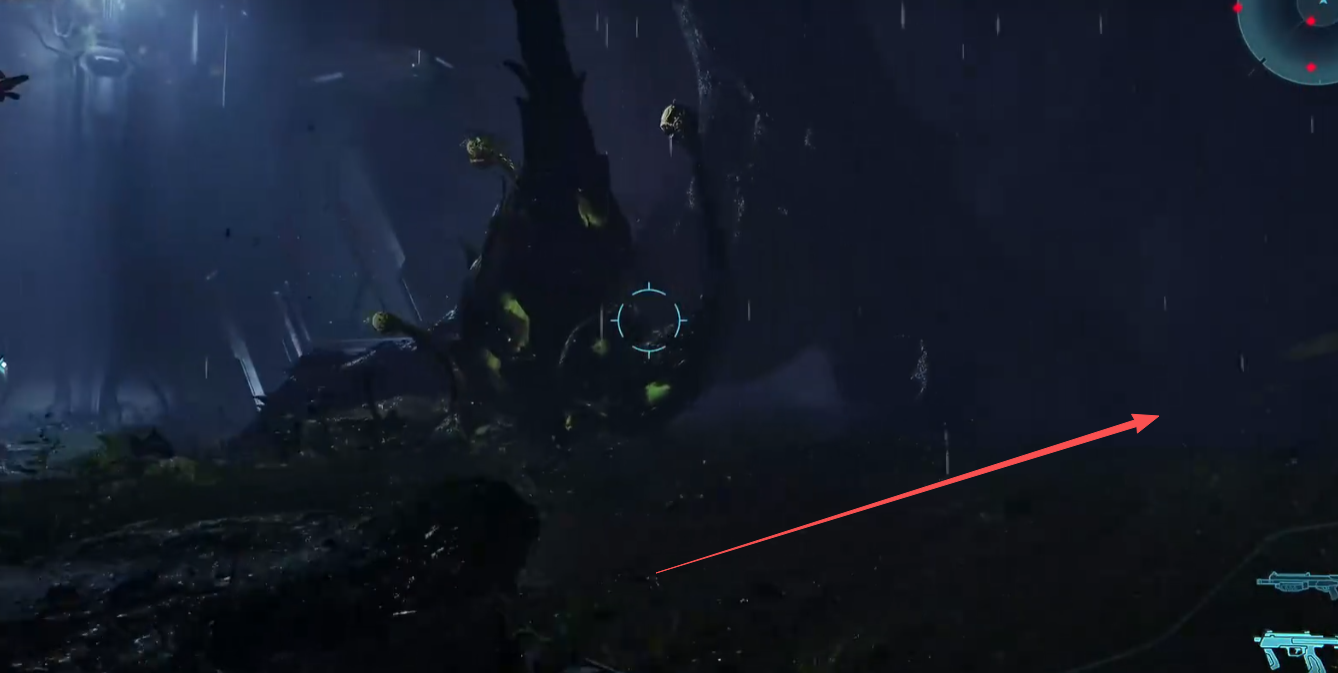
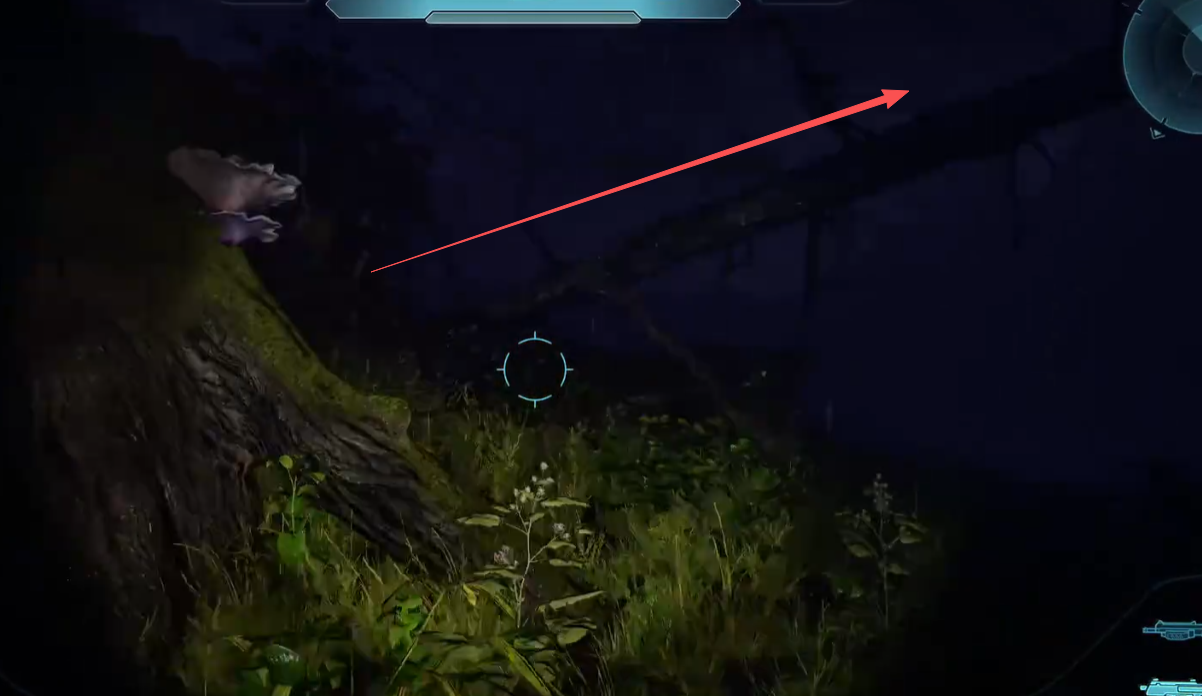
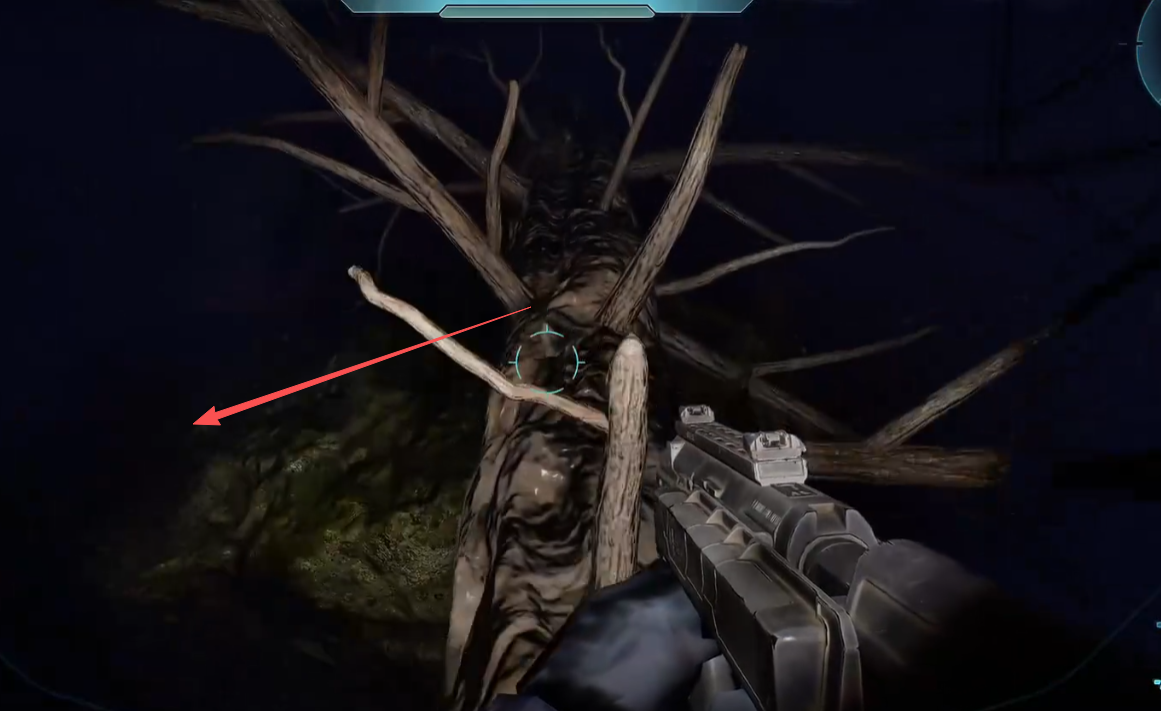
At the very end of the mission, you will be told to extract at the waypoint outside. Get this skull before killing every enemy, or the mission may end. Instead of going to the waypoint, pass the right side of the building and continue into the dark forest. Look for a tall rock with a fallen tree leaning against it. Climb onto the tree and walk across it to reach the rock where They Come Back is waiting.
The Library
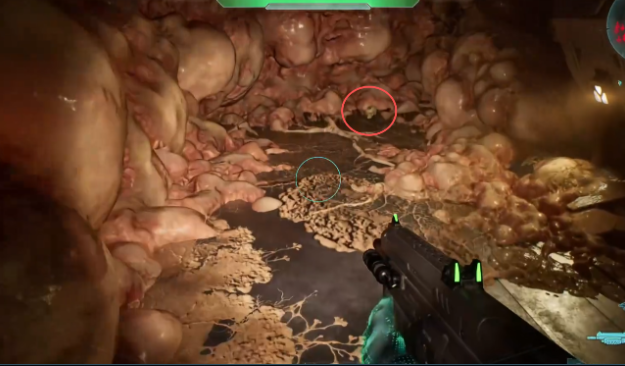
During the first rally point, you will reach a door that will not open and have to cross through the Flood-infested access tunnels instead. When you come out and the objective changes to take the elevator into the lower chambers, turn right. Climb the sloped pillar beside the steps and follow it to the top to find Tilt.
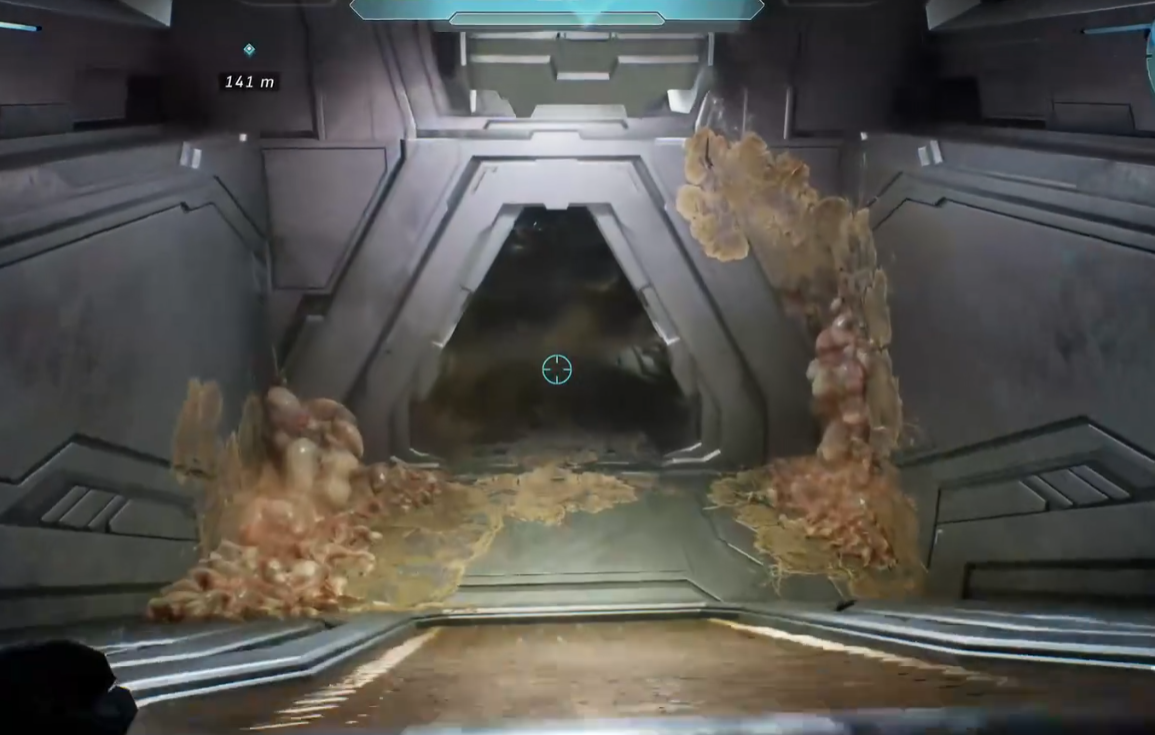
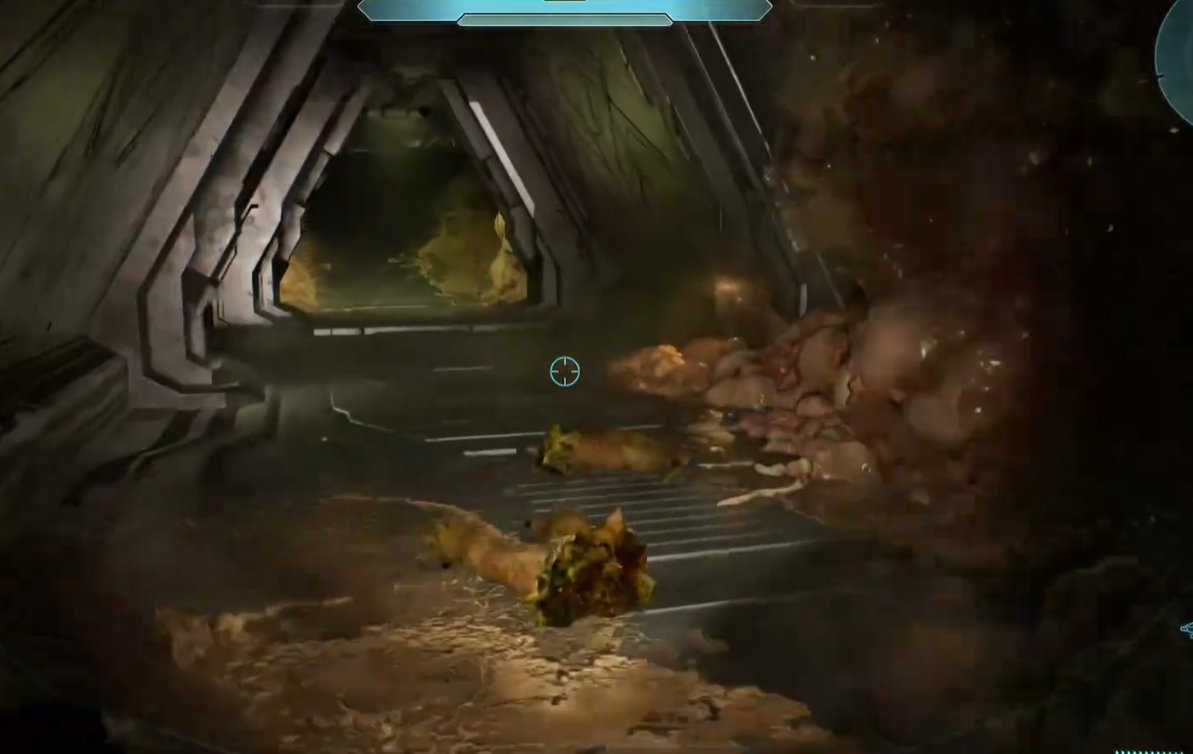
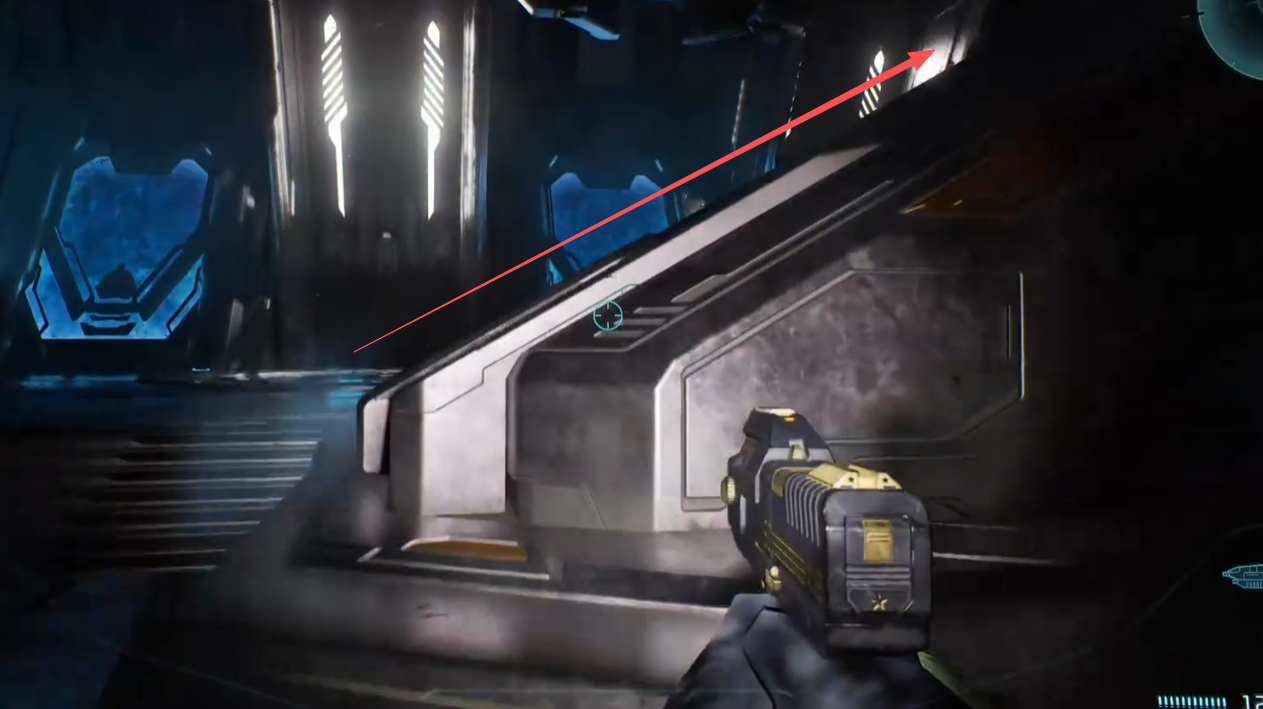
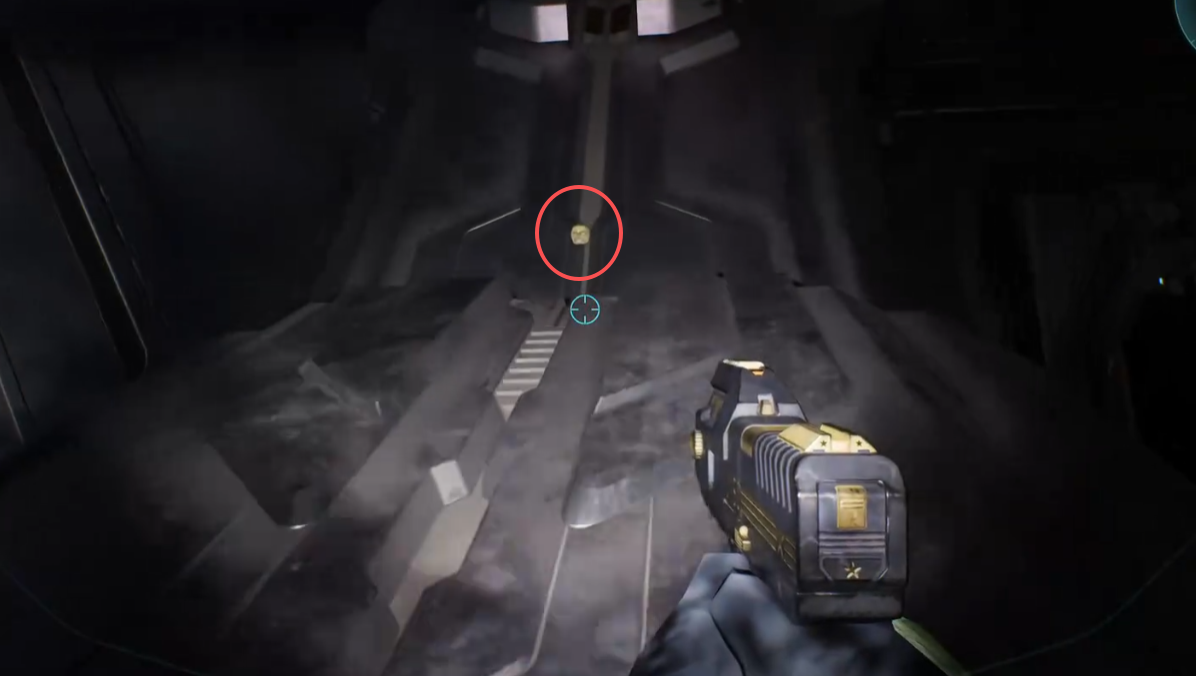
After riding the first elevator down, keep following Guilty Spark until he stops to unlock a door. While he is working on it, turn around 180 degrees and look at the opposite wall. Go up the metal ramp, then use two careful crouch jumps: the first gets you onto the raised structure, and the second lands you on the narrow wall ledge where Pop is sitting.
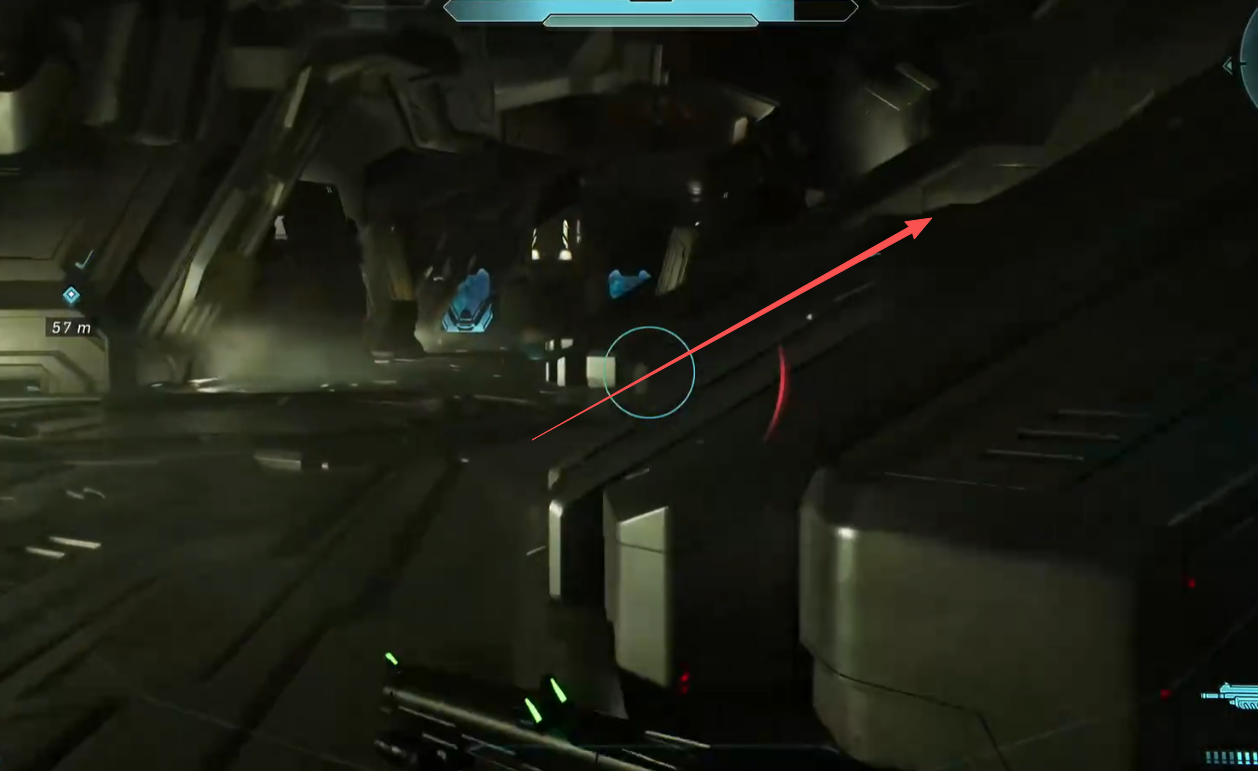
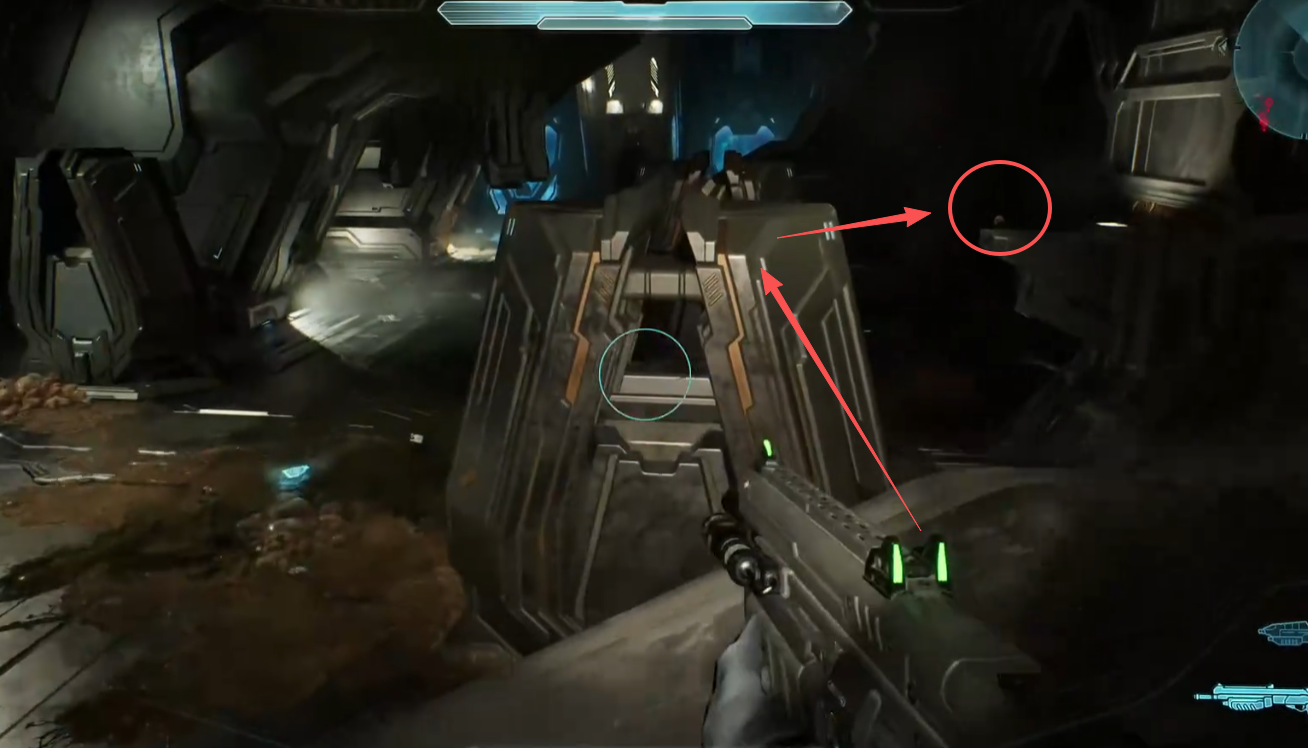
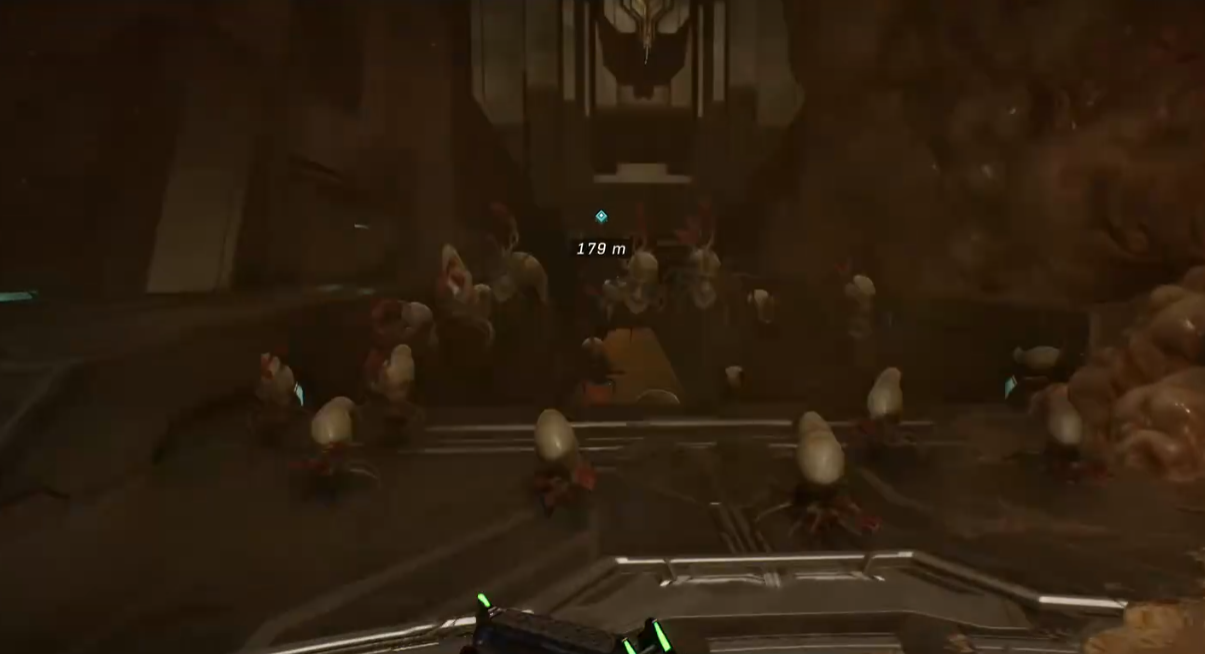
Near the end of the mission, take the final elevator down to Rally Point Charlie. Clear enough Flood to move safely, then go straight ahead and down the ramp into the lower section. Turn left as soon as you reach the bottom. Famine is on the floor in the small alcove.
Two Betrayals
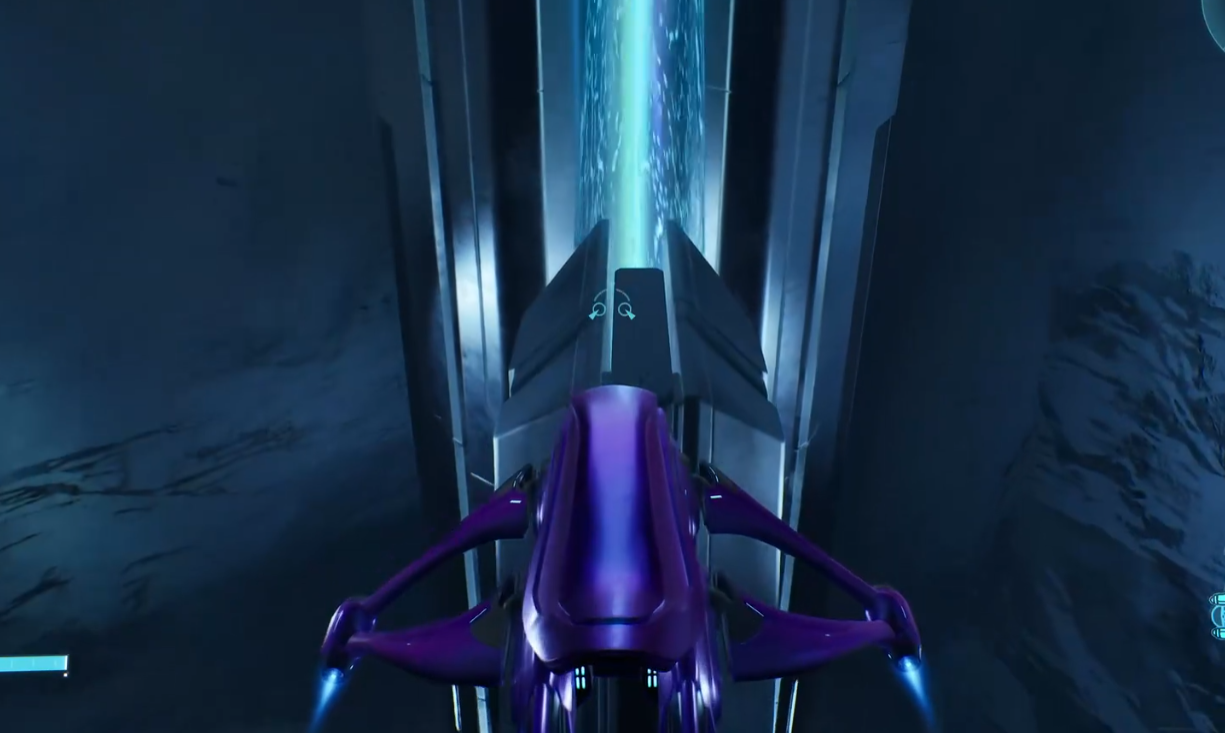
After leaving the facility near the beginning of the mission, follow the objective down to the snow and take the first Banshee. Do not fly to the waypoint yet. Turn back toward the building you just left and fly up the tall spire in front of the blue beam. Hover above its narrow top, leave the Banshee, and land on the spire to grab Tough Luck.
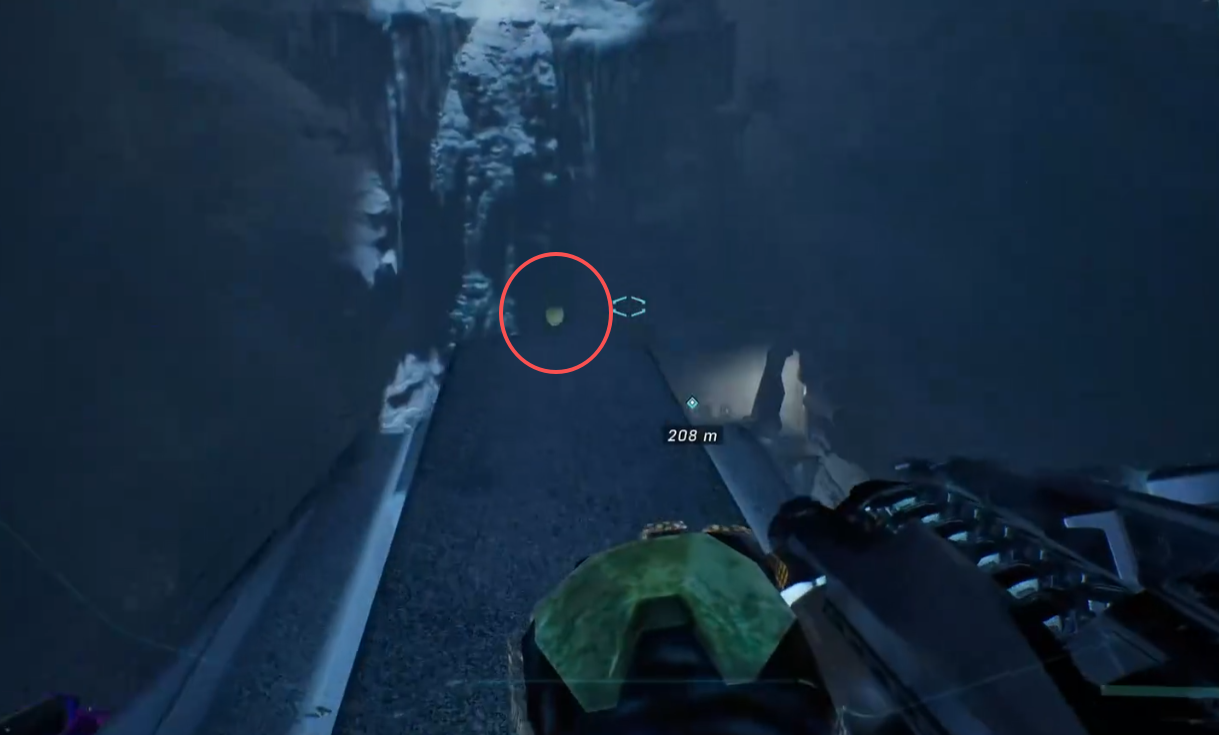
After disabling the first pulse generator, continue until the beginning of Rally Point Charlie. When you leave the lift structure, three metal arches are directly ahead. Run over the middle arch and go down its far side. Black Eye is tucked into the small dead end between the Flood growth at the back.
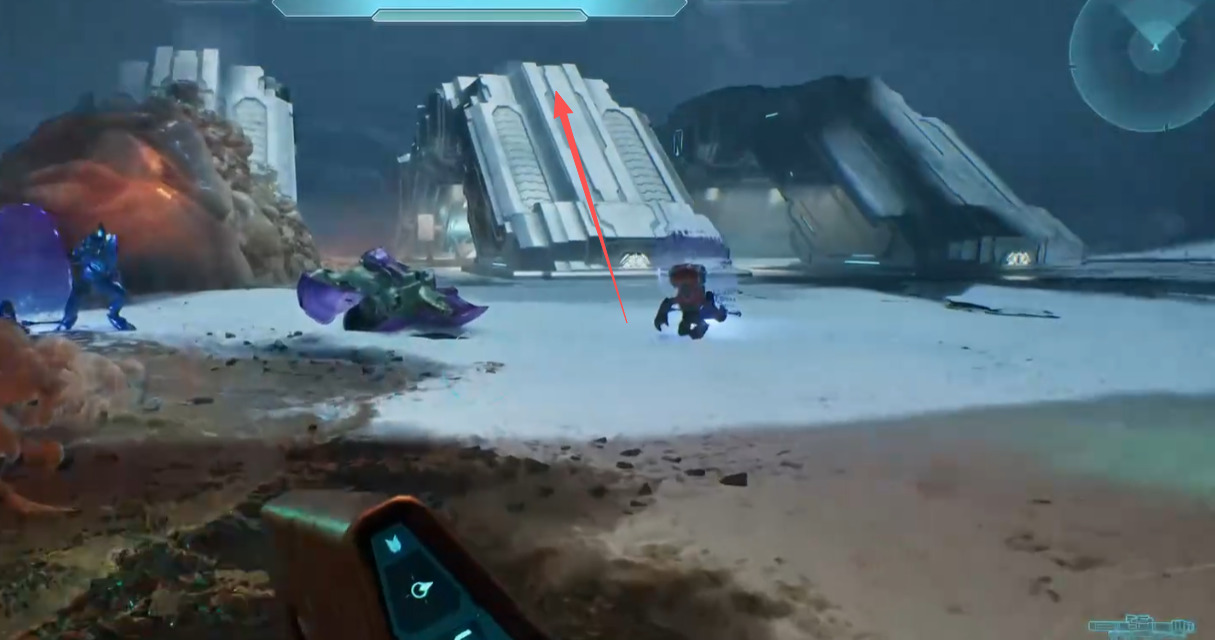
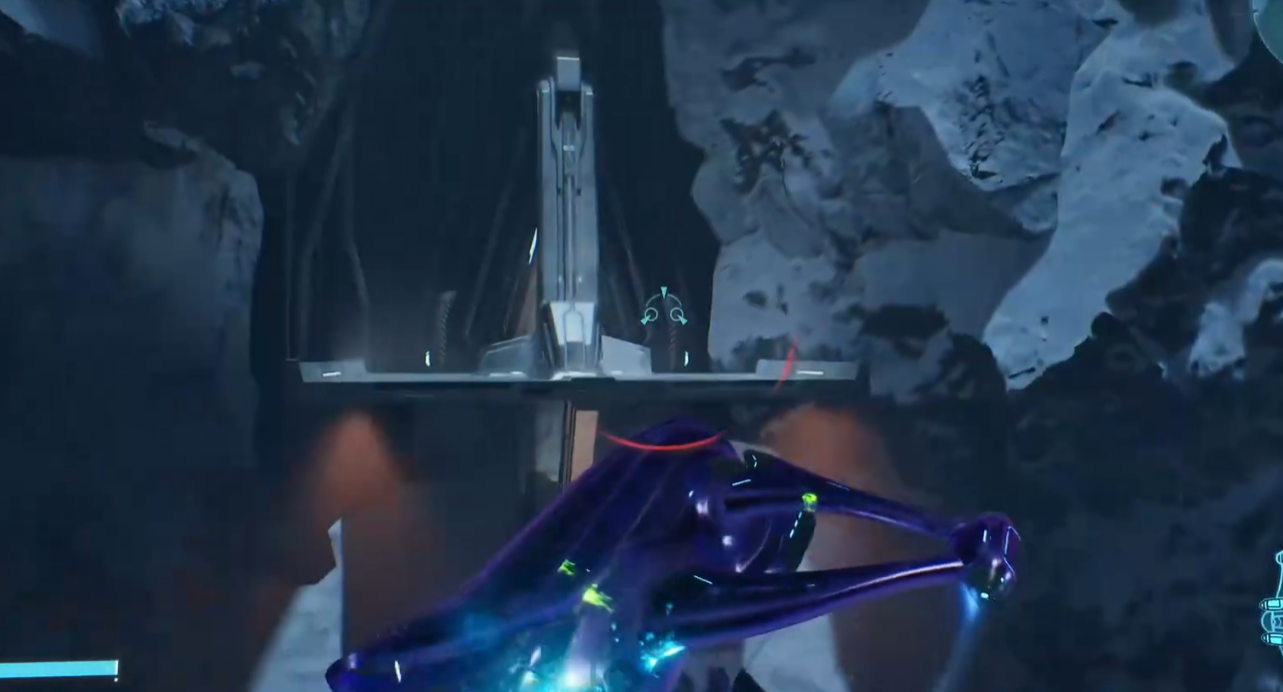
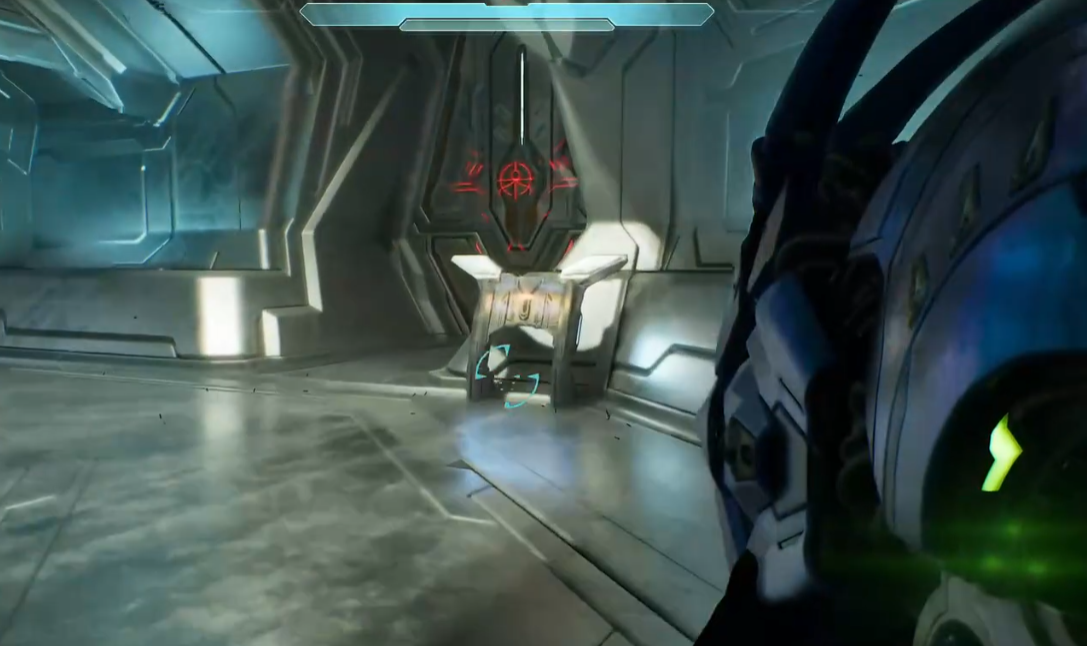
Later in Rally Point Charlie, you will reach a snowy fight with Hunters and a Flood Tank while looking for a Banshee to reach the next pulse generator. Take a Banshee, but do not fly to the objective. Land on the middle platform of the nearby spire and activate its optional switch. This opens the door across the canyon, opposite the waypoint. Fly over and enter that door. Clear the first room to use the next switch, fight through the corridor, then use the switch at the far end to open the final room. Kill every enemy in that last room and Mythic will appear on the central pedestal.
Keyes
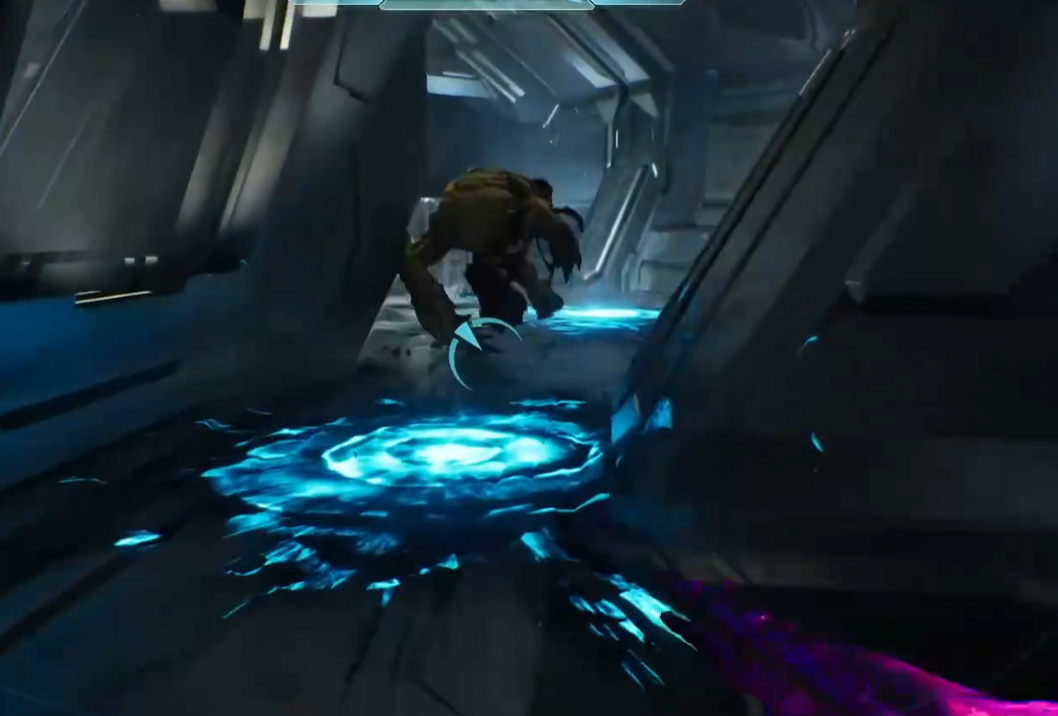
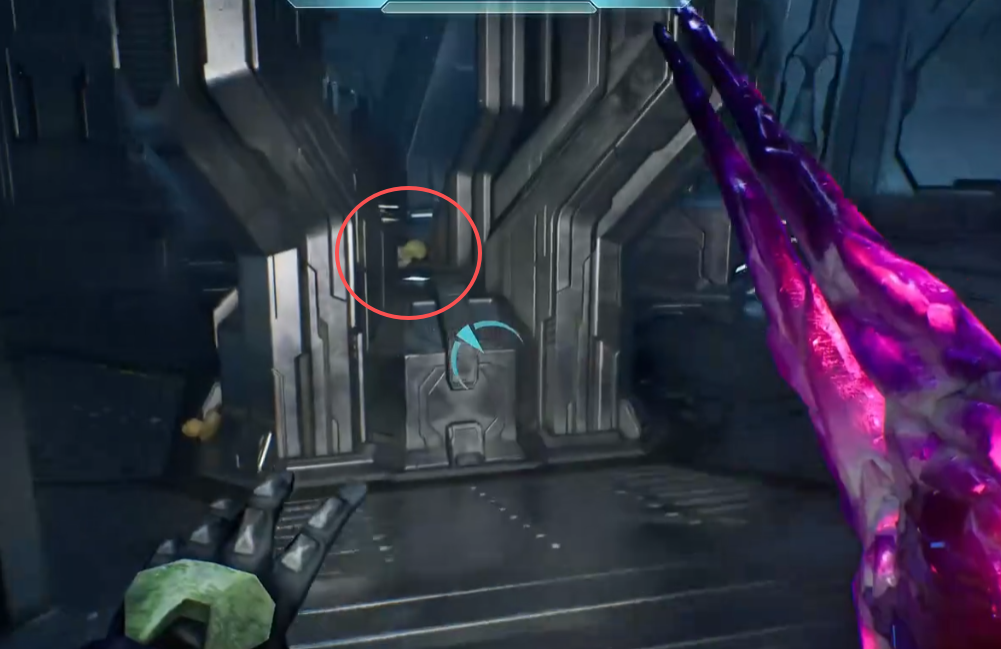
Catch only appears on Heroic or Legendary. Start Keyes with every Skull modifier disabled and reach the gravity lift in under five minutes; using Bandana, Acrophobia or another Skull can prevent Catch from spawning. Move as soon as the mission begins, skip fights that do not block the route, and use the Active Camo or Overshield along the way if it saves time. Step onto the gravity lift and look upward. As soon as it carries you toward the ship, hold the interact button throughout the ascent to grab the skull above you. If it is not there, restart the mission and check the difficulty, timer and active Skulls before trying again.
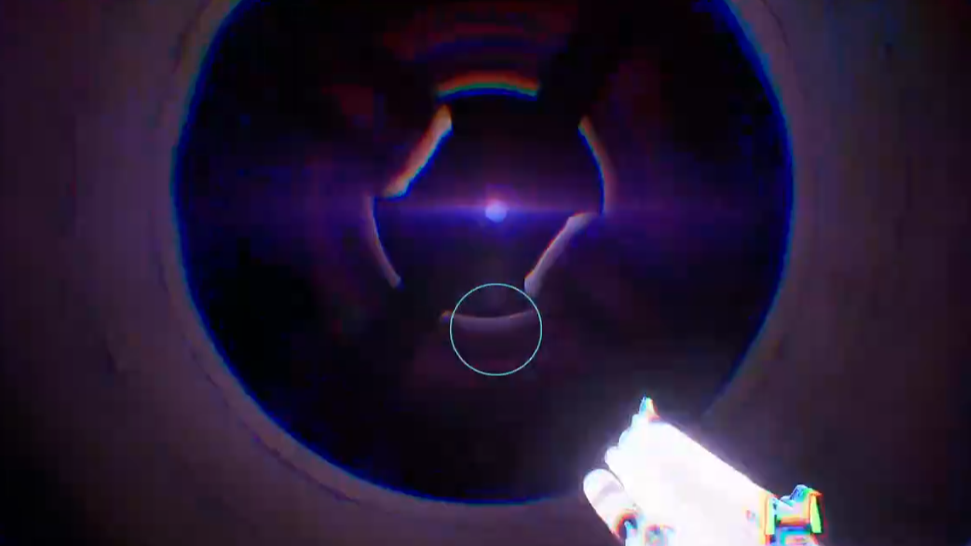
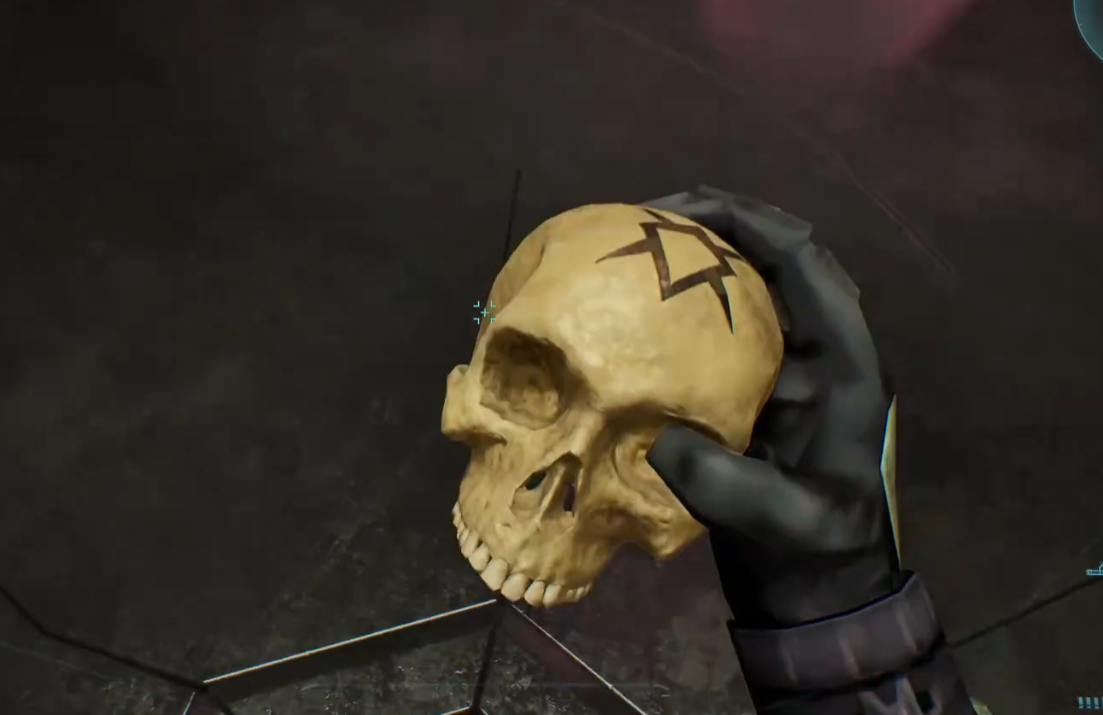
After entering the ship through the gravity lift, follow the hallways into the first large room with a destroyed Wraith. Look down and to the right for an Overshield, then drop into that lower area. Go through the side passage under the archway, squeeze past the wreckage, and follow the slope up. Blind is in the corner beside the large locked doors.
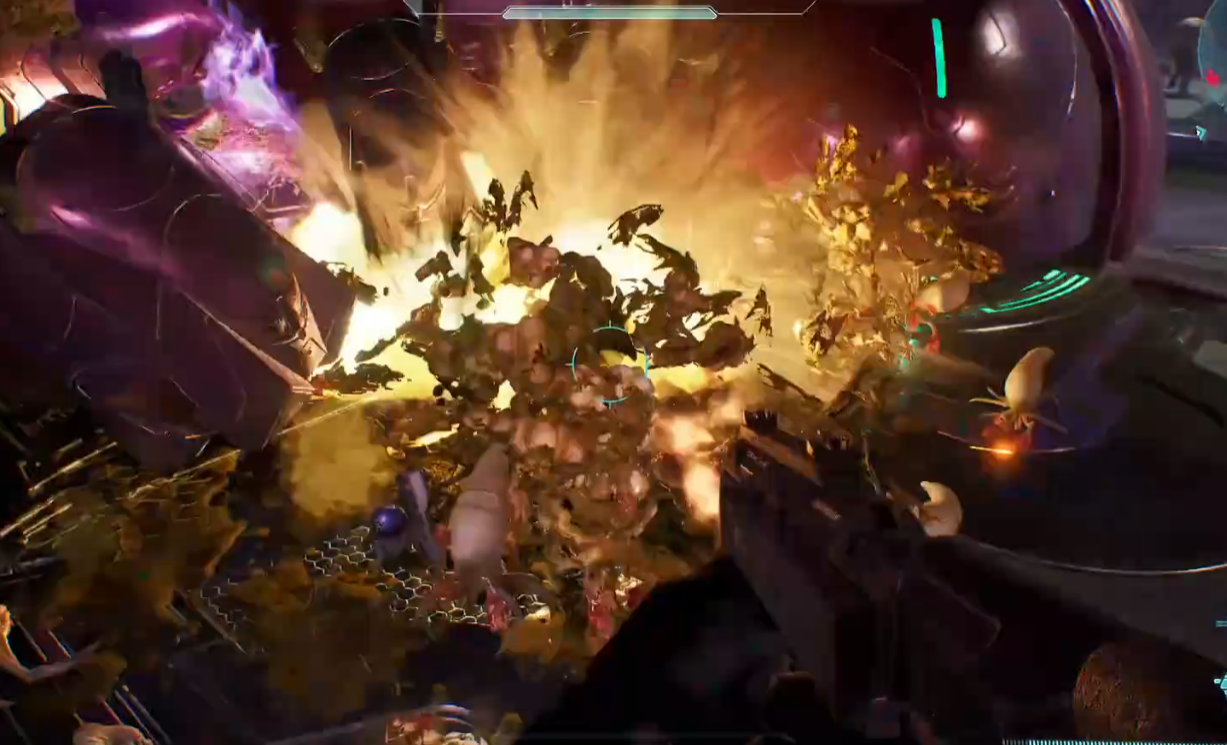
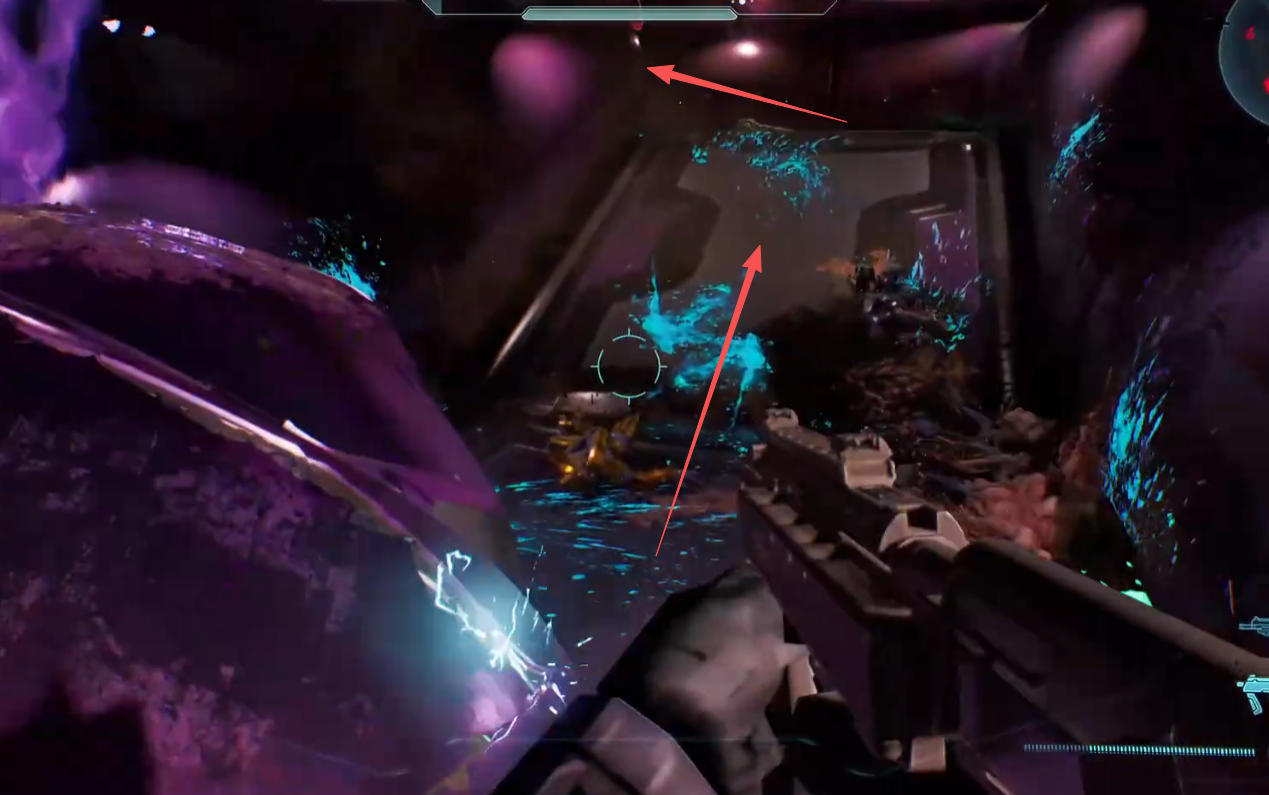
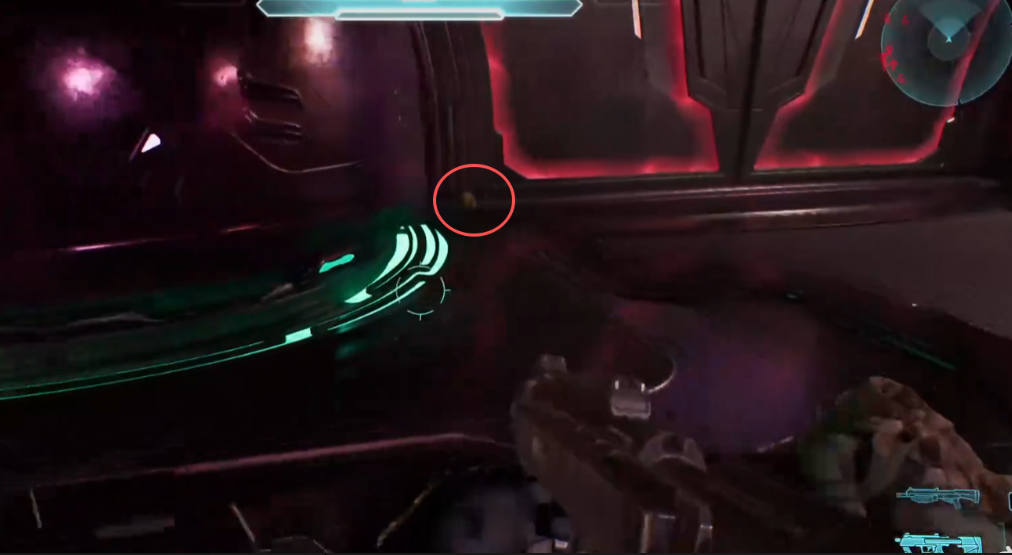
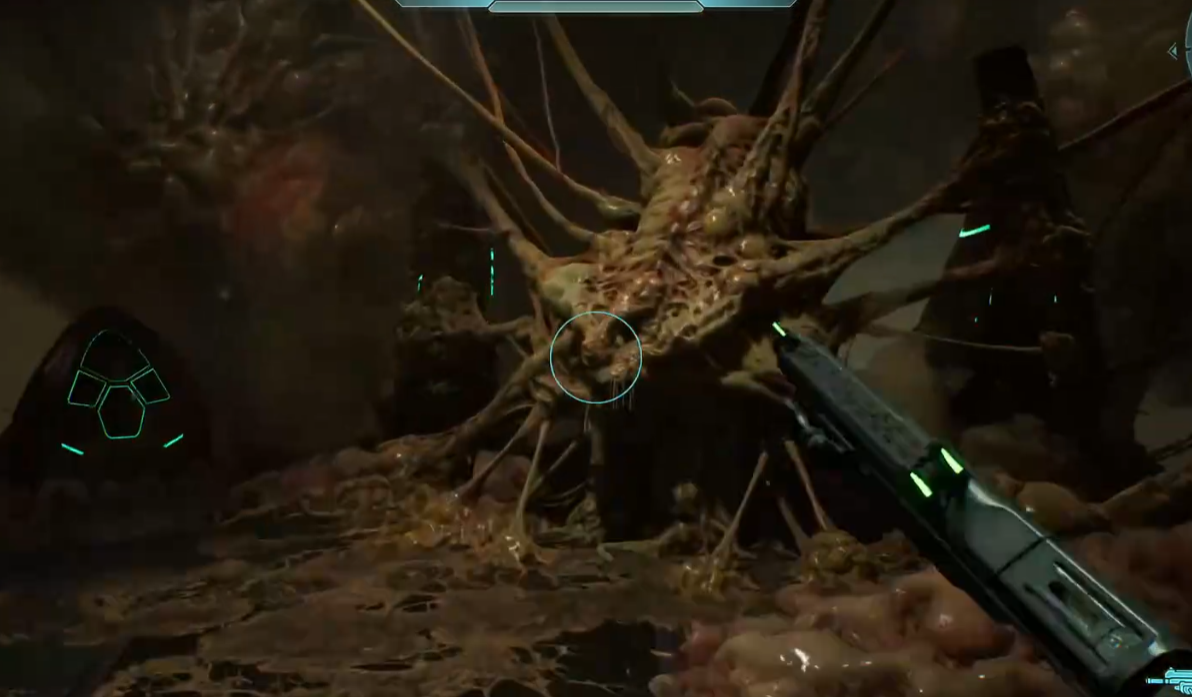
Piñata is near the end of the mission. When you reach Captain Keyes, entering the room starts a cutscene. As soon as the cutscene ends, turn around and repeatedly melee what remains of Keyes. Keep hitting it until Piñata appears and drops onto the floor in front of him.
The Maw
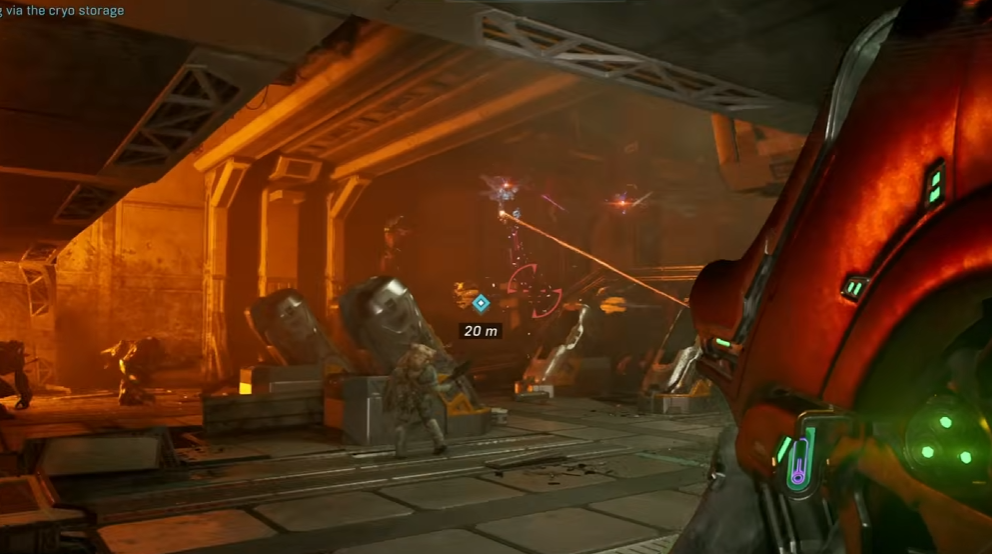
While heading to engineering through cryo storage, you will return to the cryo pod room from the beginning of the campaign. Clear the Sentinels and Flood first, then go to the back-left corner lit by fire. Use the collapsed walkway to jump onto the narrow beam against the back wall. Stowed Reload is sitting on that beam.
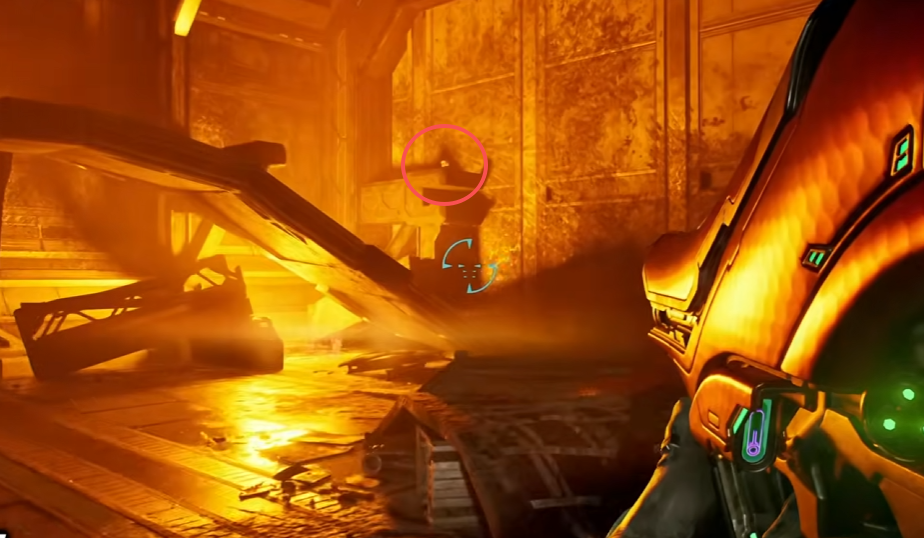
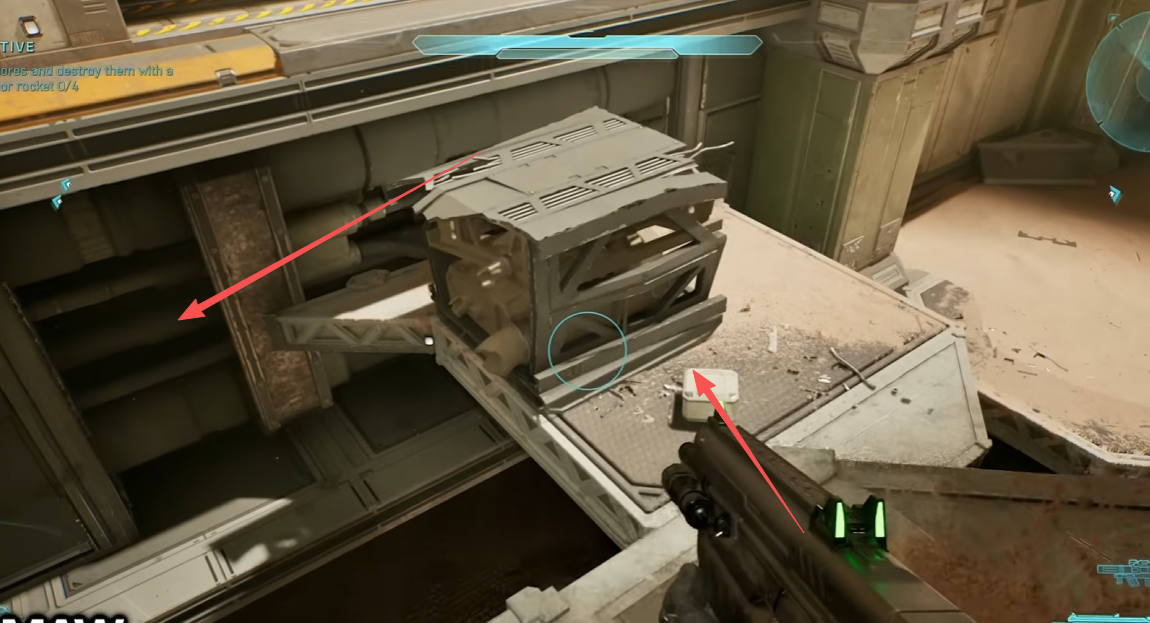
At Rally Point Bravo, enter the large engine room where the objective asks you to destroy four cores. Boom is on the right side of the room. Follow the ramps and doors all the way to the upper-right level, near one of the consoles that opens the engine pistons. Beside the console is a narrow ledge with a large box on it. Do not climb over the box toward the upper corridor. Drop carefully onto the ledge to the left of the box instead. Boom is tucked underneath it in the corner. If the edge seems to block you, crouch while moving under the box.
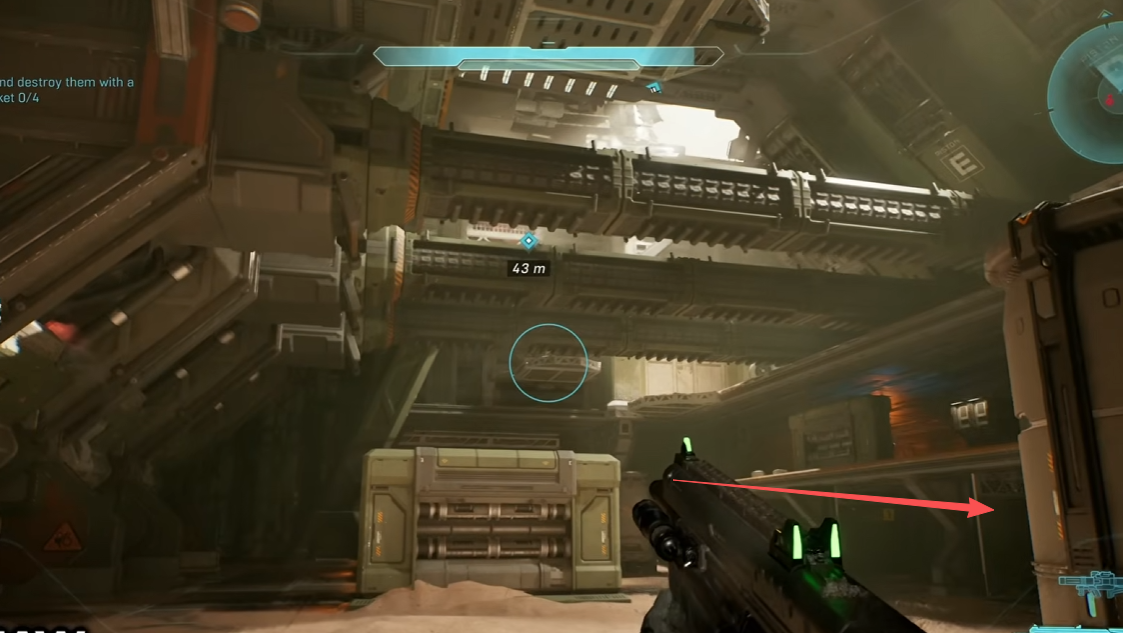
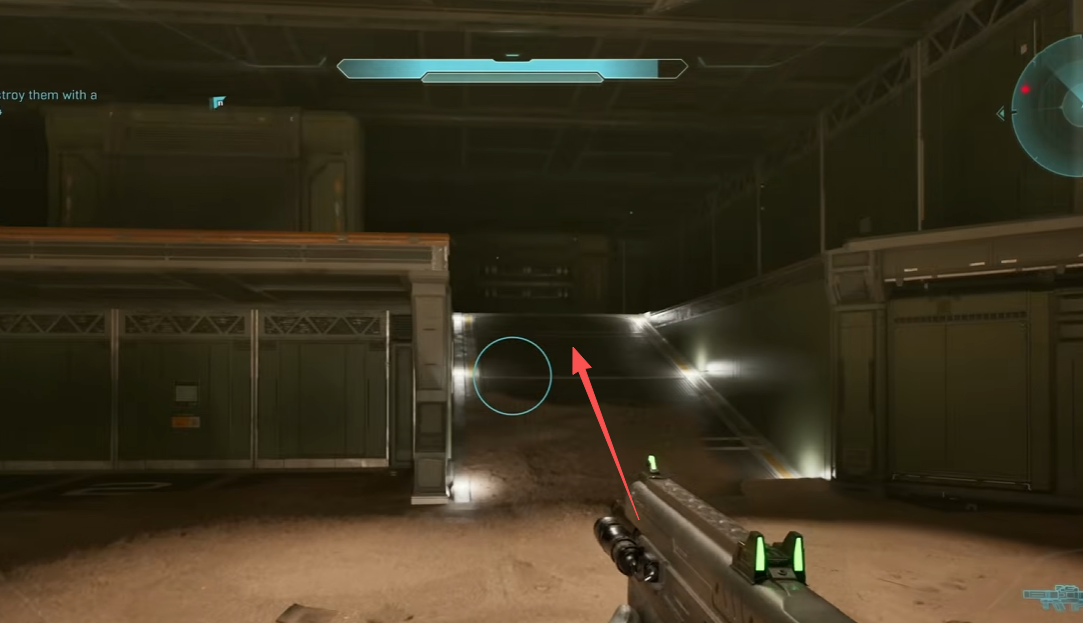
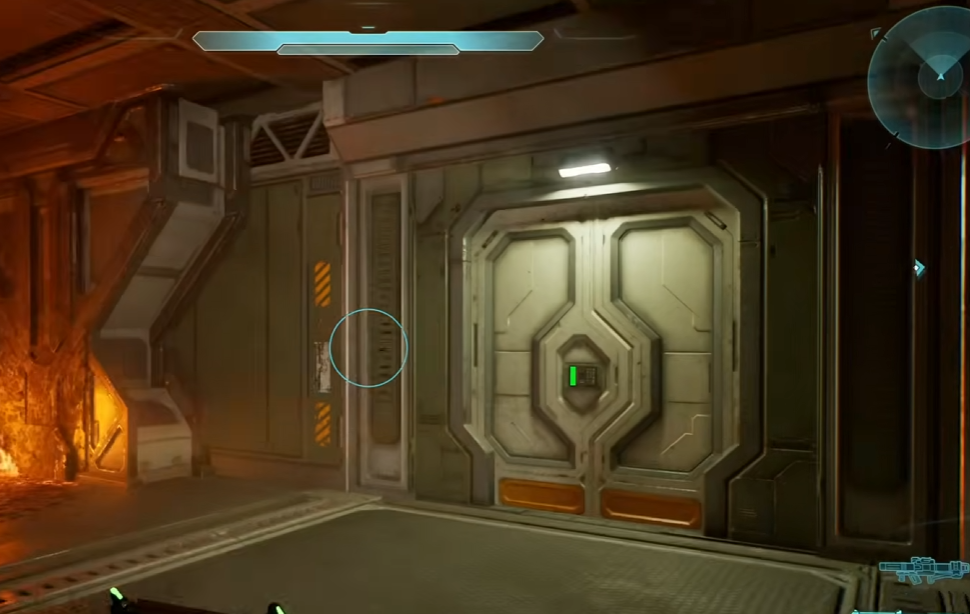
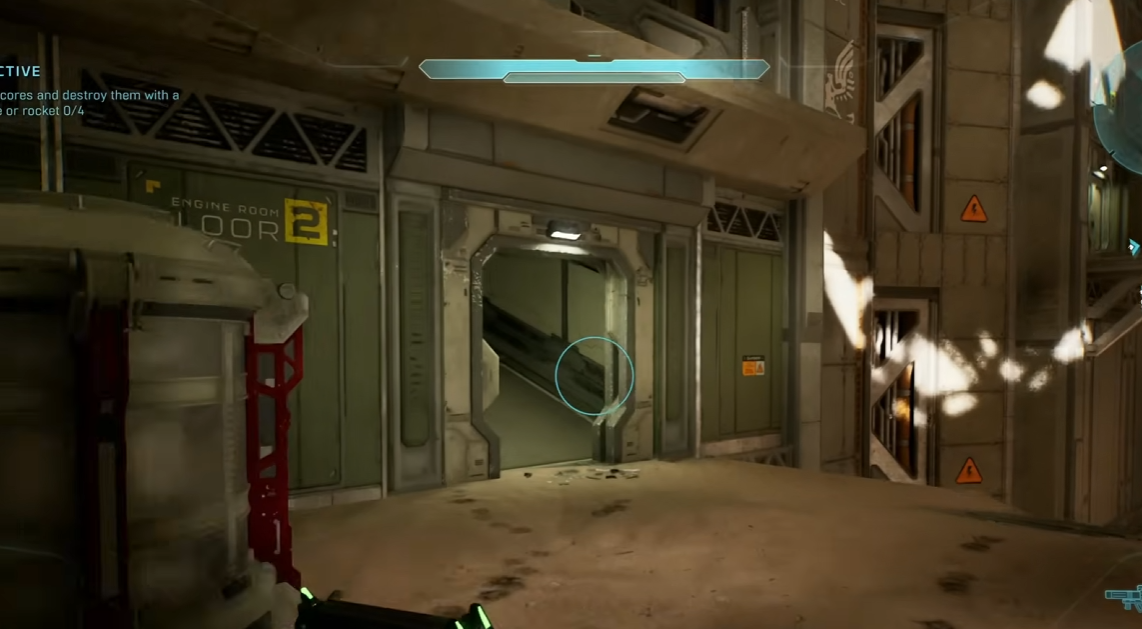
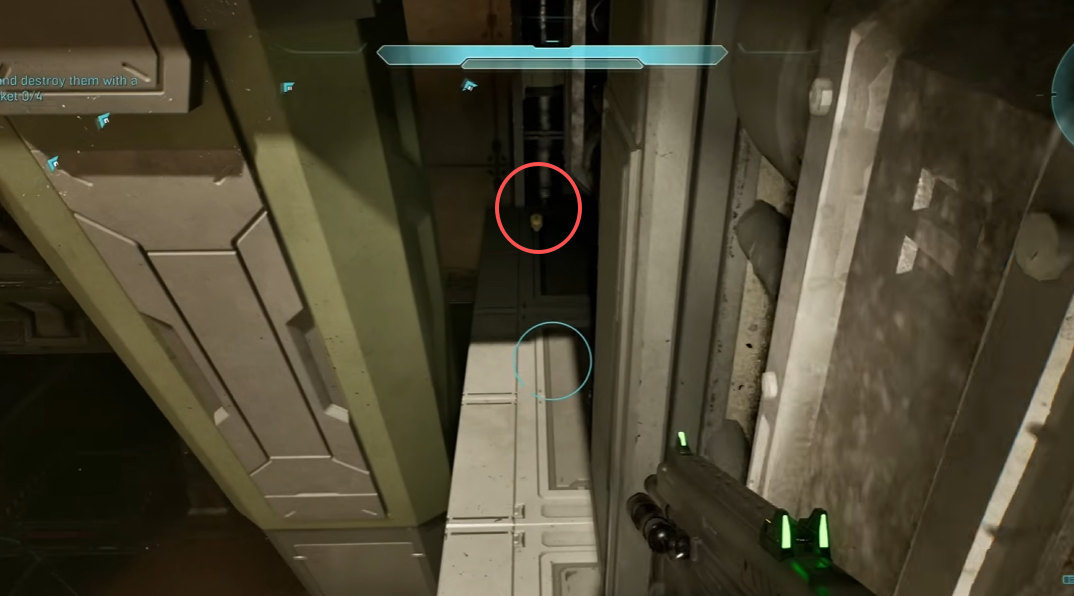
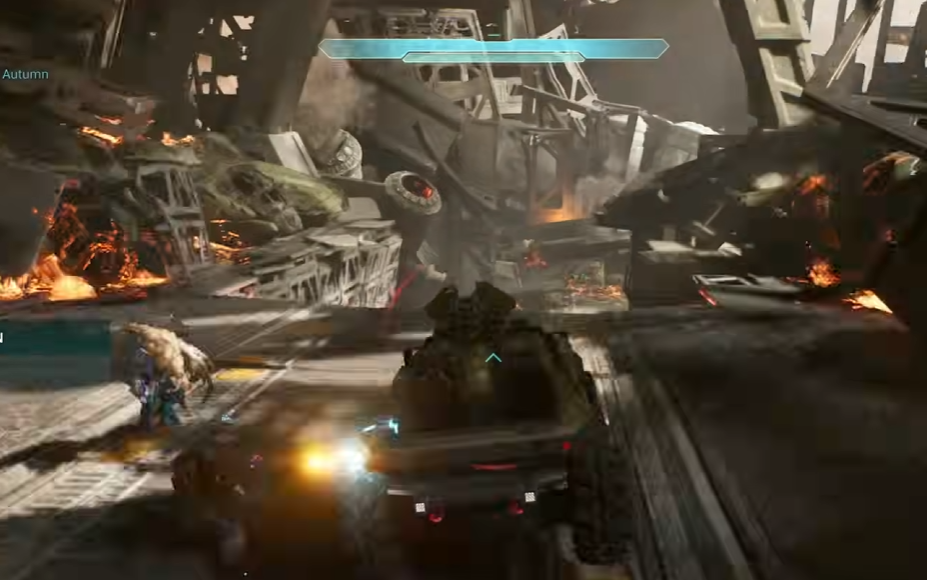
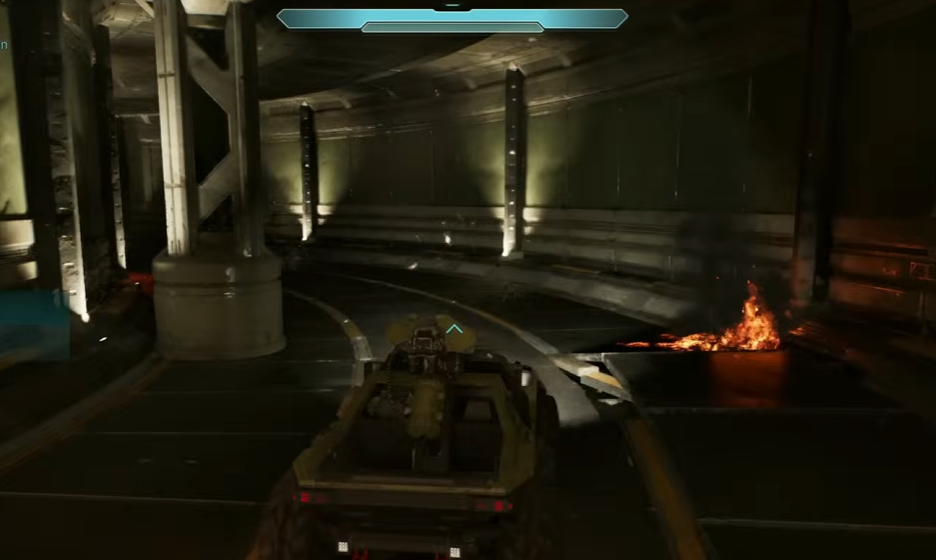
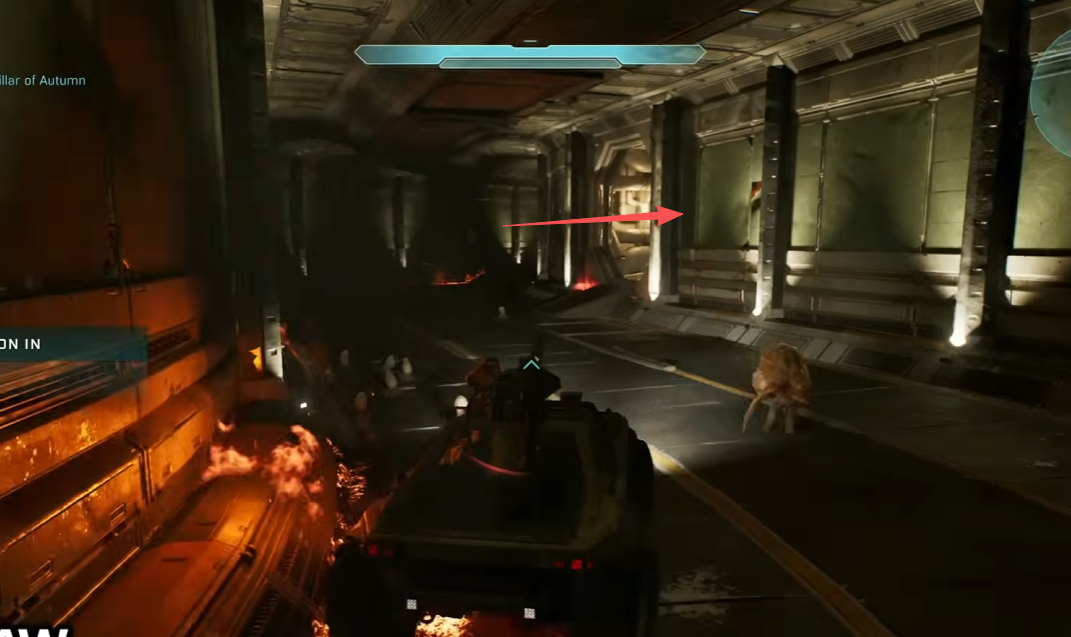
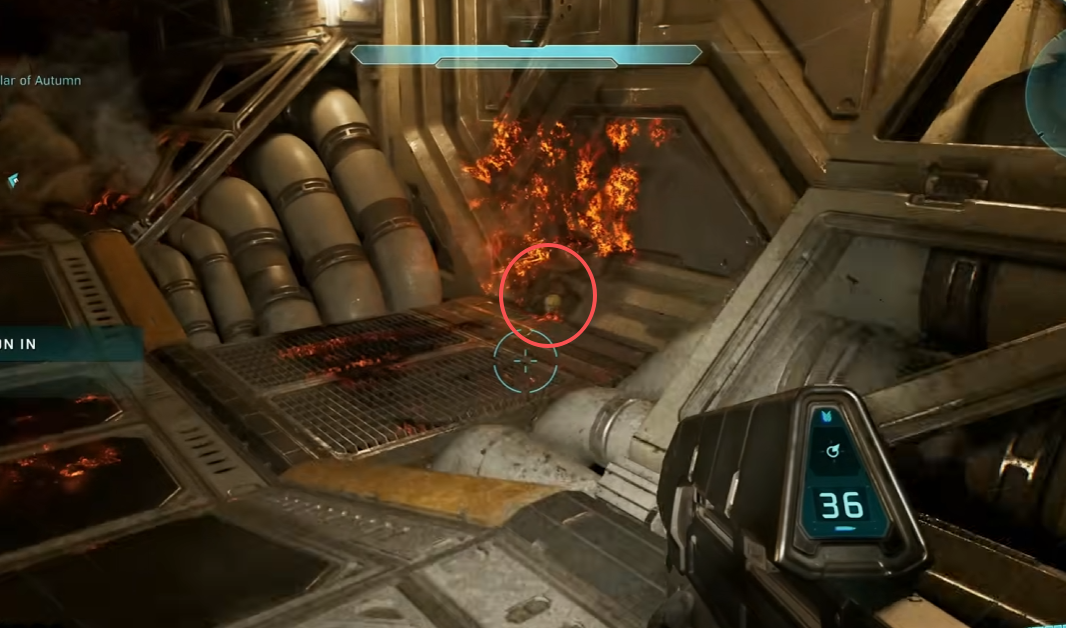
Thunderstorm is during the final Warthog escape. Follow the main route until you enter the winding tunnels. Ignore the first opening on the right and the next opening on the left. After the following bend, take the shortcut tunnel on the right. Drive about halfway through it, get out of the Warthog, and look on the ground beside the burning debris for Thunderstorm.
Boarding Action
After clearing the first hangar, including the two Hunters, do not follow Johnson up the nearby slope. Cross to the opposite side from where you entered and drop down on the right to reach the door that was locked earlier. Follow the corridor as it spirals down, then pass through the unlocked doors across the bay. Malfunction is on the right-hand walkway in the next room.
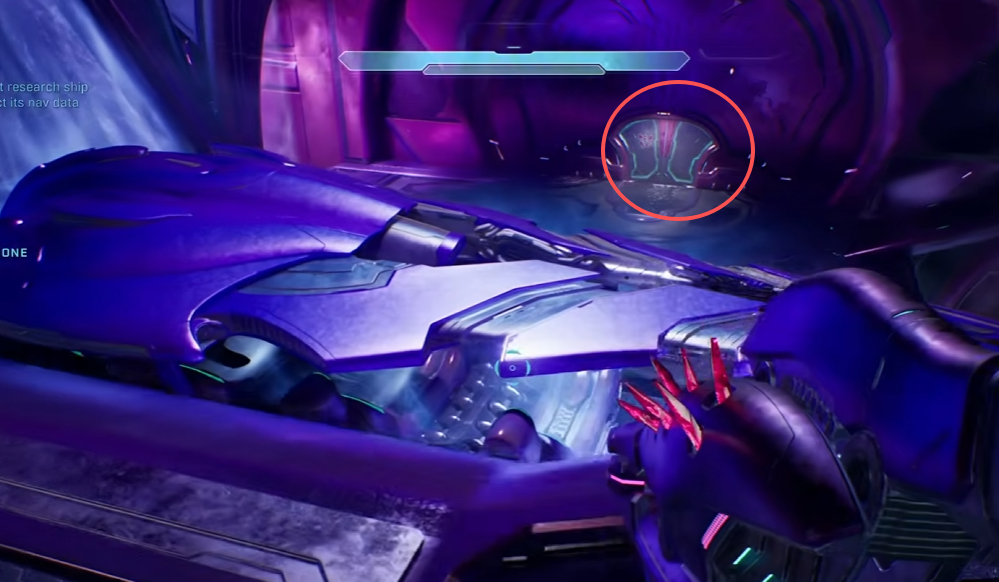
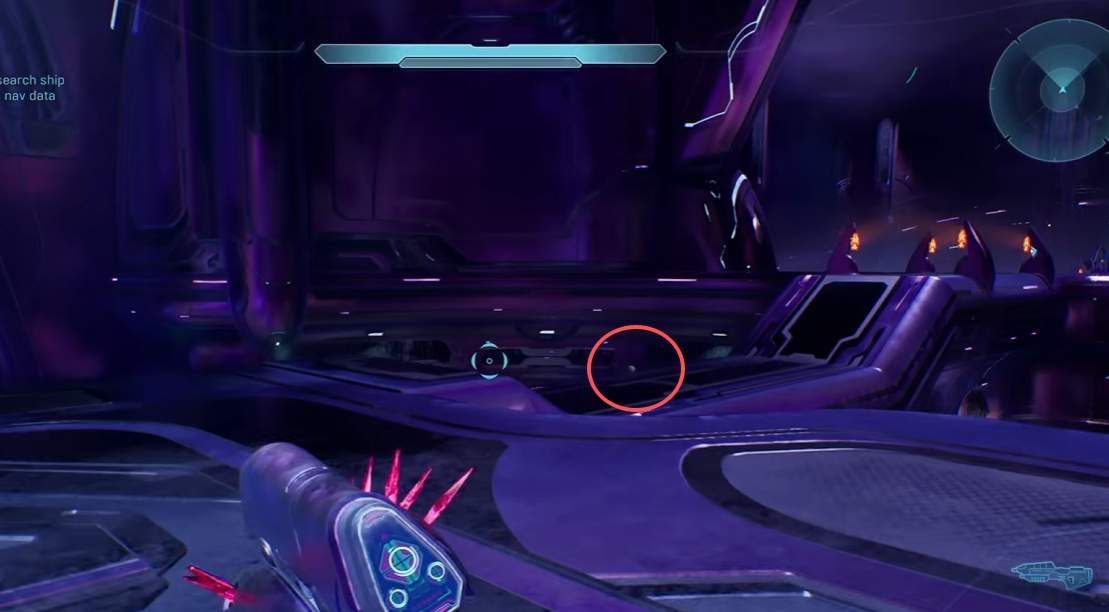
After clearing the large Elite training room with sand on the floor, do not go up to Johnson and the tractor beam yet. Continue into the next room, climb the ramp on the far side, and backtrack through the left-hand doors. You will return to the training room one floor higher. Deal with the Elites that come through the newly opened door, then pick up Johnny Ammo Seed from the curved walkway that reaches toward the middle of the room.
Near the end of the mission, clear the room with the large vertical tractor beam and wait for Johnson to activate it. Do not ride the beam yet. Go through the open doorway to the left of the tractor beam platform, then take the small slope on the left. Leadhead is on the floor at the dead end.
The Most Dangerous Game
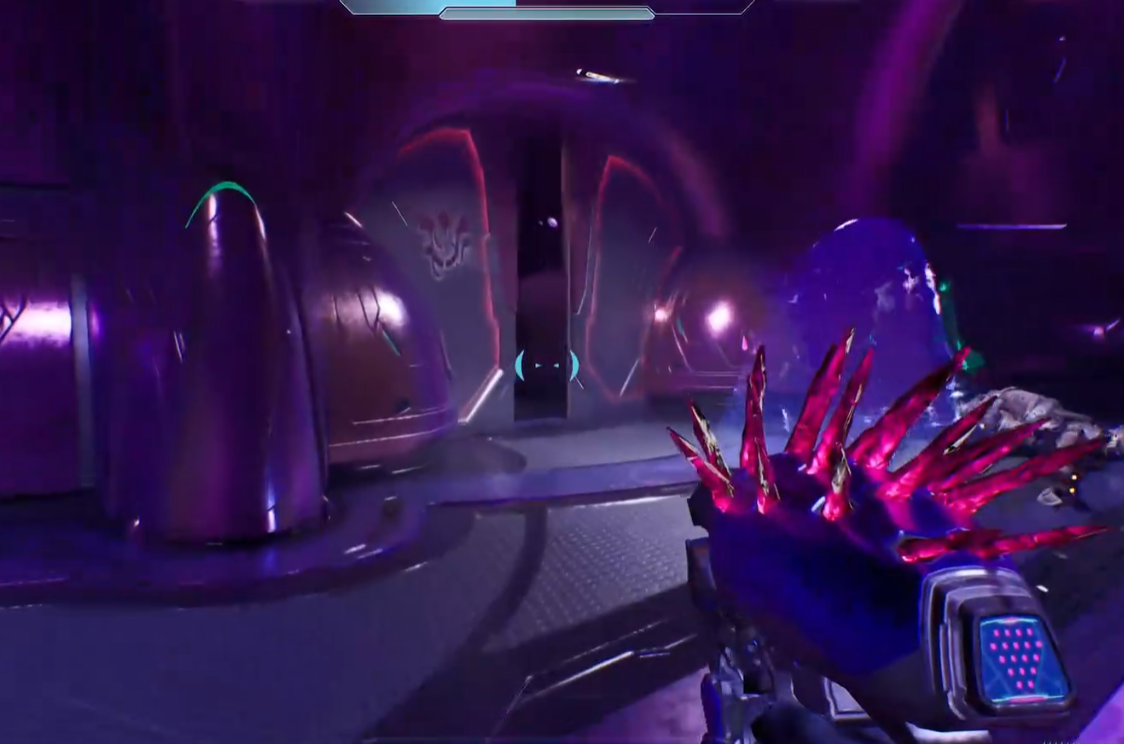
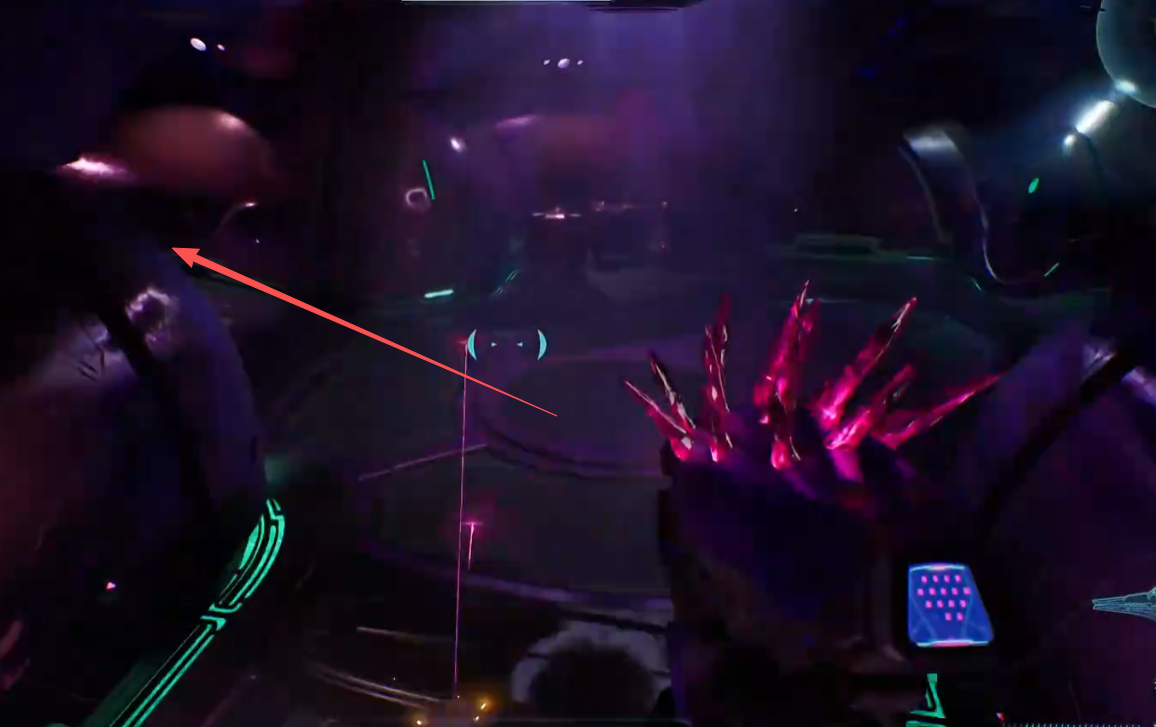
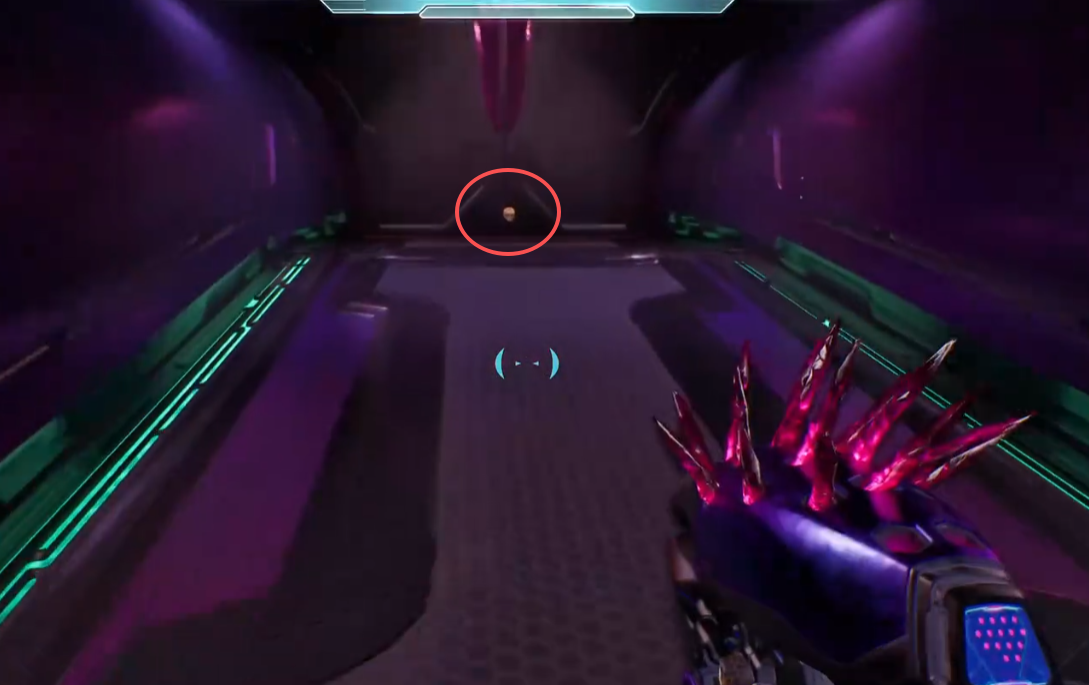
Temperamental does not appear until you complete its three encounters in the same playthrough. Each time the gold-armored Elite Zealot appears as a high-value target, keep shooting until you see his shields break. He cannot be killed here and will retreat after each encounter. The first appearance is high on the right side of the sniper arena before the prison. The second is at the far end of the next arena, behind the Wraith. The third is up to the left just after you leave the prison. After breaking his shields for the third time, clear every enemy in that final outdoor arena. Temperamental will then appear inside the purple pylon on the higher side of the arena.
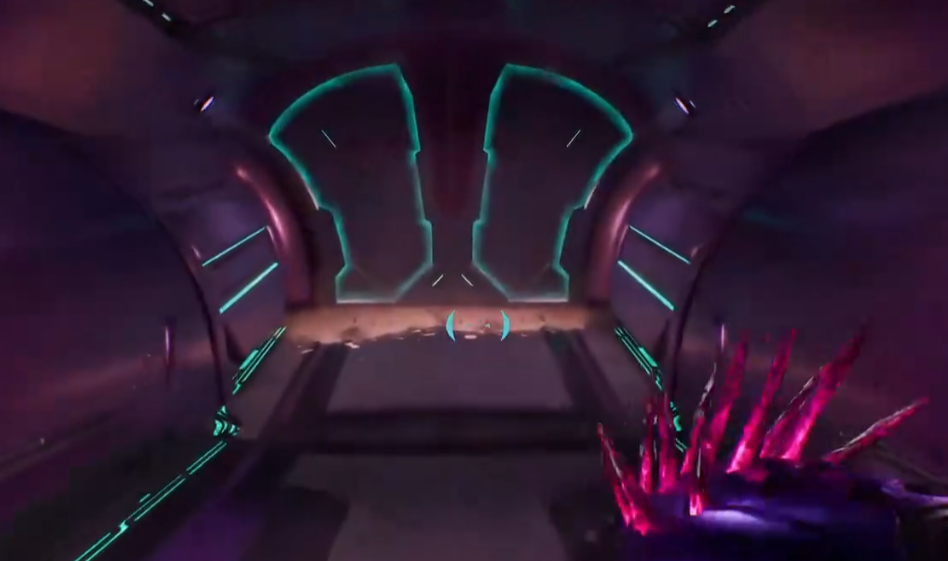
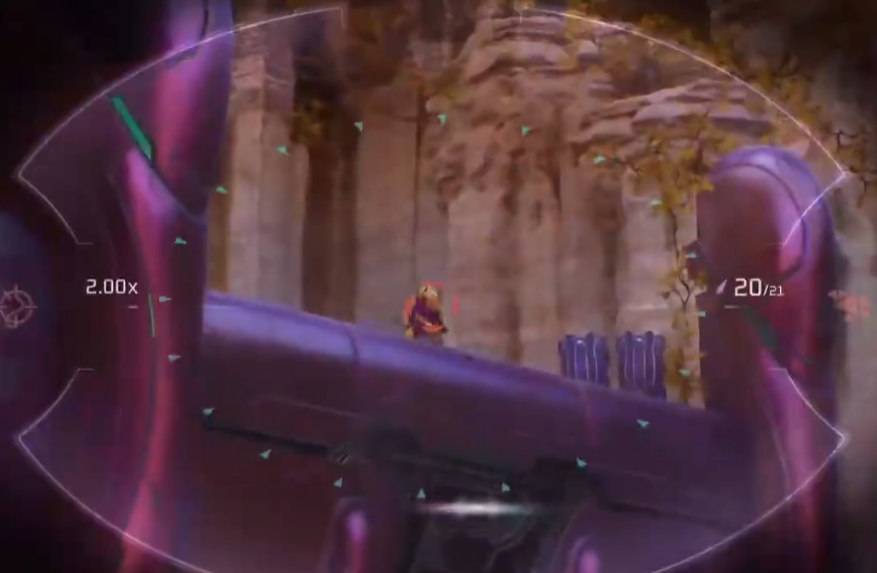
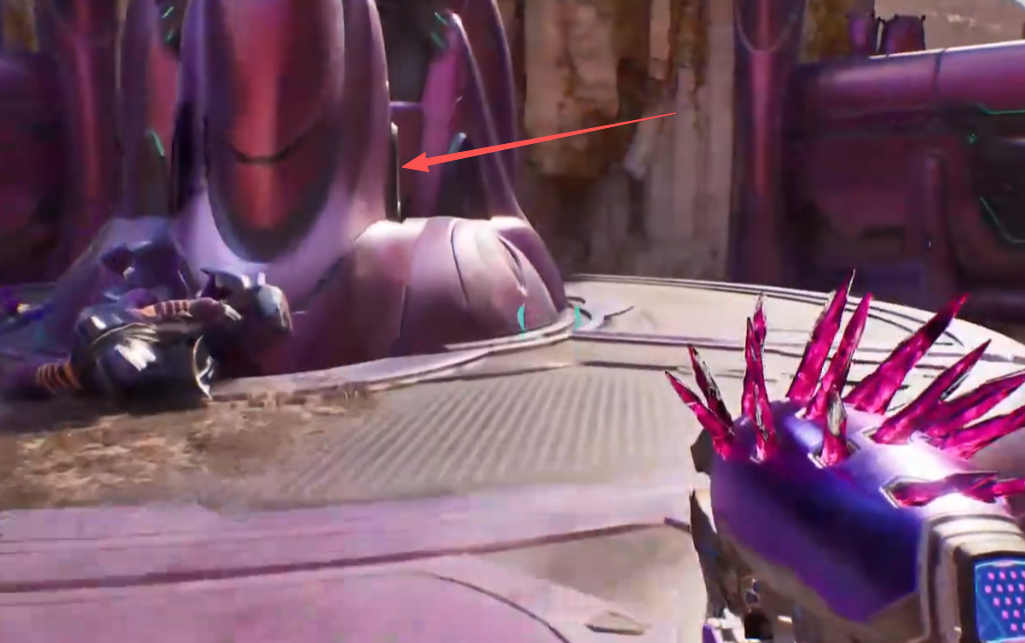
Recession is in the Wraith arena where the gold-armored Elite appears for the second Temperamental encounter. Break the Elite’s shields before he escapes, then clear the area. Turn back toward the door you used to enter. There is one explosive canister inside each of the two purple flames beside that door. Shoot both canisters and the locked door will open, revealing Recession and several weapon crates.
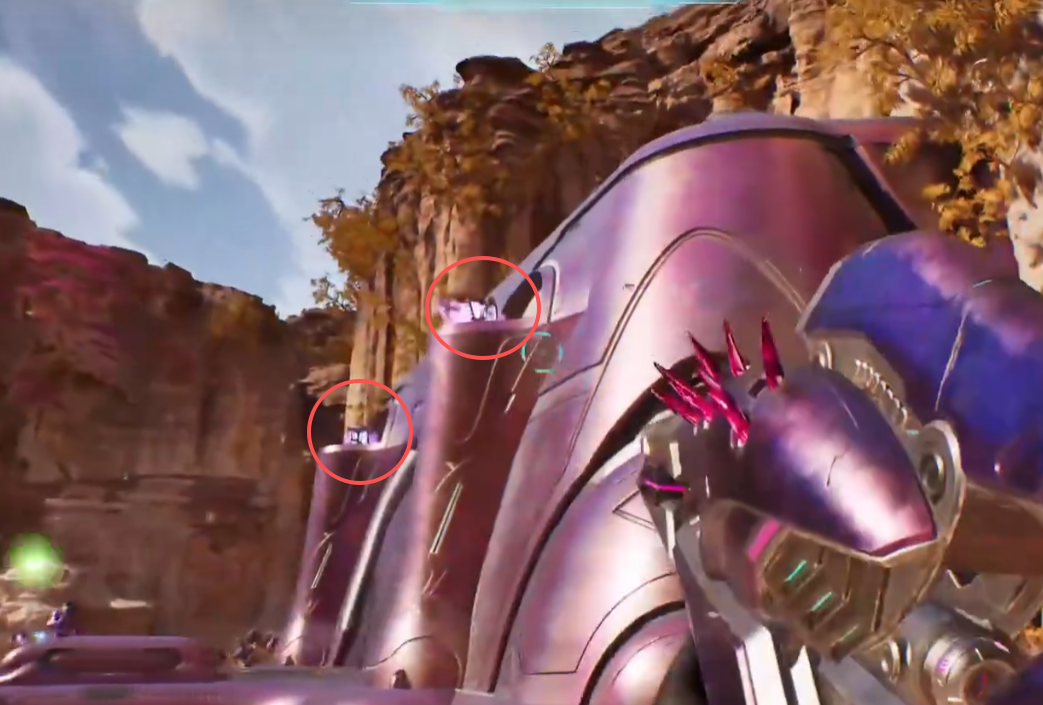
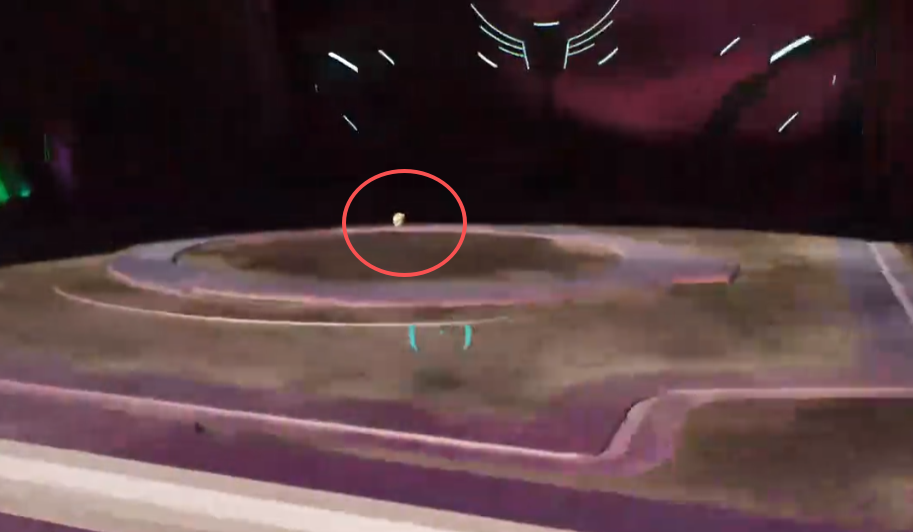
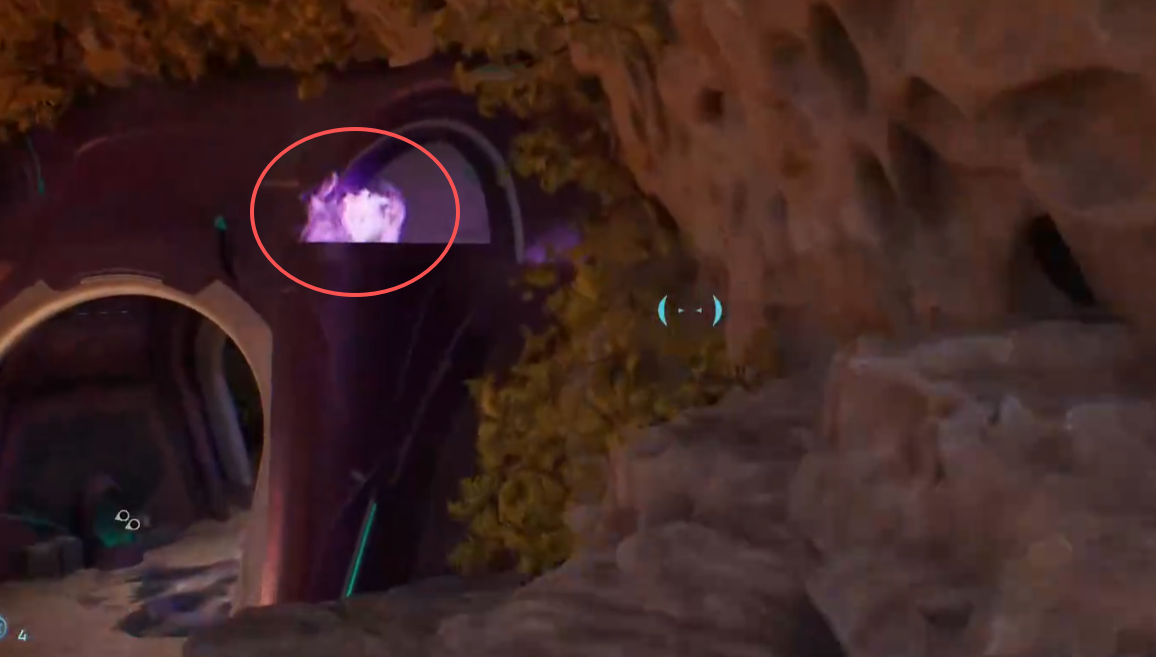
Ghost is in the room immediately after Temperamental. As you enter, the Skull is almost directly overhead, inside the purple flame above the doorway. Go down the ramp and use the rocks beside the structure to climb back up to the ledge. Jump into the purple flame to collect Ghost. Acrophobia, a grenade jump, or a co-op partner can make the last jump easier.
Heavy Burden
Eye Patch is near the first suspended bridge on the way to the Tolerance’s bridge. Do not cross the main bridge yet. Go through the open door at the far end, follow the higher side walkway all the way around, and stop at the locked door. The Skull is tucked onto the narrow ledge to the right of that door.
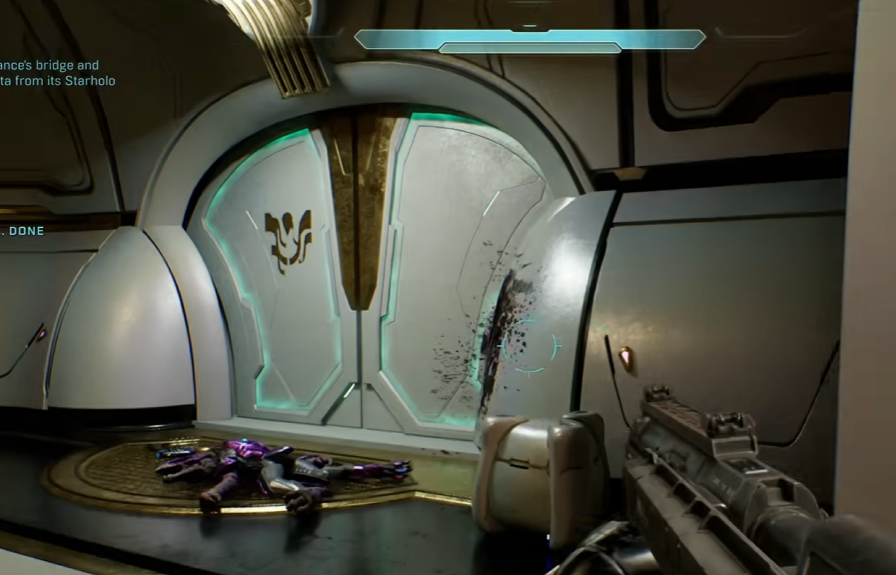
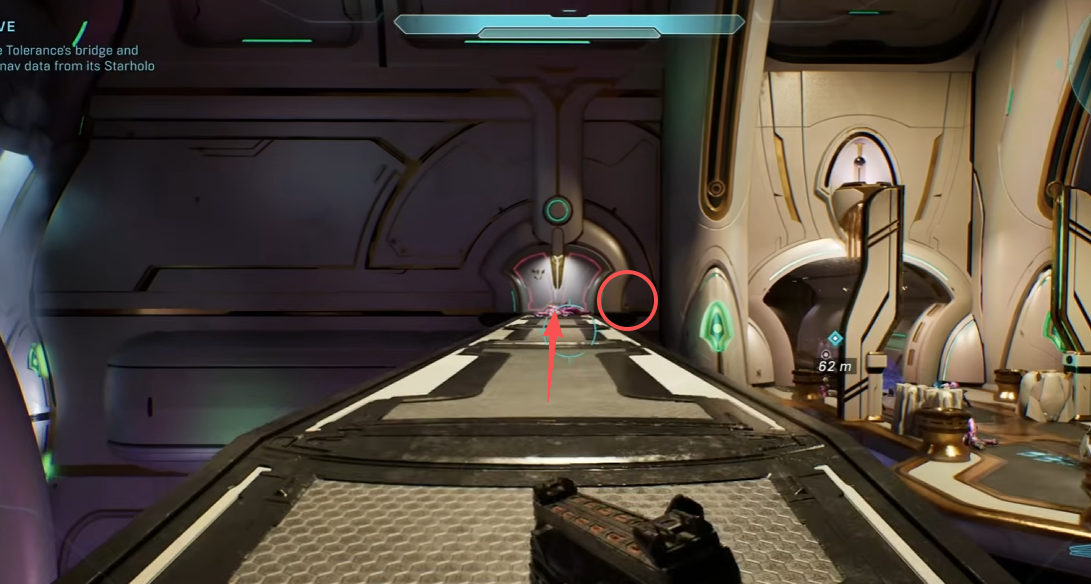
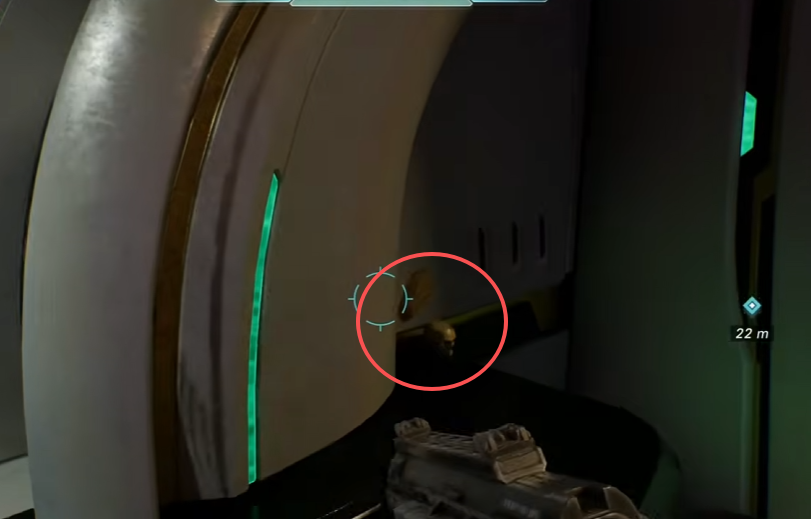
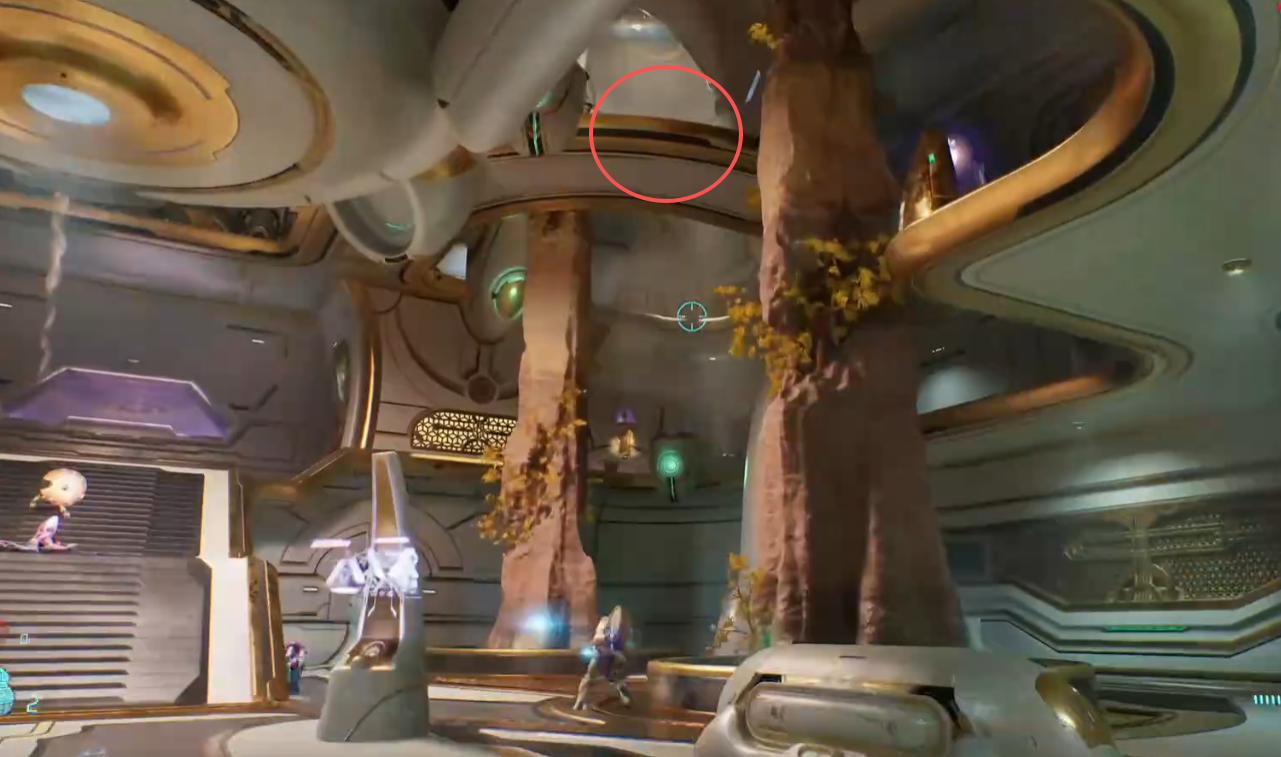
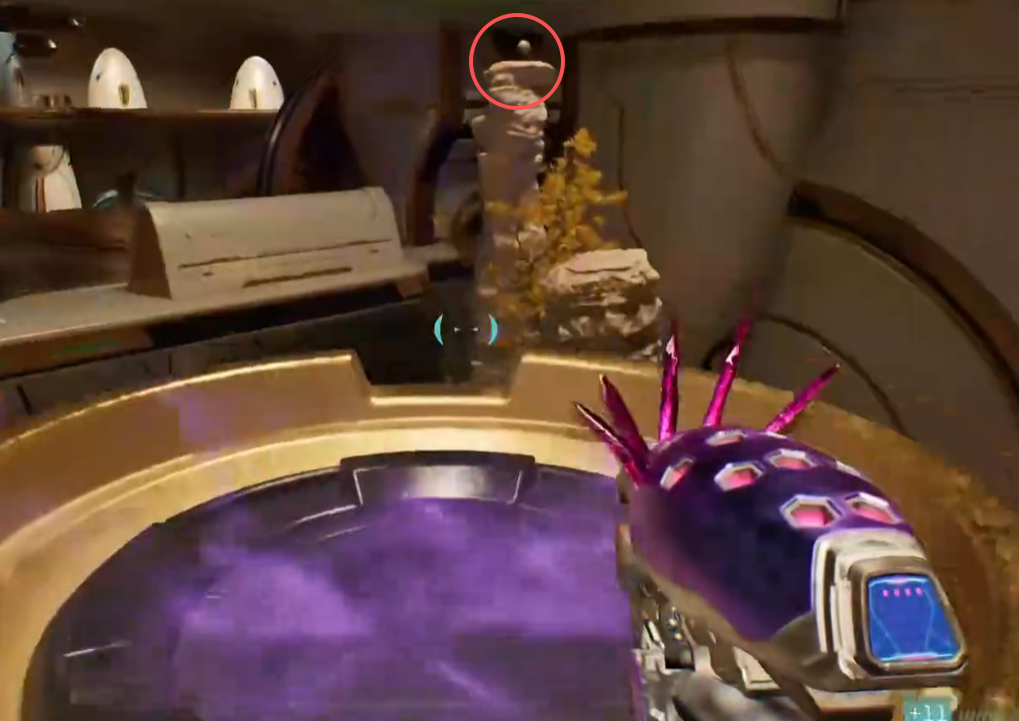
Later, after leaving the interior hallways, you will enter a huge white-and-gold room with several floors. Look down to the left for the circular middle platform beside a tall stone spire covered in yellow plants. Drop onto the circular platform, step into the edge of the purple fire for a little extra height, and jump toward the top of the stone spire. Grab the Skull as you pass it if you cannot stay on the narrow top.
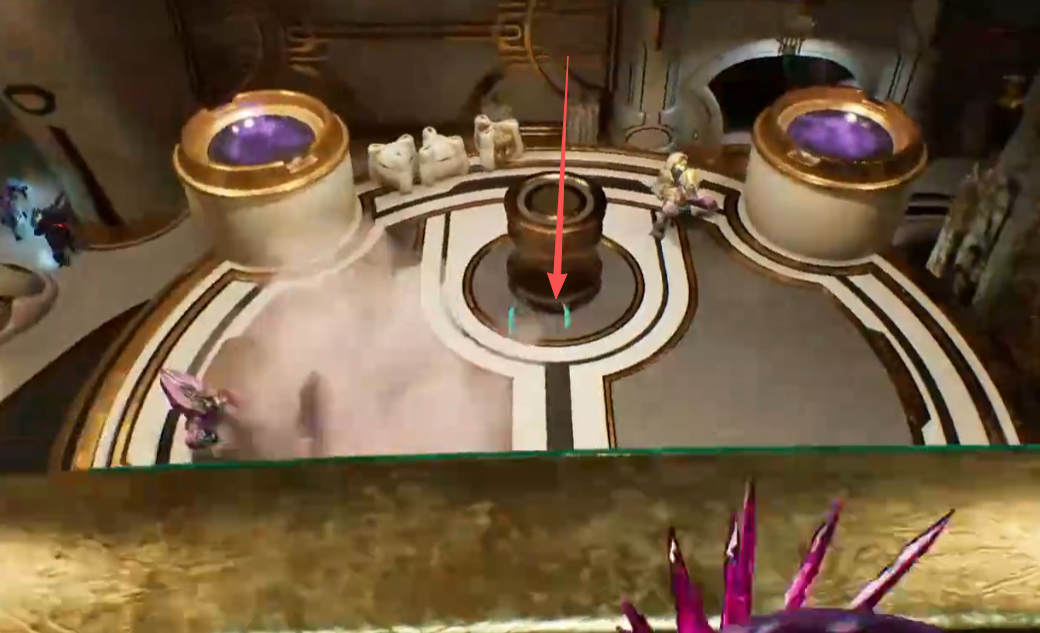
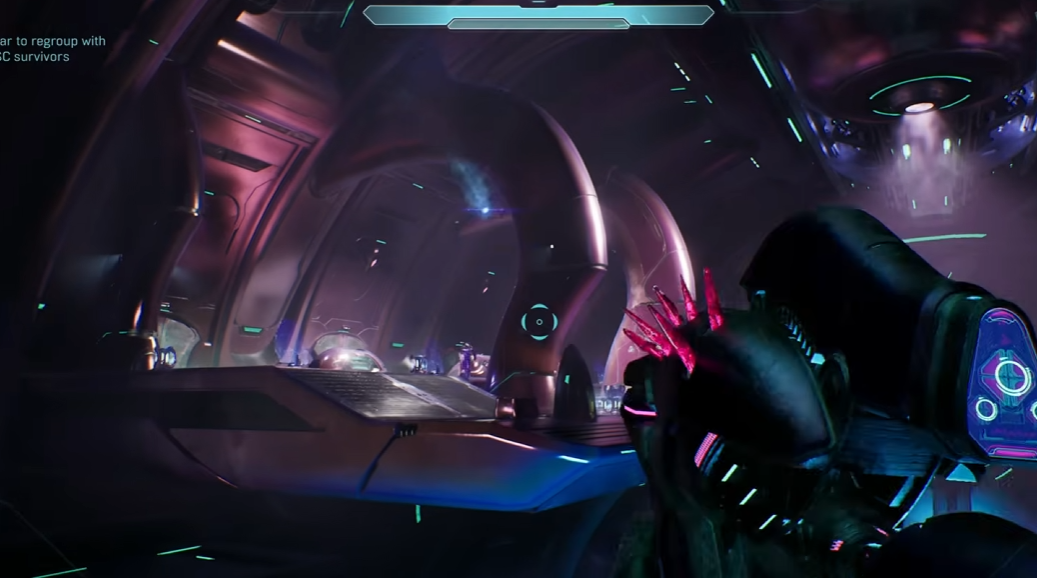
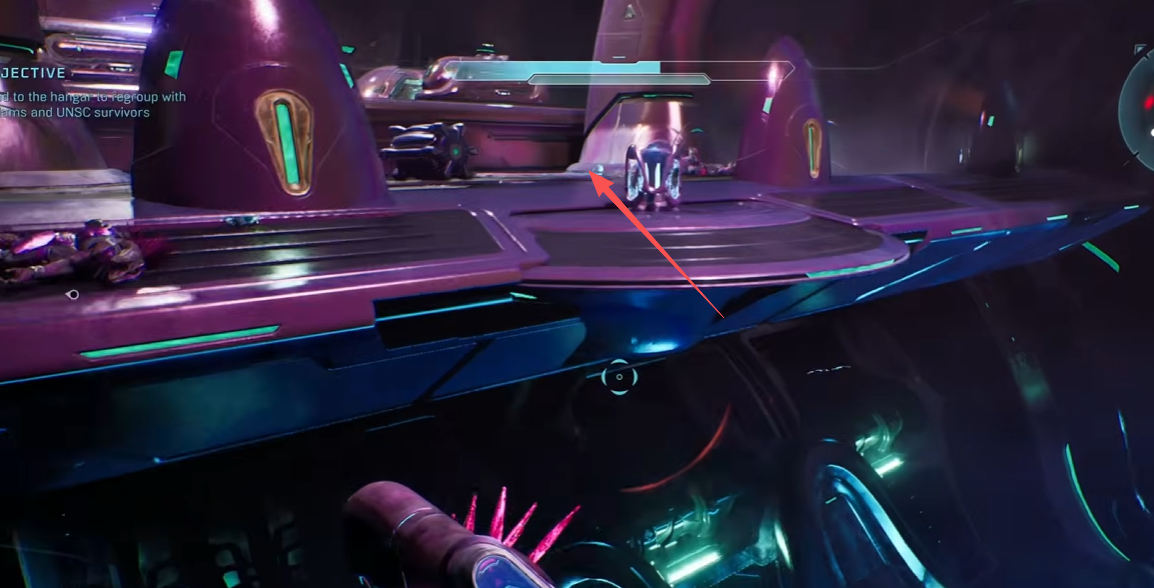
Efficient is near the end of Rally Point Charlie. After restoring power to the floating transport, ride it under the bridge and into the next room, where Covenant fill the platforms on both sides. Clear enough of the left side to make the jump safe. While the transport is still moving, take a running jump onto the left platform and sprint to its far-left corner. The Skull is on the floor beside the wall. An out-of-bounds countdown starts when you land, so grab it quickly and jump back to the transport if you want to continue the run.
Route sources
Last reviewed: July 24, 2026